Hello friends!! Itsy Bitsy brings you
"CRAFTER IN THE SPOTLIGHT" – a unique way of encouraging and
appreciating the talented crafters. We recognize talented crafters week after week, turn the spotlight on them & feature them in our "CRAFTER IN THE SPOTLIGHT"! We love what you talented crafters create & are amazed at each of your unique creations every single day! We love the way you use Itsy Bitsy products & give life to those products.
Congratulations Vaishali!!
We are very excited to announce this week’s “CRAFTER IN
THE SPOTLIGHT” - June 2016 – VAISHALI KHANDWALA KAJI !
An Architect & a
freelance Interior designer, she loves to decoupage & teach craft ! This
extremely talented crafter wants to use her crafting skills to design
customized, co-ordinated home accessories! Her journey into crafting started in
Singapore where she had to teach craft to Children & this is an experiences
she cherishes in life! Her creations are utility based & feature fabulous
textures ! Playing with materials,
textures & forms comes naturally to this Architect !She has been an active
participant in Itsy Bitsy Crafters Café & we wish her loads of success on
this creative journey of hers & would love to see many more creations from
her in the future.Congratulations Vaishali!!

Here are excerpts of my
interview with Vaishali
Rashmi Closepet, MD, Itsy
Bitsy : Tell us a bit about yourself, your background? Where are you
originally from?
Vaishali Khandwala : Hello Rashmi, team Itsy
Bitsy and everyone, to whom, I am connecting through this spotlight. Thank you
for appreciating my work. I am
an architect by profession and have been a freelance interior designer. I am currently staying in my home city
Mumbai. Happy to be a mother of a lovely daughter and a crafter at heart.
RC : How did you get into crafting?
VK : Marriage
and motherhood are the 2 M’s that bring change in every girl’s life .
This changing course of life, paused my interior work, however was keen to
creatively occupy myself. We moved places and each place had something new and
exciting to offer. I was in Singapore then and decided to teach craft to
children. It was fulfilling to see children enjoy the craft time and especially
my daughter, who would come up with her own innovative creations. Crafting in a
different country was a great experience….different thoughts, set ups, and
amazing craft supplies. It all added to my knowledge and ideas. Soon we moved to Bangalore, and it was here
that I got introduced to the crafting fraternity in India. A creative world
much, much bigger than I thought to be. This time, I moved a step ahead, from
crafting for children to making hand crafted products. Gradually, I got to know
about supplies, I had not heard of before….new techniques, new mediums and so
much to explore, experiment and craft. My love for crafting got a new direction
and the journey continues.
RC : What
is your favourite type of craft?
VK : I enjoy decoupage, as with this technique I
can create utility and home décor products, at the same time it helps me up
cycle treasured objects. It’s not easy to find customized, co-ordinated home
accessories and that’s what I intend to cater to. I also love making beautiful,
personalized decoupaged gifts for various occasions.
I have got opportunities to work on some
scrapbooks and have had happy experiences. Coming to mix media, it makes me feel like an
artist and reminds me of my interior projects.
Playing with materials, textures and forms comes naturally to me. This
art is forgiving and helps adding dimension to the craft. My crafting journey started with children.
Crafting for their needs and teaching them craft are the most fulfilling
moments for me. It’s like connecting with the child in you…working with basic
yet interesting craft supplies. Craft table full of colourful, cheerful stuff
!!!!
RC : What
are your favourite products at Itsy Bitsy?
VK : My favourite products from Itsy Bitsy are the
variety of embellishments, flowers, stamps, stencils, pattern papers, texture
mediums and blanks for decoupage. However the collection of general and theme
art and craft supplies is huge. Amazing products and Diy kits for children.
Products that can help bloom their creativity in a great way.
RC : What
products from Itsy Bitsy do you think are must have’s for a crafter?
VK : Every crafter must have embellishments and
pattern papers from Itsy Bitsy. They are sure to find a unique collection at
Itsy Bitsy.
RC : What
product would you like to see at Itsy Bitsy?
VK : I would want to see more collection of inks,
sprays, mix media mediums and decoupage napkins.
RC : What
do you do to make your workplace inspiring?
VK : My workplace needs to be organized and
supplies well segregated. May sound a
little different, but I cannot work with a mess around. Craft materials inspire
and pave way to my creations. Need not be plenty at a time, but I try to make
the best of what I have.
RC : What
are your other interests?
VK : I like
to visit new places and watch movies. Spending time, reading creative blogs
and learning something new each day
motivate me. I also like to take craft workshops. Being a facilitator opens up
new perspectives.
RC : If
you had magic powers, what would you want to contribute to the Crafting world ?
VK : Magic powers….I would love to have them and
create a space for children where they have the freedom to explore their
creativity. Children are immensely talented, they can do wonders. Would like to
interact with them and support them. Each child has his/her own creative world
and being a small part of it with magic powers would be a dream come true.
RC : What
is your most treasured possession in your craft stash?
VK : I
treasure most of my craft supplies. Decoupage napkins and stamps in my stash
are dear to me.
RC : How
would you describe your style of crafting?
VK : I cannot say that I have one style of
crafting. Crafting is journey. Every time, it’s working with different set of
base products and supplies, attempting to make something different and better
each time. Incorporating new techniques and ideas is the key. A common factor
is the style with which I bind forms and elements together.
RC : What
do you do when you’re suffering a creative block?
VK : When suffering from creative block, I take a
break, go with the flow. That’s soothing enough. I really do not worry much
about it. It’s sure not to remain forever.
RC : How
do you organize your time for crafting?
VK : I generally prefer to craft, when my daughter
is at school. So I make a schedule accordingly, such that I have time for her
when she comes back. In case of
something urgent, late night hours have to be put in.
RC : Tips
for people who want to craft?
VK : People who want to craft are passionate about
it. Use that passion and love for crafting to creating something new. It is
satisfying and will take you long. The resources and supplies available today
are overwhelming. Go step wise, figure out
what you like, invest wisely and make the most of your talent. Believe in
yourself and your work, each one of us can contribute in a special way. So
enjoy the journey. Crafting is a form of expression for me. I always say
Create, Express, Enjoy !!!!
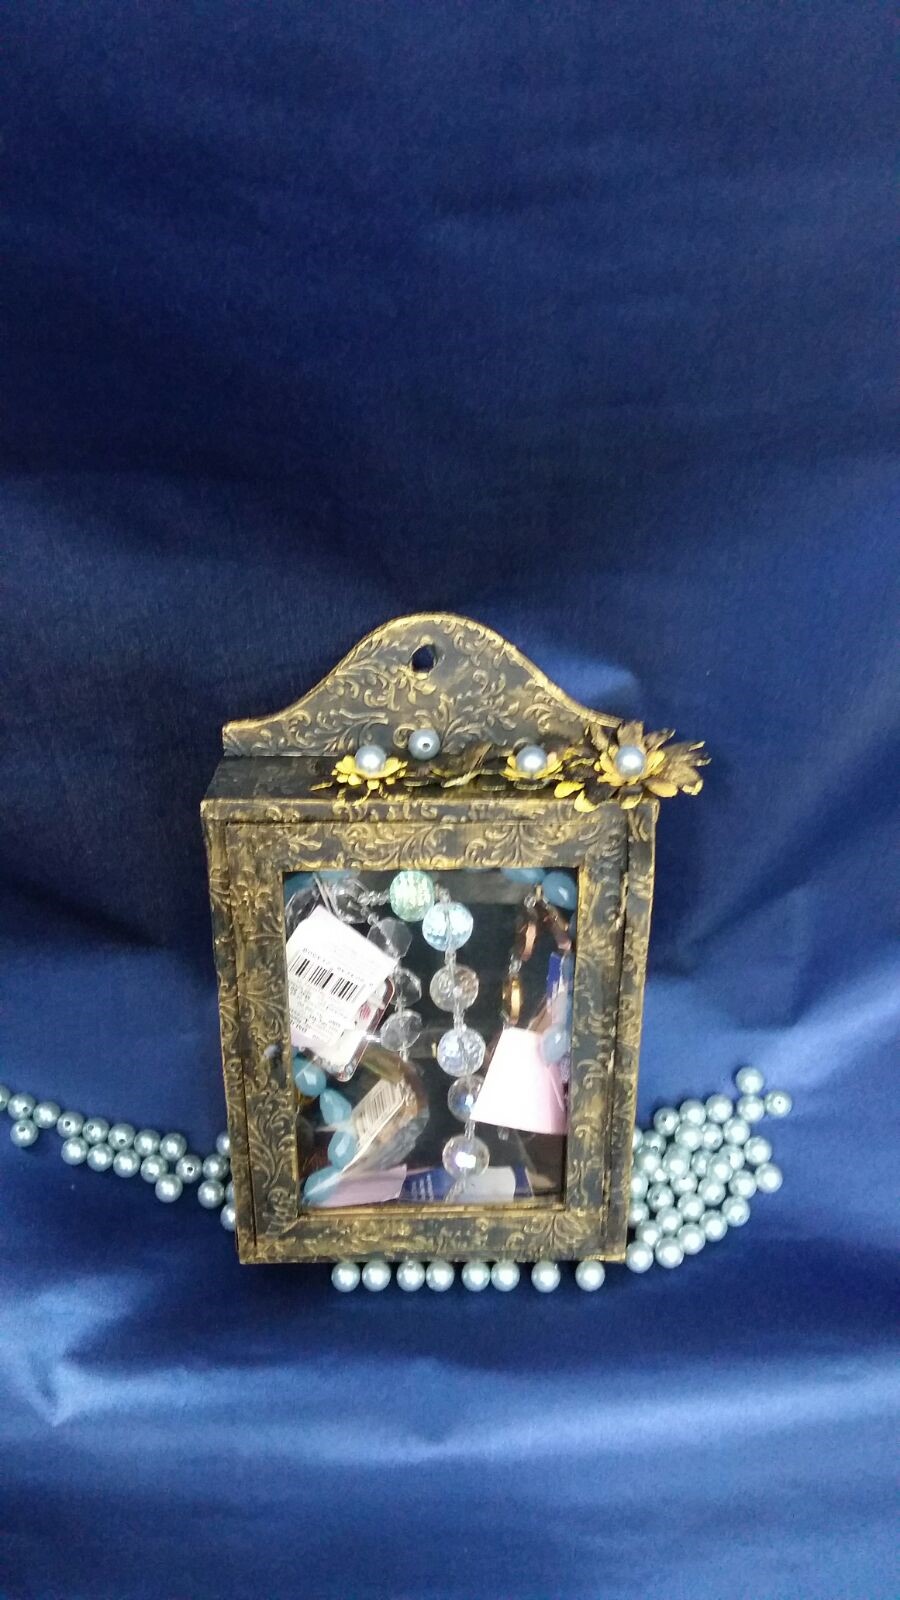
Here are a couple of Vaishali’s awesome
creations :


Many congrats Vaishali for being the CRAFTER IN THE SPOTLIGHT - ITSY BITSY :-) :-)
You will receive Rs 500/- Itsy Bitsy gift
voucher :-) :-) & a Crafter in the Spotlight badge, which can be proudly
displayed on the side bar of your blog.

Also, visit our Youtube channel to view &
to know more about this crafter - https://www.youtube.com/watch?v=uy4CbZzBC-4
Looking forward to many more creations, Happy
Crafting!