A fast, buttery rough puff pastry recipe that comes together in under an hour! This simple dough delivers flaky, tender pastries without all the fuss.
A Quick Look At The Recipe
This is a brief summary of the recipe. Jump to the recipe to get the full details.
Prep Time
15 minutes
Chill
30 minutes
Total Time
45 minutes
Servings
12 servings
Difficulty
Intermediate. Requires attention to keeping ingredients cold.
Calories *
231 kcal per serving
Technique
Cut cold butter into flour, add sour cream, then roll and fold the dough to create flaky layers.
Flavor Profile
Buttery, slightly tangy from sour cream, with tender, flaky layers.
* Based on nutrition panel
It was so easy! Why WHY have I not been making this myself? I live in a warm climate, so I should have refrigerated at least an hour or two, but it was fine. It was buttery and flaky and perfect! I will definitely be making this again. ⭐⭐⭐⭐⭐
Wendy
Why You Will Love This Recipe
- Flaky layers without the work of traditional puff pastry. This rough puff method gives you buttery, tender pastries in a fraction of the time it takes to make classic laminated dough. And I give you step-by-step photos to follow along with!
- Only 5 simple ingredients. Flour, butter, sour cream, baking powder, and salt come together quickly with no special equipment needed beyond a pastry blender or fork.
- Ready in under an hour. From start to chilled dough ready to use, this recipe takes just 45 minutes—perfect for when you want fresh pastries without an all-day project, just like this easy fried dough!
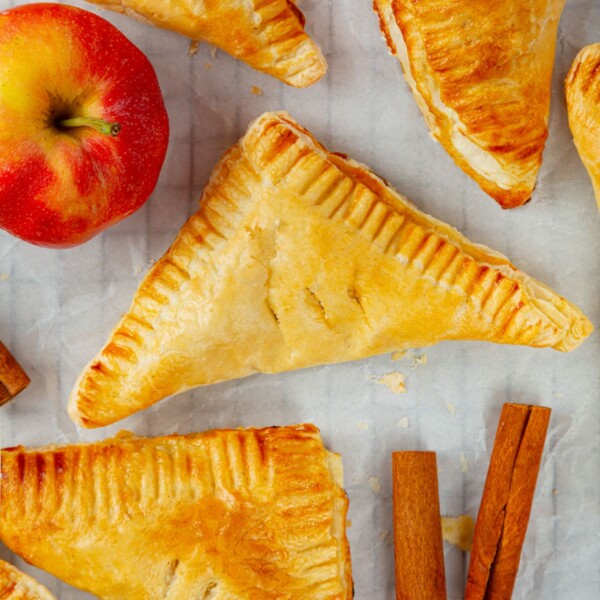
- Works for both sweet and savory recipes. Use this versatile dough for everything from apple turnovers from puff pastry to beef wellington!
Table of Contents
There are three types of puff pastry: classic puff pastry, inverse puff pastry, and rough puff (also called quick puff or blitz puff).
Classic puff pastry uses a traditional lamination technique where a slab of butter or the beurrage is folded into the dough multiple times to create hundreds of delicate, flaky layers. Inverse, as you would think, is the opposite: the dough or détrempe is inside the butter, then layered. They are both beautiful and impressive, but they require careful temperature control and much more time.
Rough puff pastry takes a different approach. Instead of laminating a butter block, you incorporate cold butter pieces directly into the flour mixture, then fold the dough a few times to create layers. The result? Flaky, buttery pastries with significantly less work and in a fraction of the time. While it may not rise quite as high as traditional puff pastry, it’s perfect for home bakers who want impressive results without the stress.
Ingredients & Substitutions
- All-Purpose Flour: I recommend using unbleached all-purpose flour for the best flavor and texture. As with this pizza dough recipe, weighing your flour will give you the best results.
- Unsalted Butter: Cold butter is essential! The cold butter pieces create steam pockets as they melt in the oven, which gives you those flaky layers. Cut the butter into cubes and keep it chilled until you’re ready to use it. If you are using salted butter, reduce the amount of salt you add to the dough.
- Sour Cream: This is what makes rough puff pastry so easy! Sour cream adds tang and tenderness and helps bind the dough together. You can substitute full-fat Greek yogurt if needed.
- Baking Powder: Just a small amount helps give the pastry a little extra lift and lightness.
- Kosher Salt: Enhances the buttery flavor and balances the richness of the dough.
See the recipe card at the end of this post for full ingredient quantities.
Variations for Rough Puff Pastry
This versatile dough works beautifully in any recipe that calls for puff pastry. Here are some of my favorite ways to use it:
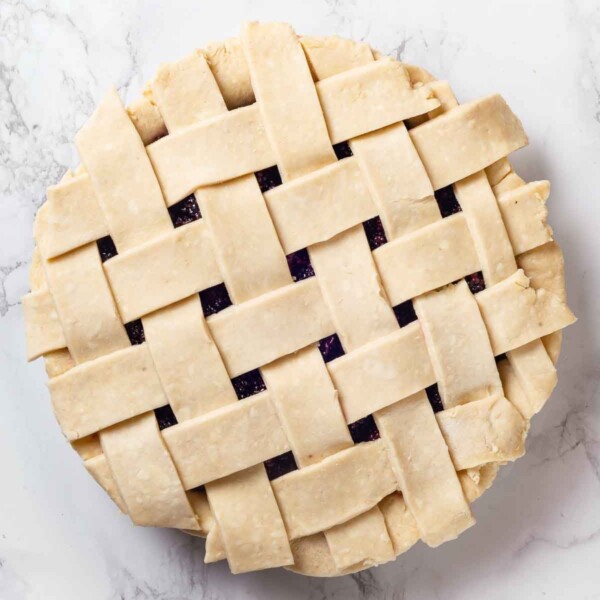
- Fruit Tarts: You can make an easy apple tart, a classic apple tarte tatin, or a puff pastry fruit tart!
- Puff pastry straws: Make them savory with these 5 ingredient cheese straws or sweet like these cinnamon sugar twists!
- Sweet or savory hand pies or sausage rolls. I never turn down these buffalo chicken hand pies!
- Palmiers and other quick breakfast pastries
- Pot pie crusts and savory tarts! Make this tomato tart with puff pastry!
Professional Tips
- Keep everything cold. Cold butter is the secret to flaky pastry. If your kitchen is warm, chill your bowl and even your rolling pin for 15 minutes before starting.
- Don’t overmix. Those butter chunks you see? They’re your friends! They’ll create steam pockets in the oven for maximum flakiness.
- Work quickly. The faster you can mix the dough and put it in the fridge, the better. If the butter starts to soften too much, it will incorporate into the flour instead of creating layers.
- Use it straight from the fridge. When assembling your pastries, work with cold dough. If it starts to get too soft while you’re working, chill it again before baking.
- Use the highest-quality butter you can afford or find! Since we’re using only a few ingredients, having good-quality ingredients is a major plus.
How to Make Rough Puff Pastry
Use these instructions to make perfect rough puff pastry at home! Further details and measurements can be found in the recipe card below.
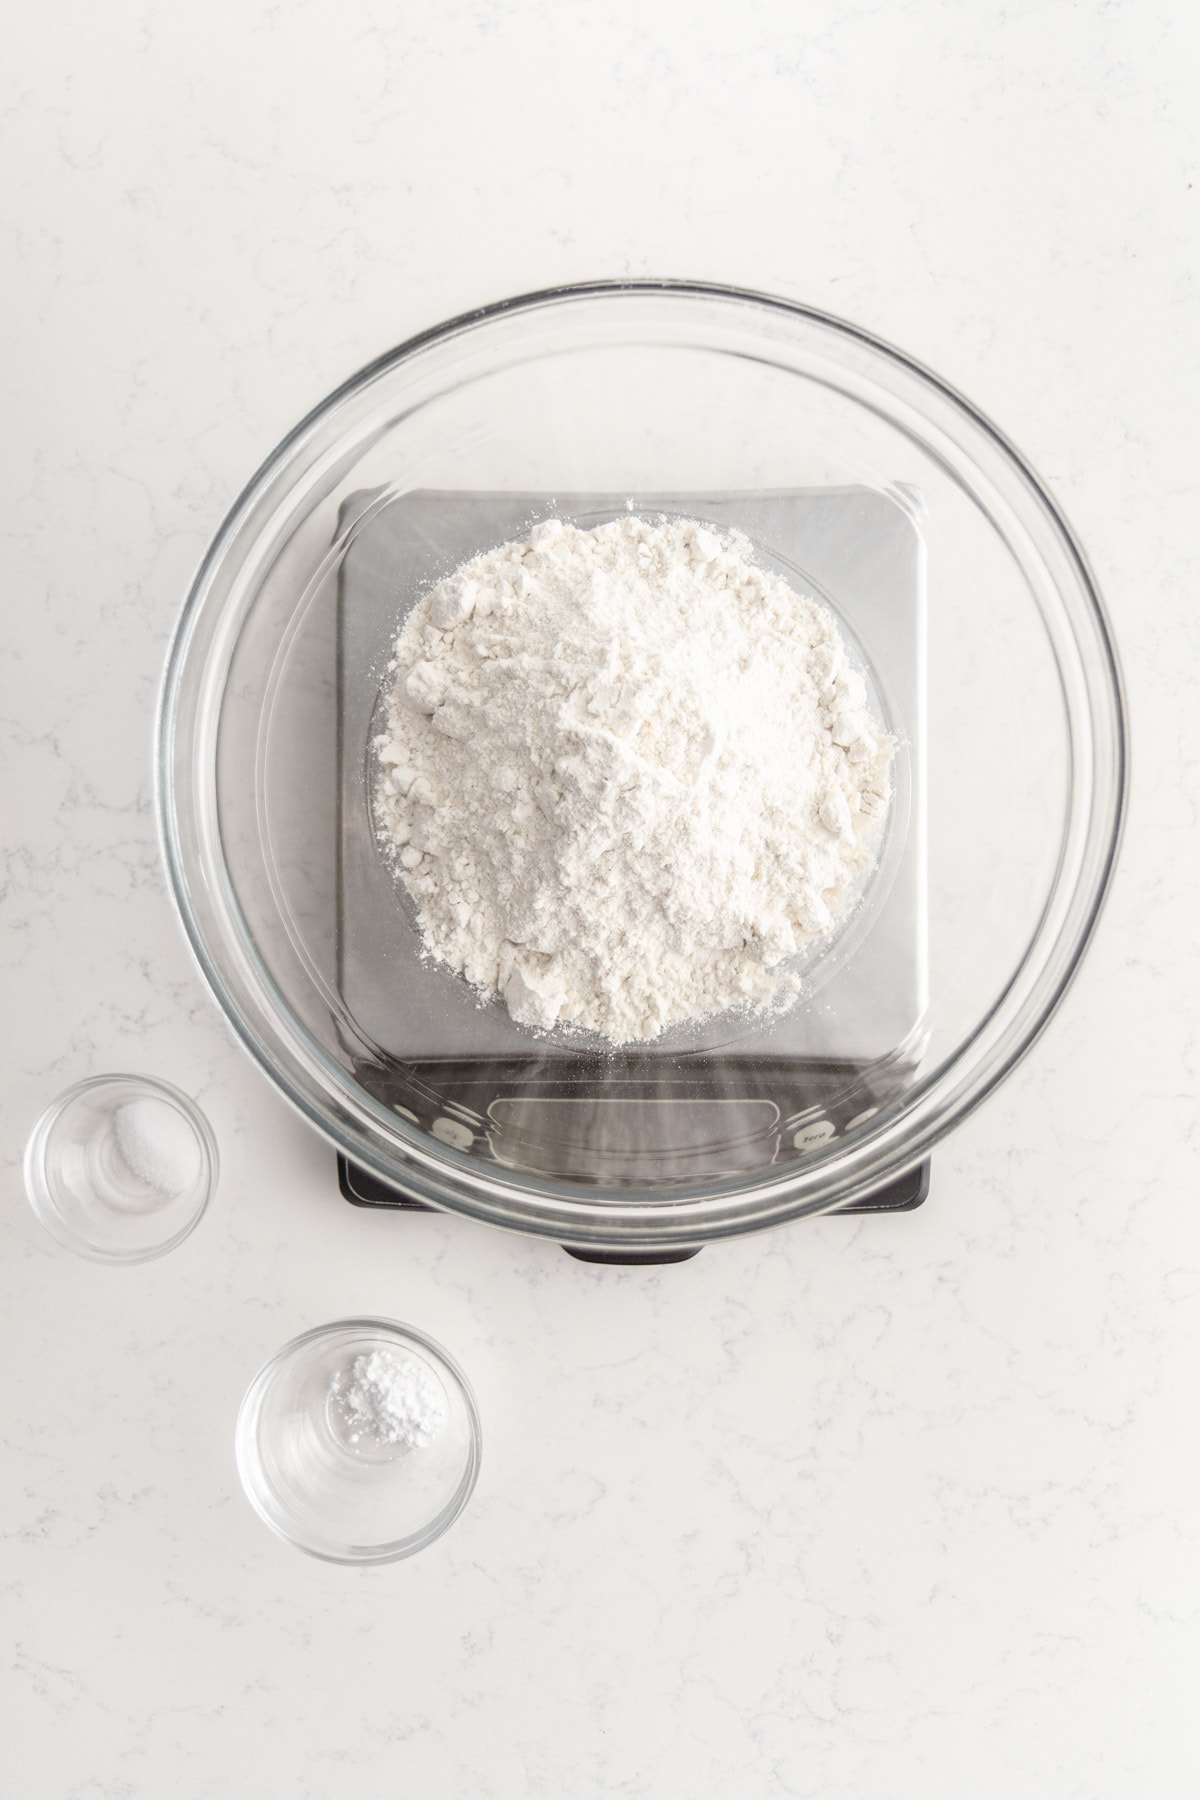
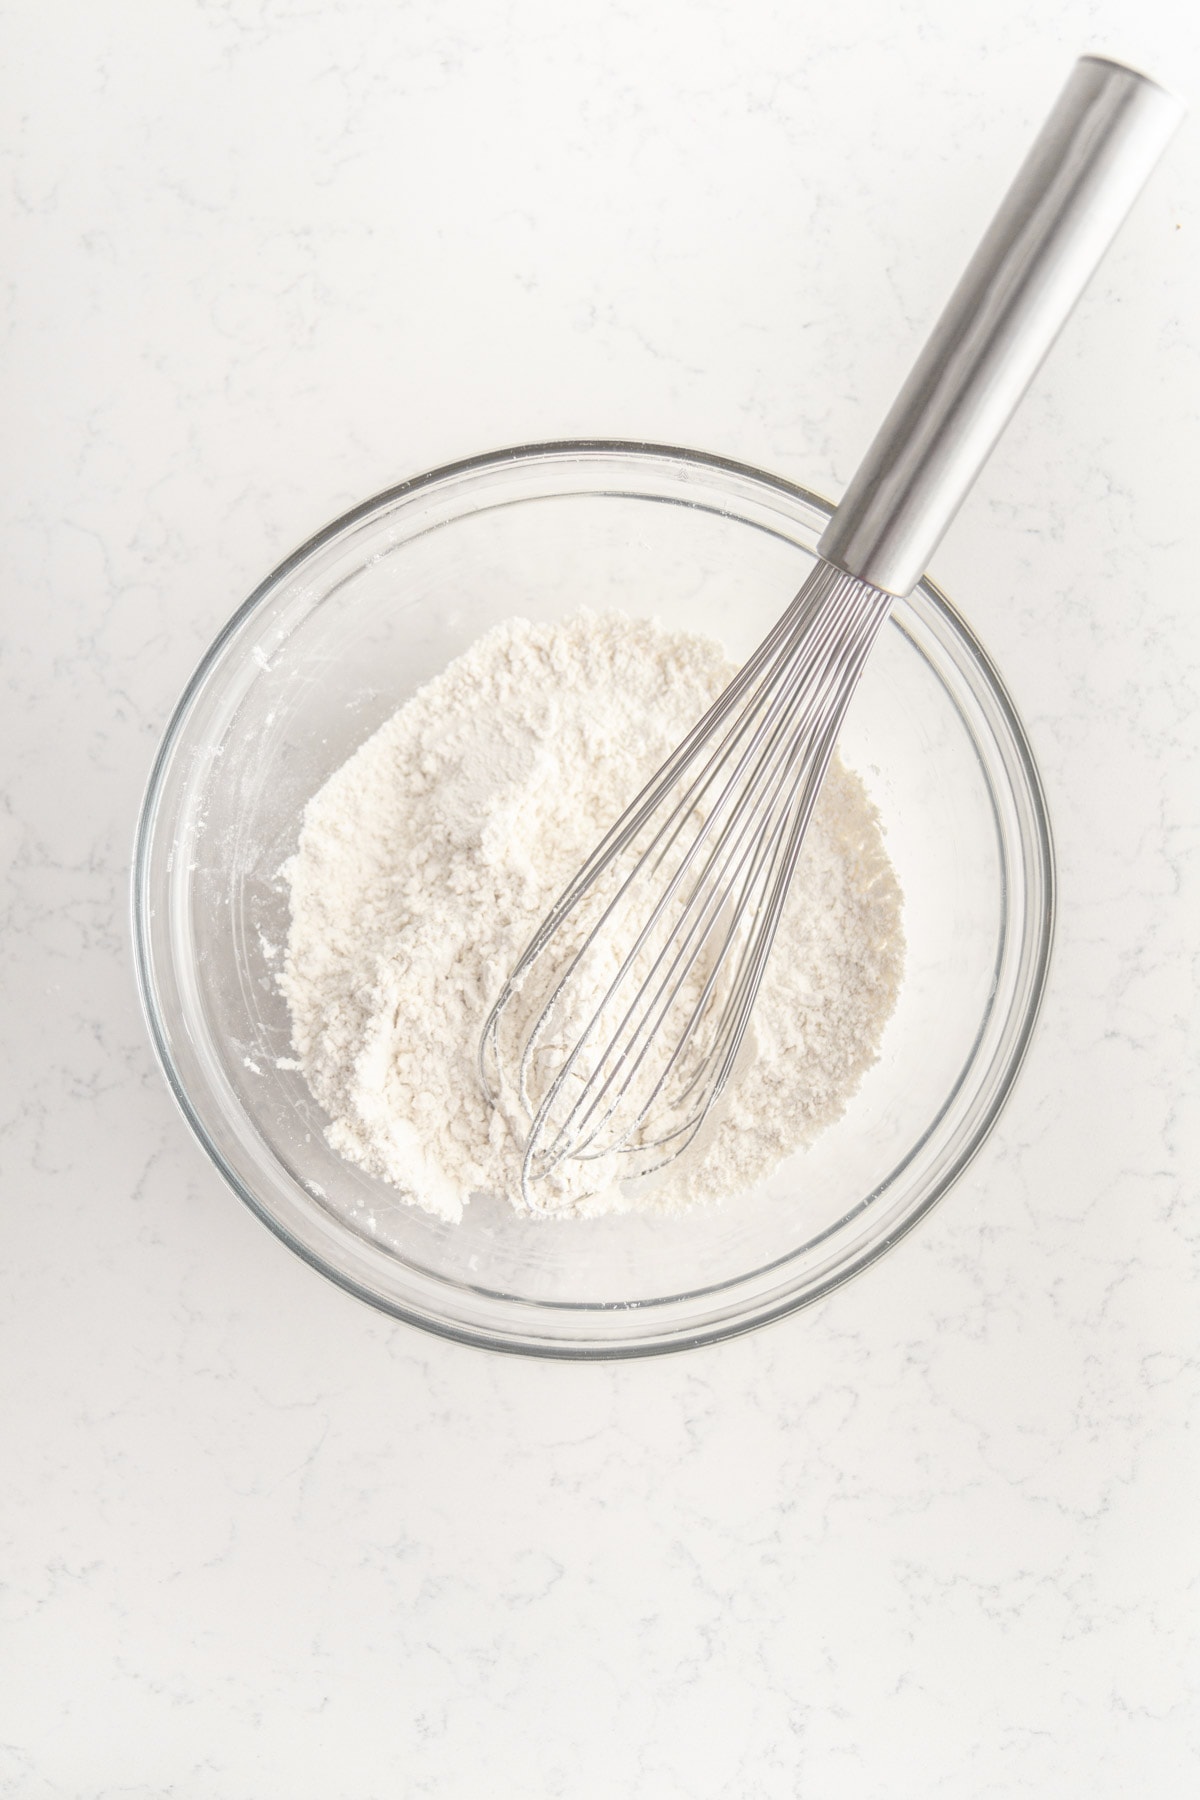
Step 1: Combine the Dry Ingredients: In a large bowl, whisk together the flour, baking powder, and salt.


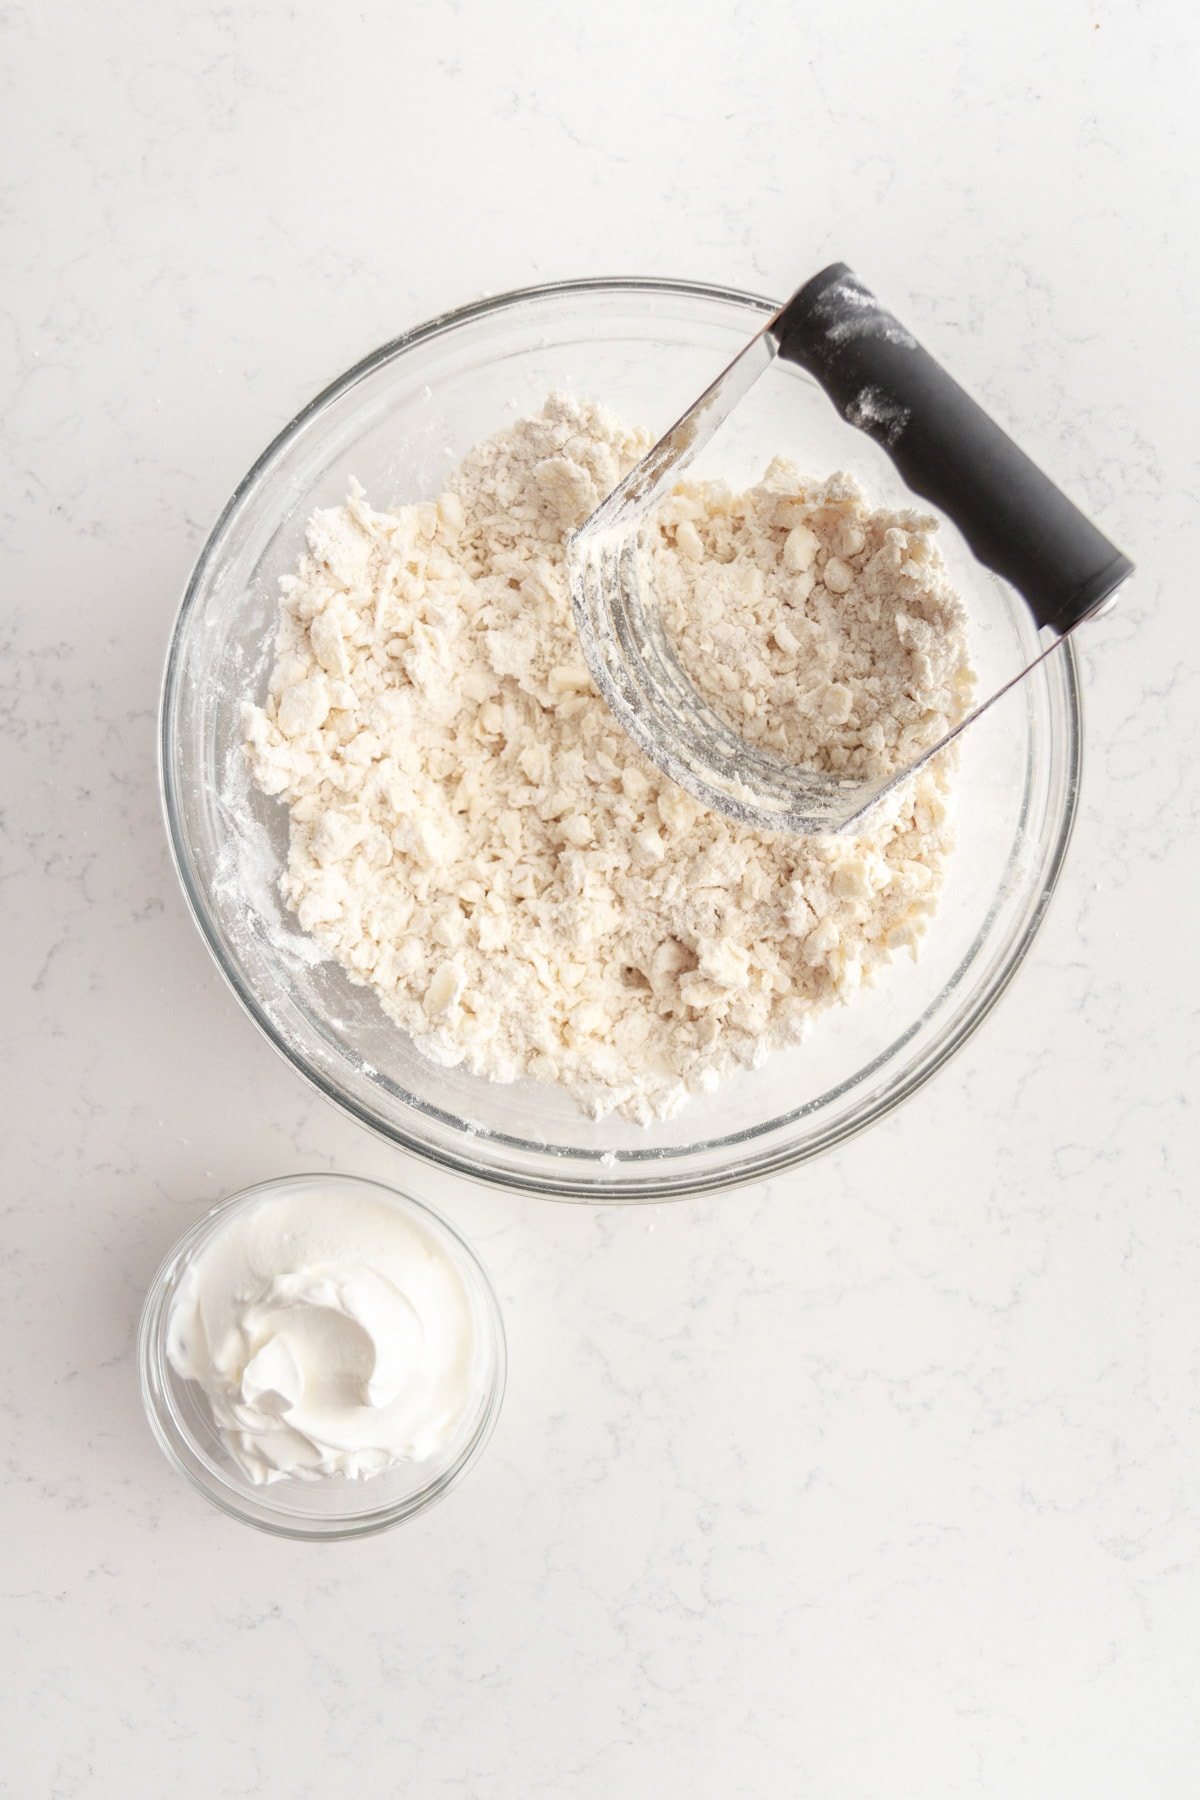
Step 2: Cut in the Butter: Use a pastry blender, fork, or your fingers to cut the cold butter into the flour mixture. Work quickly to keep the butter cold. You want the butter pieces to be about the size of large peas—some bigger chunks are fine! These chunks are what create those beautiful flaky layers, so don’t overmix.
This can also be done in a bowl of a stand mixer fitted with a paddle attachment. Just be careful not to overwork in the butter. We aren’t making the best strawberry shortcake.
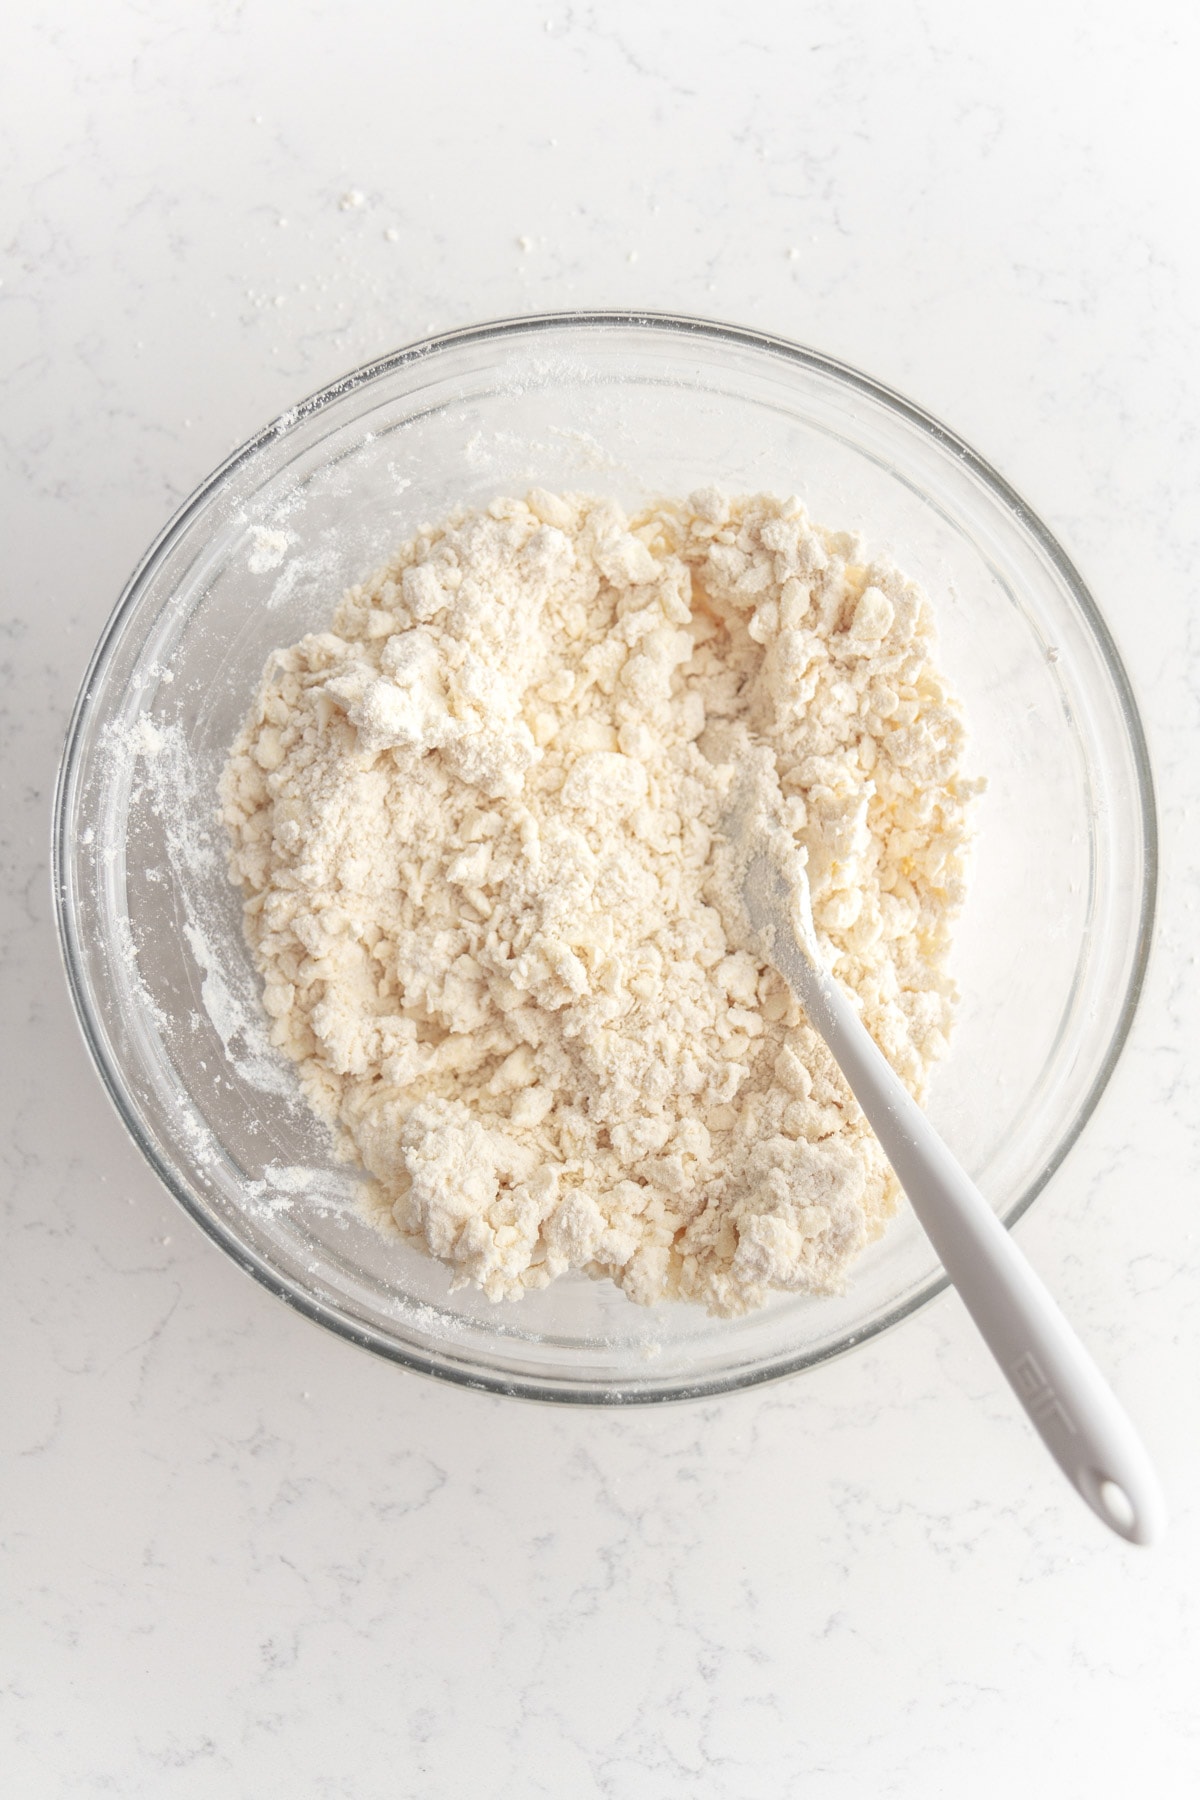
Step 3: Add the Sour Cream: Stir in the sour cream. The dough will still look crumbly at this point—that’s precisely what you want! Don’t worry if it doesn’t look like a cohesive dough yet.
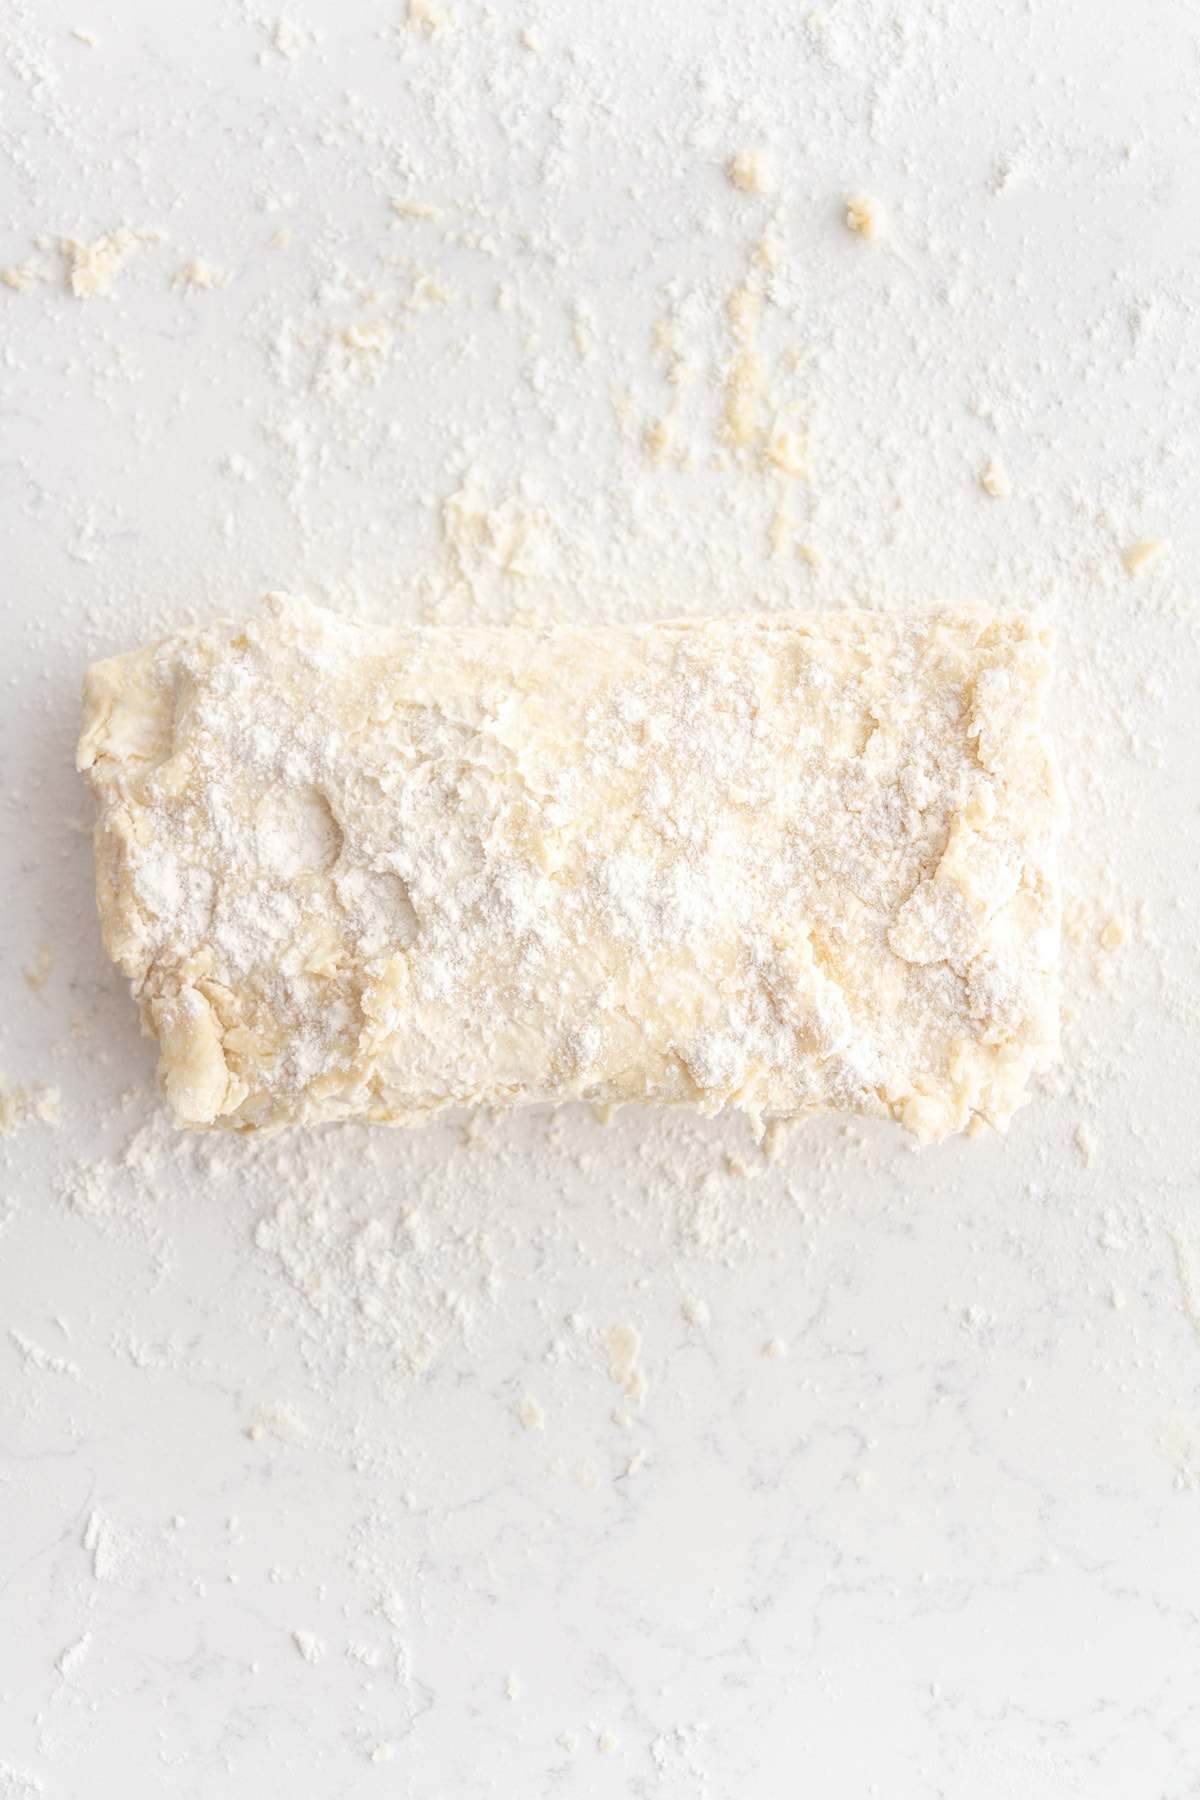
Step 4: Bring the Dough Together: Turn the mixture out onto a lightly floured work surface. Knead just until it comes together into a shaggy dough. Don’t overwork it! You want to see some of those butter streaks.

If you are working in a warm kitchen, I suggest chilling the dough at this stage for 30 minutes.
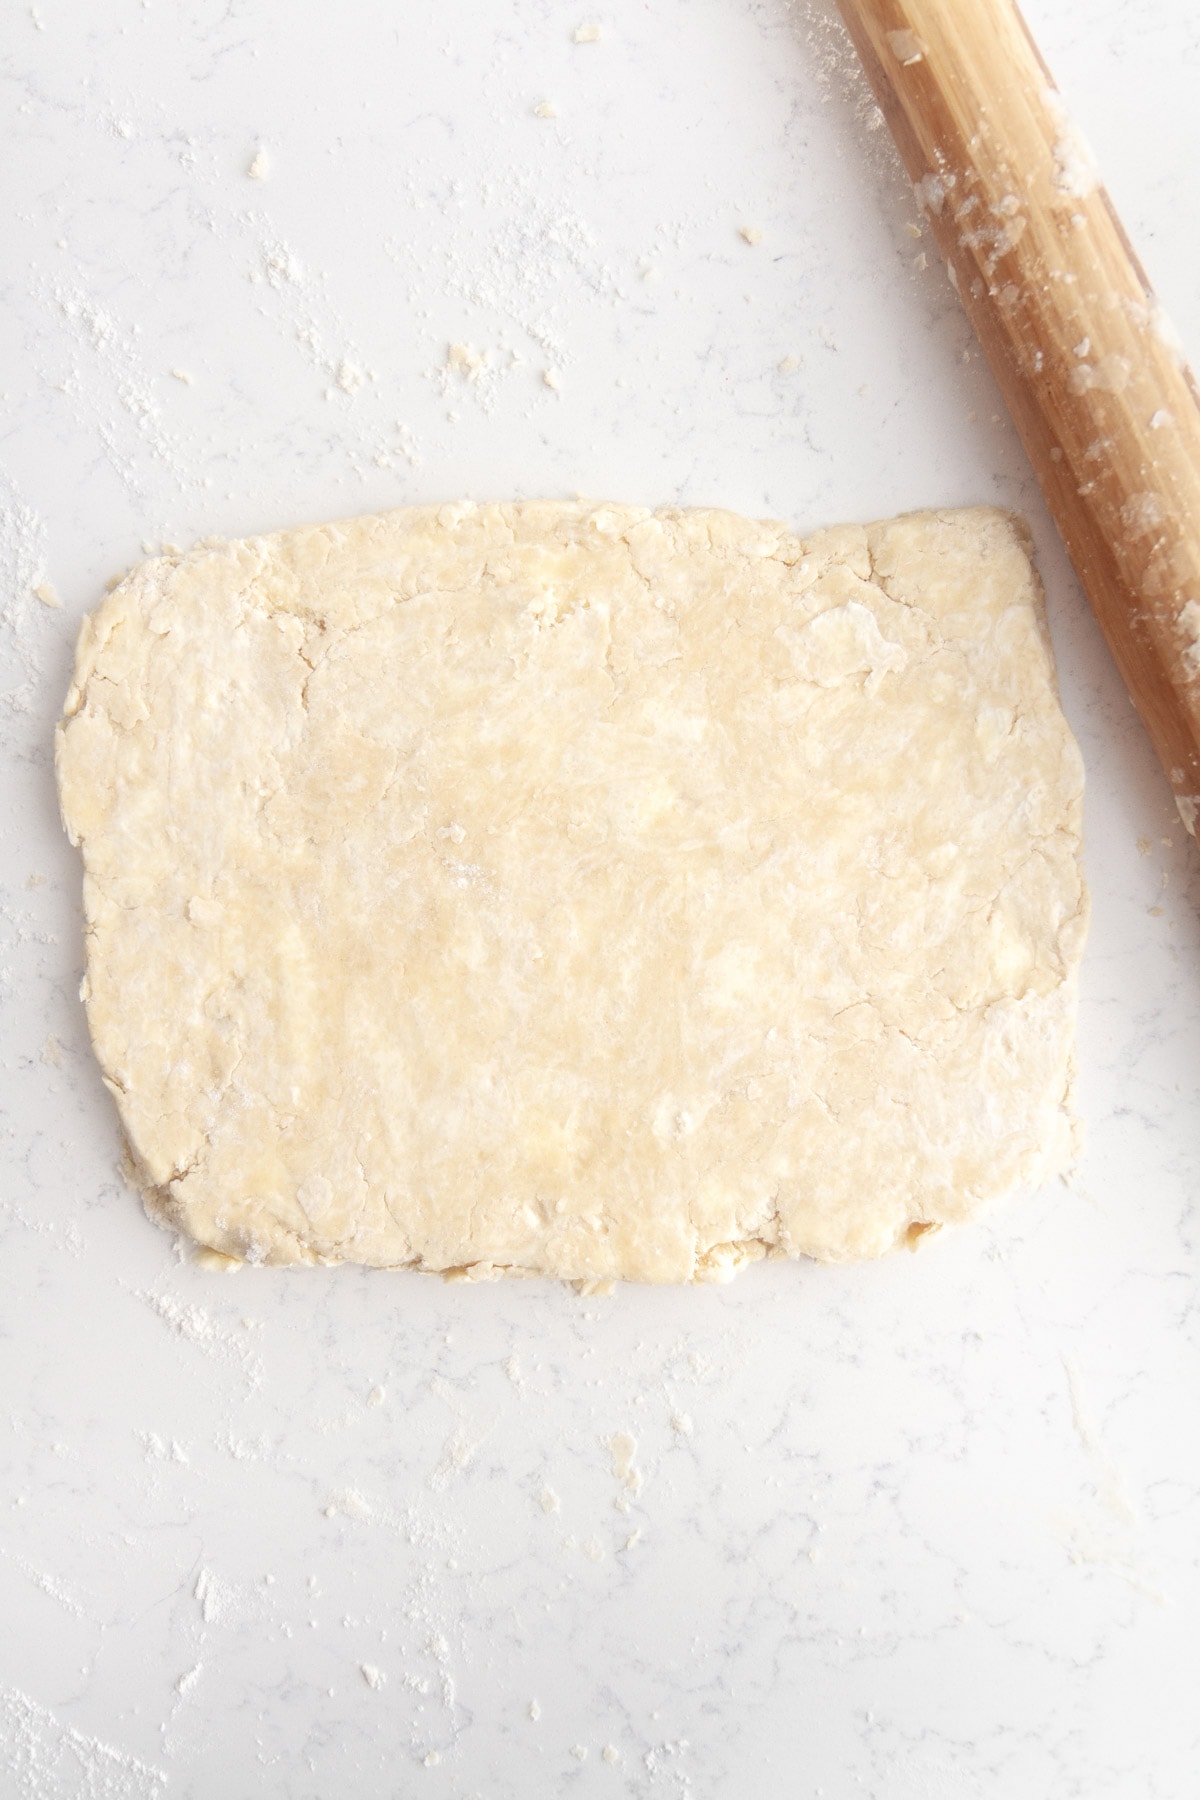
Step 5: Shape and Roll: Use your hands to roughly pat the dough into a log shape, then dust it lightly with flour. Roll it out into an 8×10-inch rectangle.
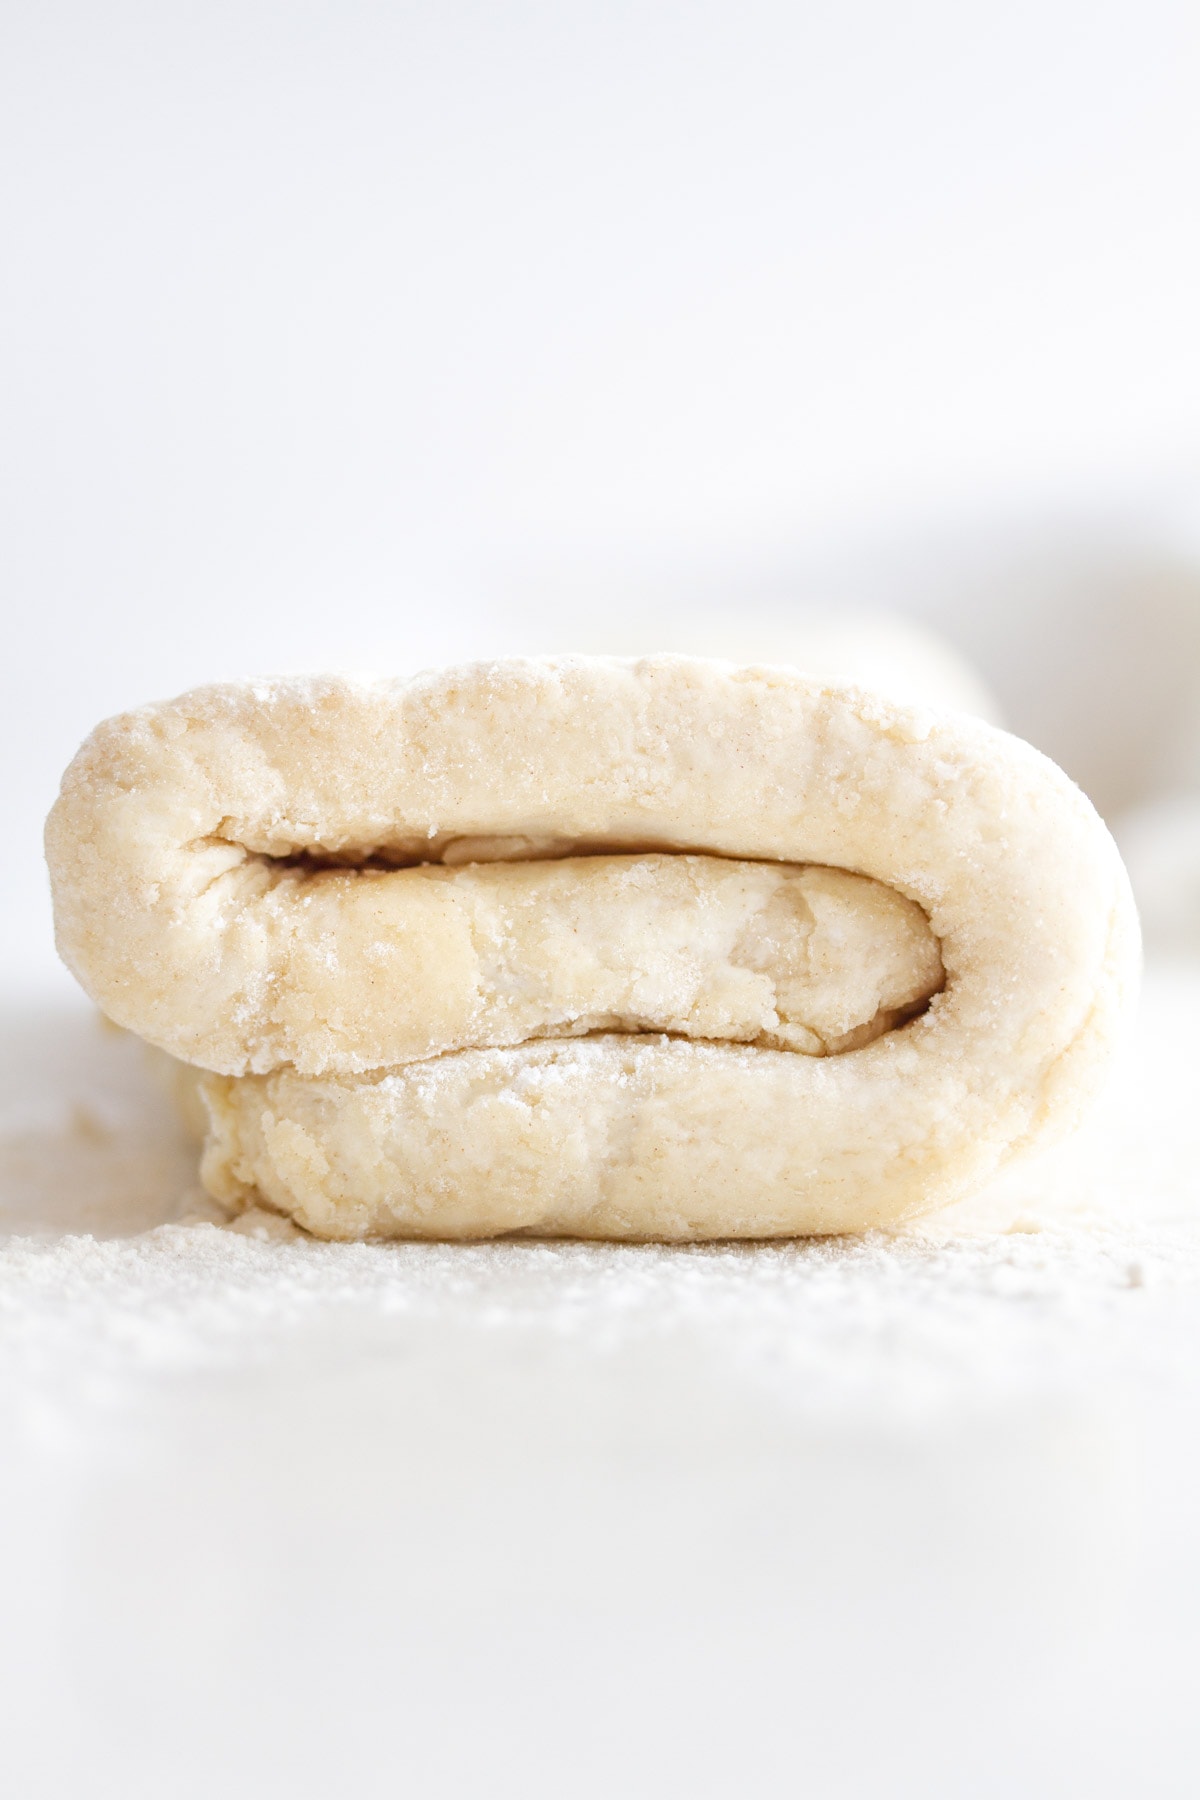
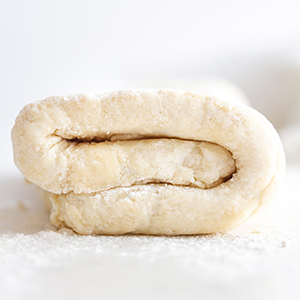
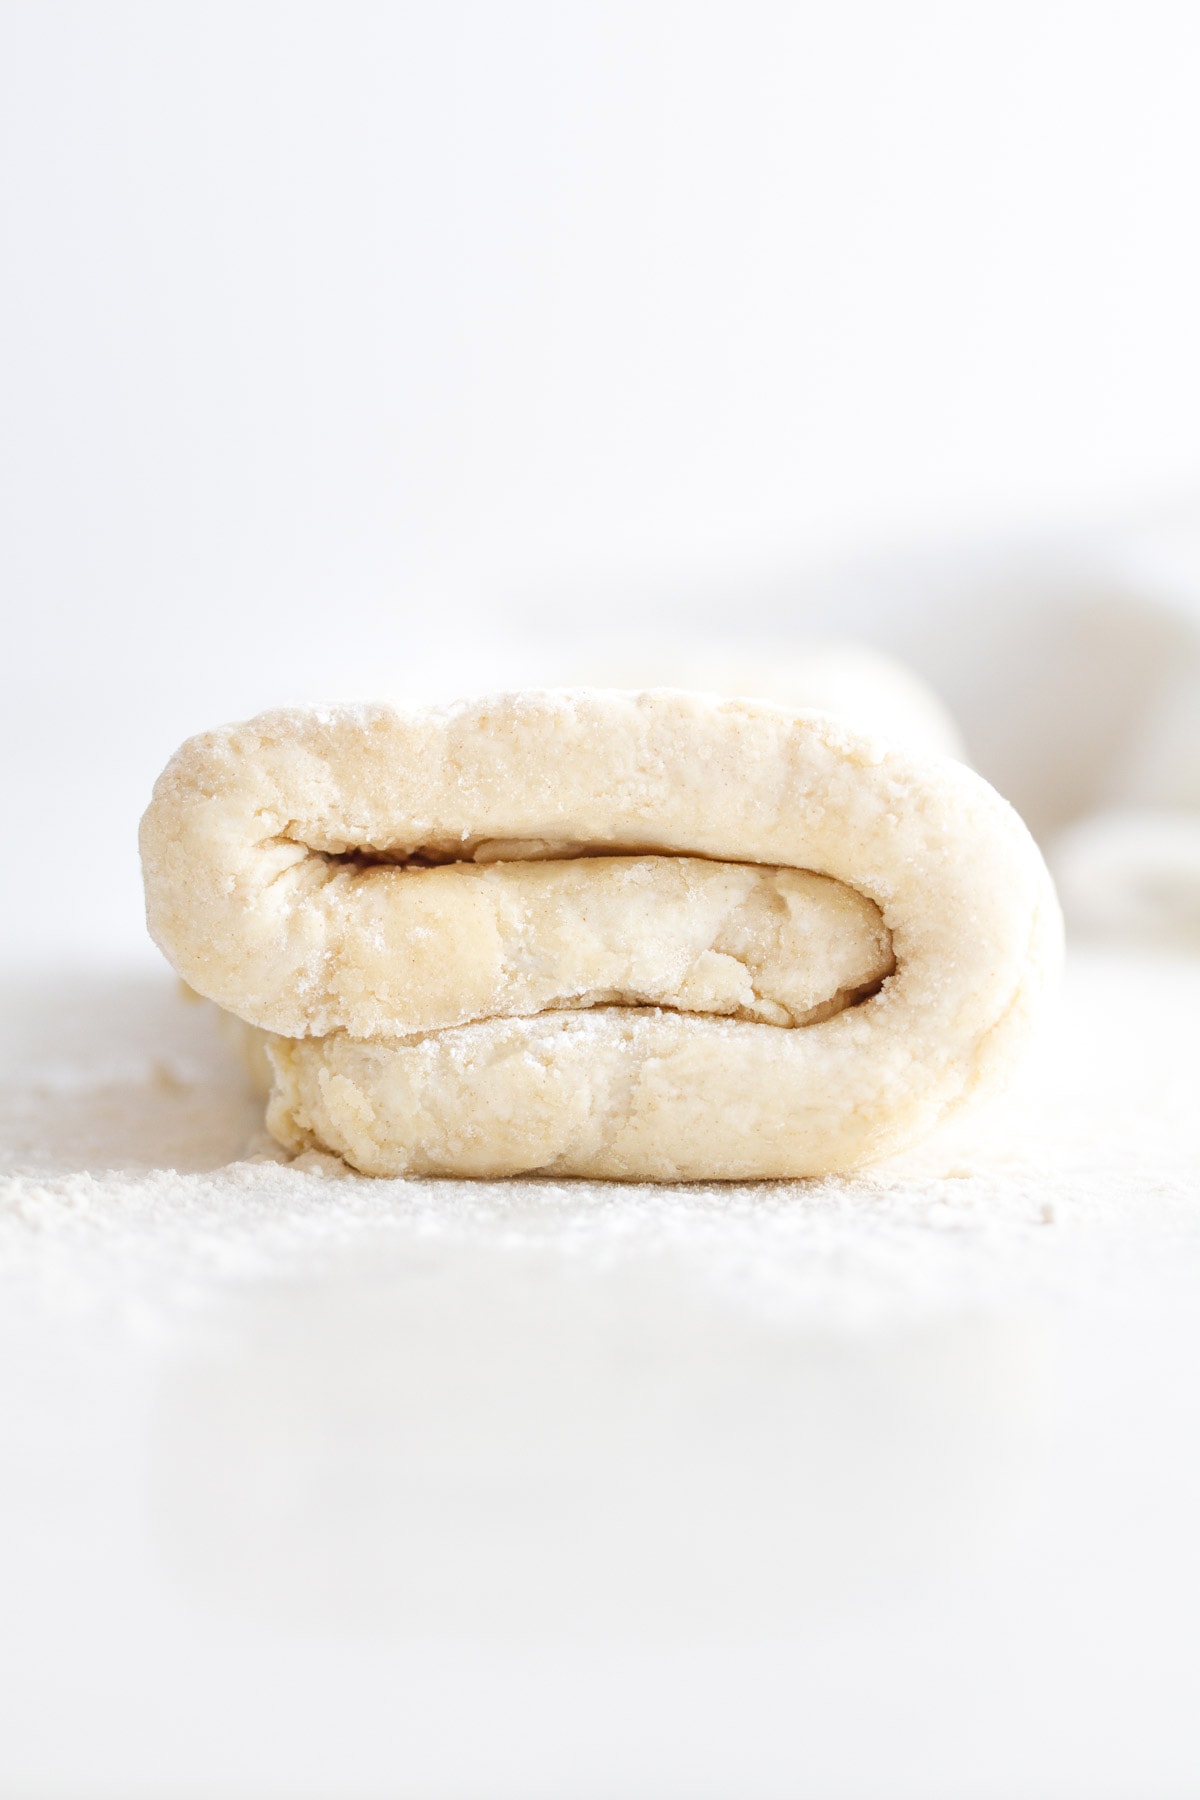
Step 6: Fold and Create Layers: Fold the dough into thirds like a business letter: fold the top third down, then fold the bottom third up. Rotate the dough 90 degrees (a quarter turn), dust with a little more flour if needed, and roll it out again into an 8×10-inch rectangle. Fold into thirds again.
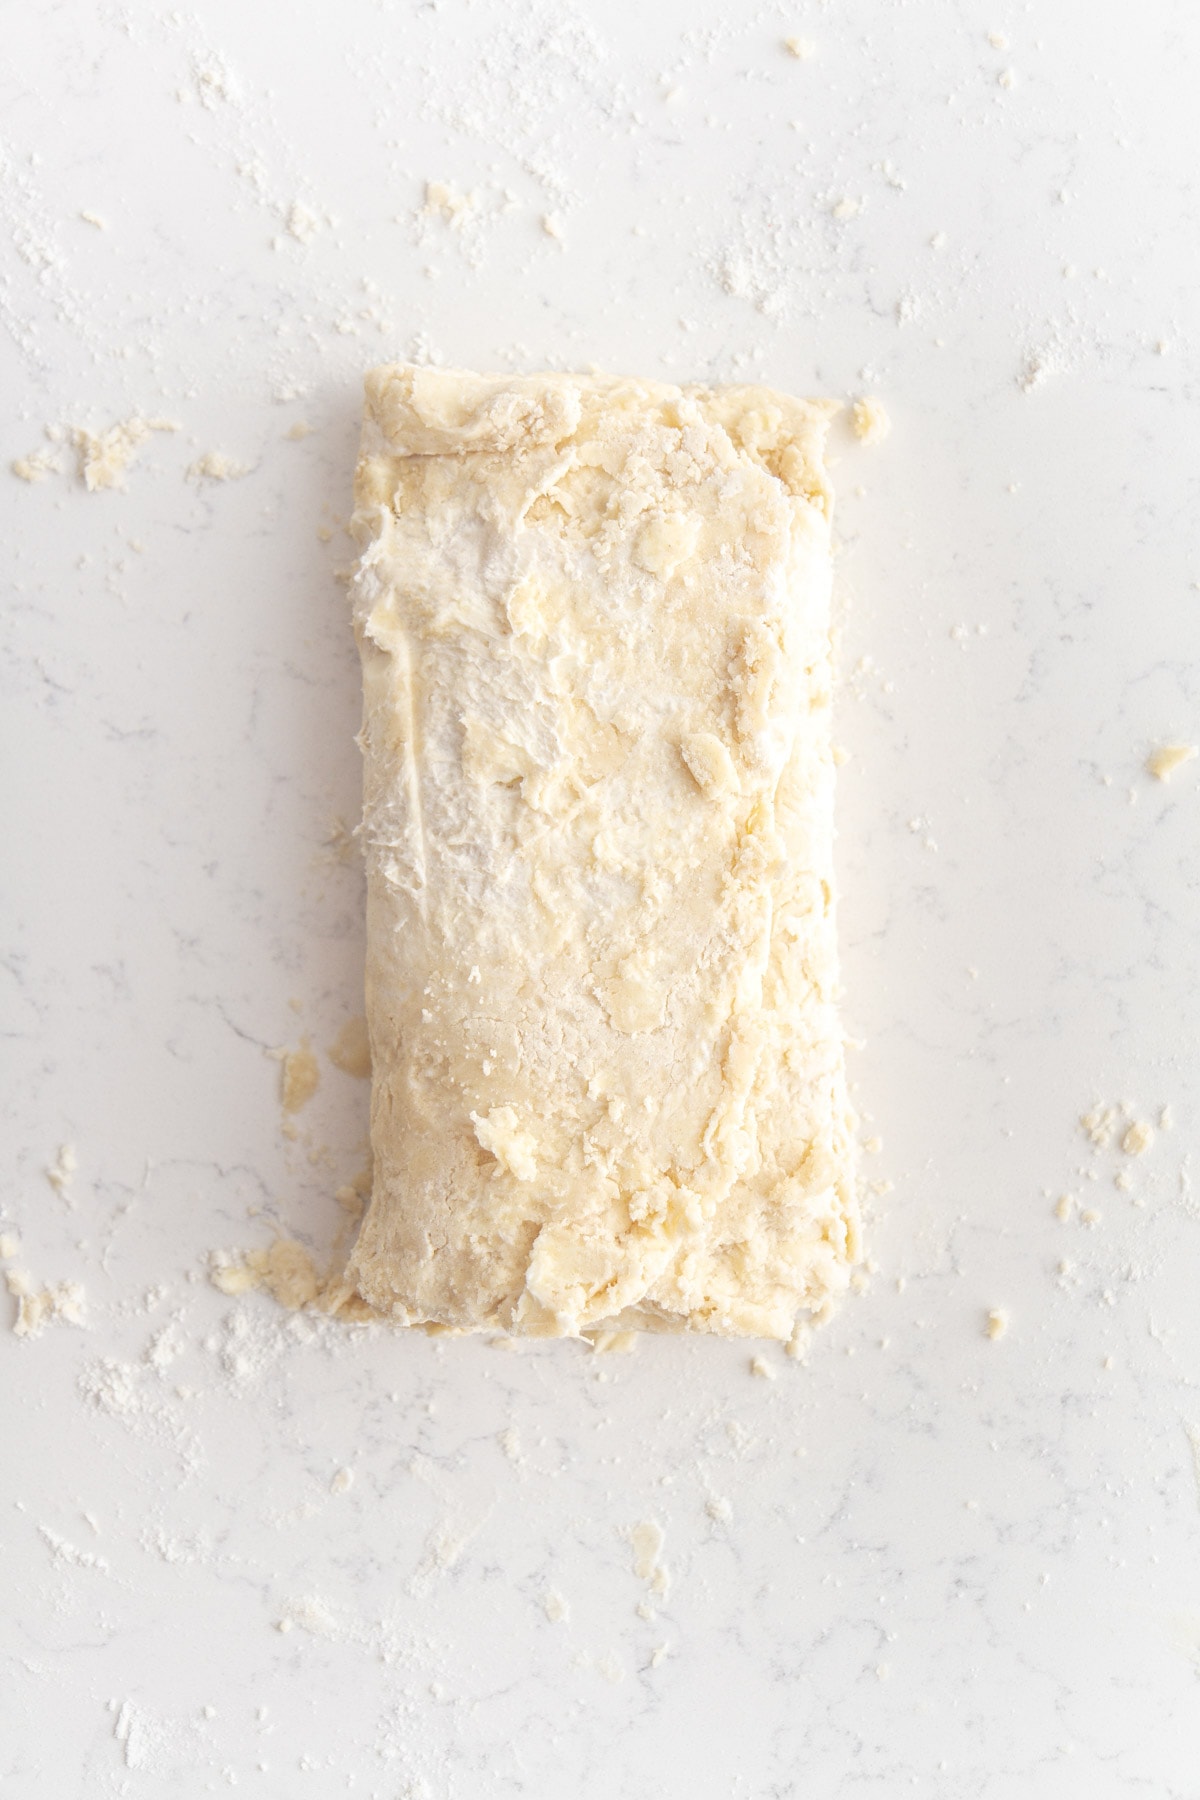
This folding process creates layers in the dough. If your dough looks pretty cohesive at this point, you’re done! If it’s still looking a bit rough with some floury bits, feel free to do one more round of rolling and folding.
Step 7: Chill the Dough: Wrap the dough tightly in plastic wrap and refrigerate on a cookie sheet for at least 30 minutes.
This rest time is crucial—it allows the gluten to relax and keeps the butter cold so your pastry will be flaky when baked. You can also freeze the dough at this point for up to 2 months!
Step 8: Use in Your Favorite Recipe: When you’re ready to use the dough, keep it as cold as possible while working with it. If it starts to warm up and get too soft, pop it back in the fridge for 10–15 minutes. Roll it out to the size needed for your recipe and get baking!
Recipe FAQs
Wrap the dough tightly in plastic wrap and store it in the refrigerator for up to 3 days. For longer storage, place in the freezer for up to 2 months. Thaw frozen dough overnight in the refrigerator before using.
While you can, I don’t recommend it. A food processor tends to cut the butter too finely, which means you’ll lose those important butter chunks that create the flaky layers. Stick with a pastry blender or your hands for best results.
If the dough is very sticky to work with, dust your work surface and rolling pin with more flour. You can also chill the dough for a few minutes to firm up the butter.
Full-fat Greek yogurt works as a substitute. Avoid using low-fat or non-fat versions as they won’t provide enough richness for tender pastry.
Recommended Pastry Recipes

Pies & Tarts
Pies & Tarts
Pies & Tarts

Lunch & Dinners
If you enjoyed this recipe, please leave a star rating and let me know how it goes in the comments below! I love hearing from you and your comments make my day!
Rough Puff Pastry

Ingredients
- 2 cups unbleached all-purpose flour
- ½ teaspoon baking powder
- ½ teaspoon kosher salt
- 1 cup unsalted butter, cold , cut into ¼ inch slices
- ½ cup sour cream
Instructions
- In a large bowl, whisk together the flour, baking powder, and salt.
- Use a pastry blender, fork, or your fingers to cut the cold butter into the flour mixture. Work quickly to keep the butter cold. You want the butter pieces to be about the size of large peas—some bigger chunks are fine! These chunks are what create those beautiful flaky layers, so don't overmix.
- Stir in the sour cream. The dough will still look crumbly at this point—that's precisely what you want! Don't worry if it doesn't look like a cohesive dough yet.
- Turn the mixture out onto a well-floured surface. Knead just until it comes together into a cohesive dough. Don't overwork it! You want to see some of those butter streaks.
- Use your hands to roughly pat the dough into a log shape, then dust it lightly with flour. Roll it out into an 8×10-inch rectangle.
- Fold the dough into thirds like a business letter: fold the top third down, then fold the bottom third up. Rotate the dough 90 degrees (a quarter turn), dust with a little more flour if needed, and roll it out again into an 8×10-inch rectangle. Fold into thirds again.
- Wrap the dough tightly in plastic wrap and refrigerate for at least 30 minutes.
- When you're ready to use the dough, keep it as cold as possible while working with it. If it starts to warm up and get too soft, pop it back in the fridge for 10-15 minutes. Roll it out to the size needed for your recipe and get baking!
Notes
Nutrition
Nutrition information is automatically calculated, so should only be used as an approximation.
 Like this recipe? Rate & comment below!
Before You Go
I hope you enjoyed this French pastry recipe. Check out our other delicious pies and tarts recipes for easy homemade doughs like this easy pie crust recipe that you can fill with this apple pie filling recipe!

This recipe is absolutely perfect! The pastry turned out so flaky and buttery. I used it for apple turnovers, and they were better than any bakery’s. Can’t wait to make it again!
My father-in-law’s favorite dessert is a napoleon, and that’s what he wanted for his birthday. I was having a hard time deciding whether to buy the puff pastry or make it myself. I’m glad I made it. Your recipe is pretty easy, and the puff was crisp and buttery!
Have you tried making this gluten free?
sensationnel!
Hi,
Could I use Greek yoghurt instead of sour cream?
Thanks!
Maja
Maja, Great question! I have not tested this recipe with Greek yogurt but I am guessing it would work. If you try it, let me know how it turns out!
Given that you don’t know what you will be able to find at the store…well, I couldn’t find puff pastry for beef wellington. So, I used this even though it had no comments.
It was so easy! Why WHY have I not been making this myself? I live in a warm climate, so I should have refrigerated at least an hour or two, but it was fine. It was buttery and flaky and perfect! I will definitely be making this again.