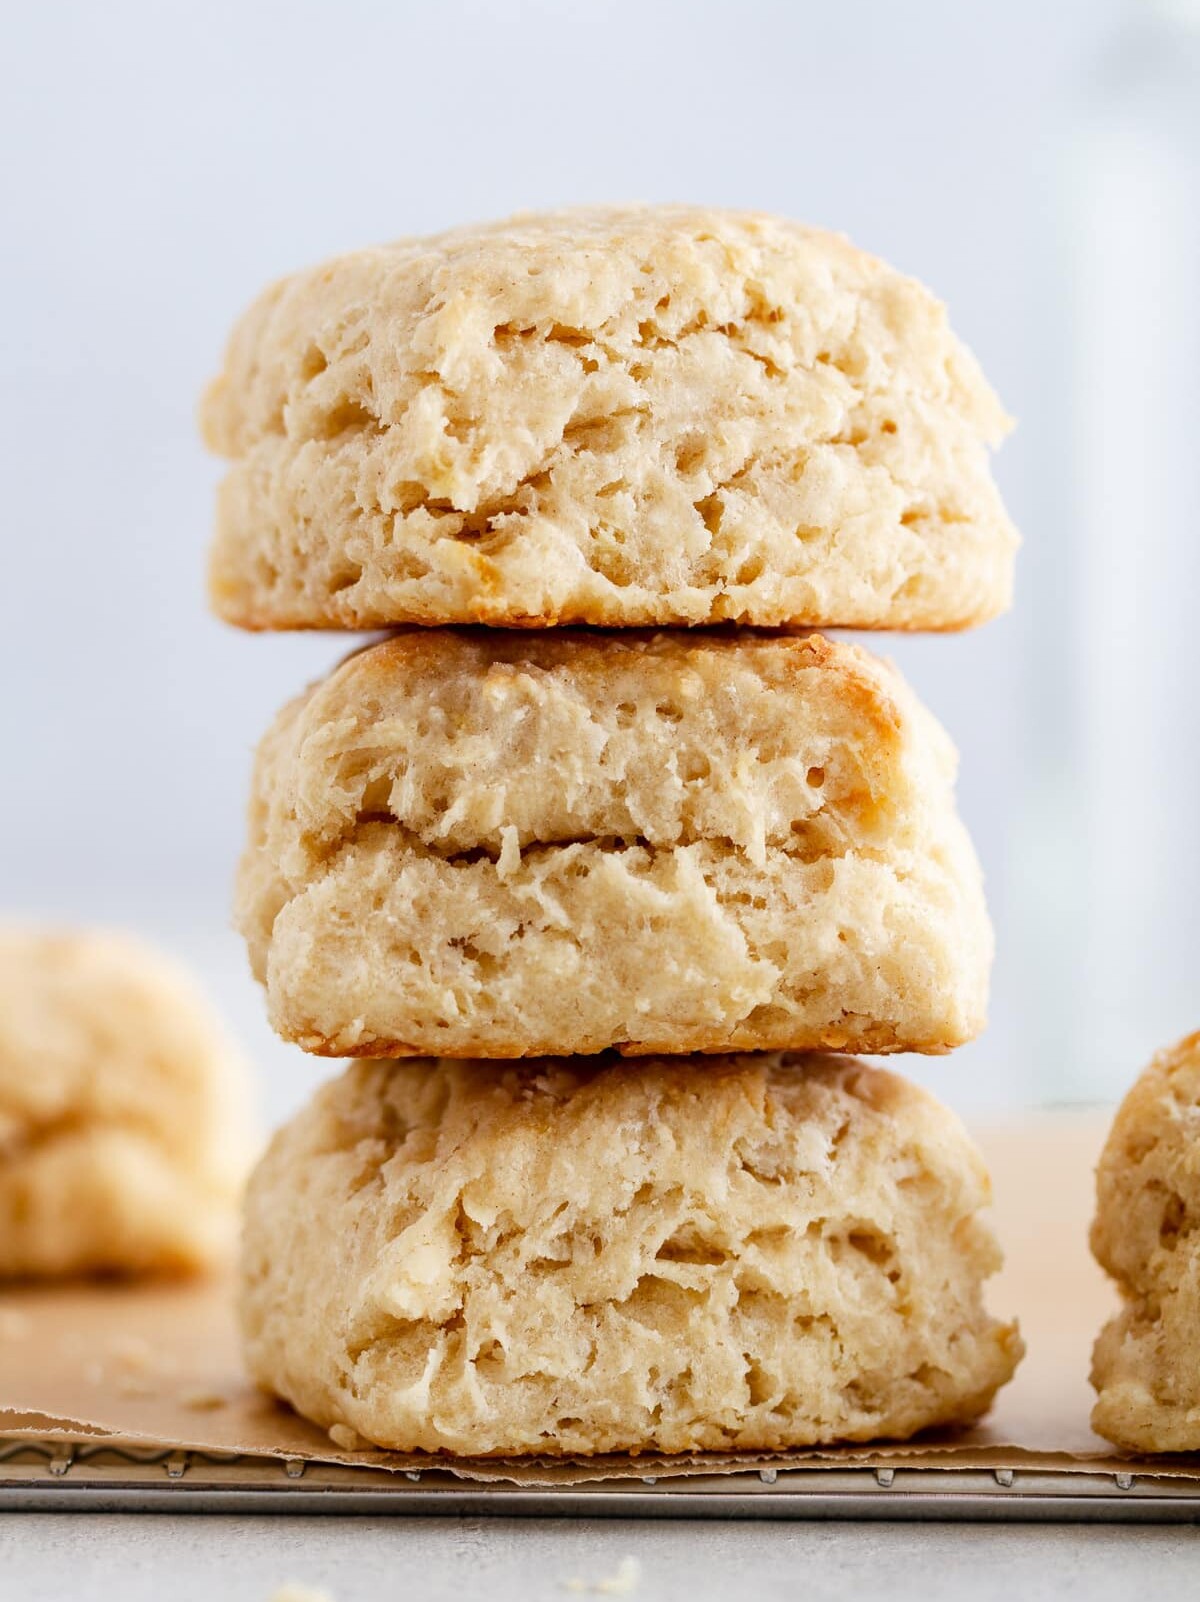
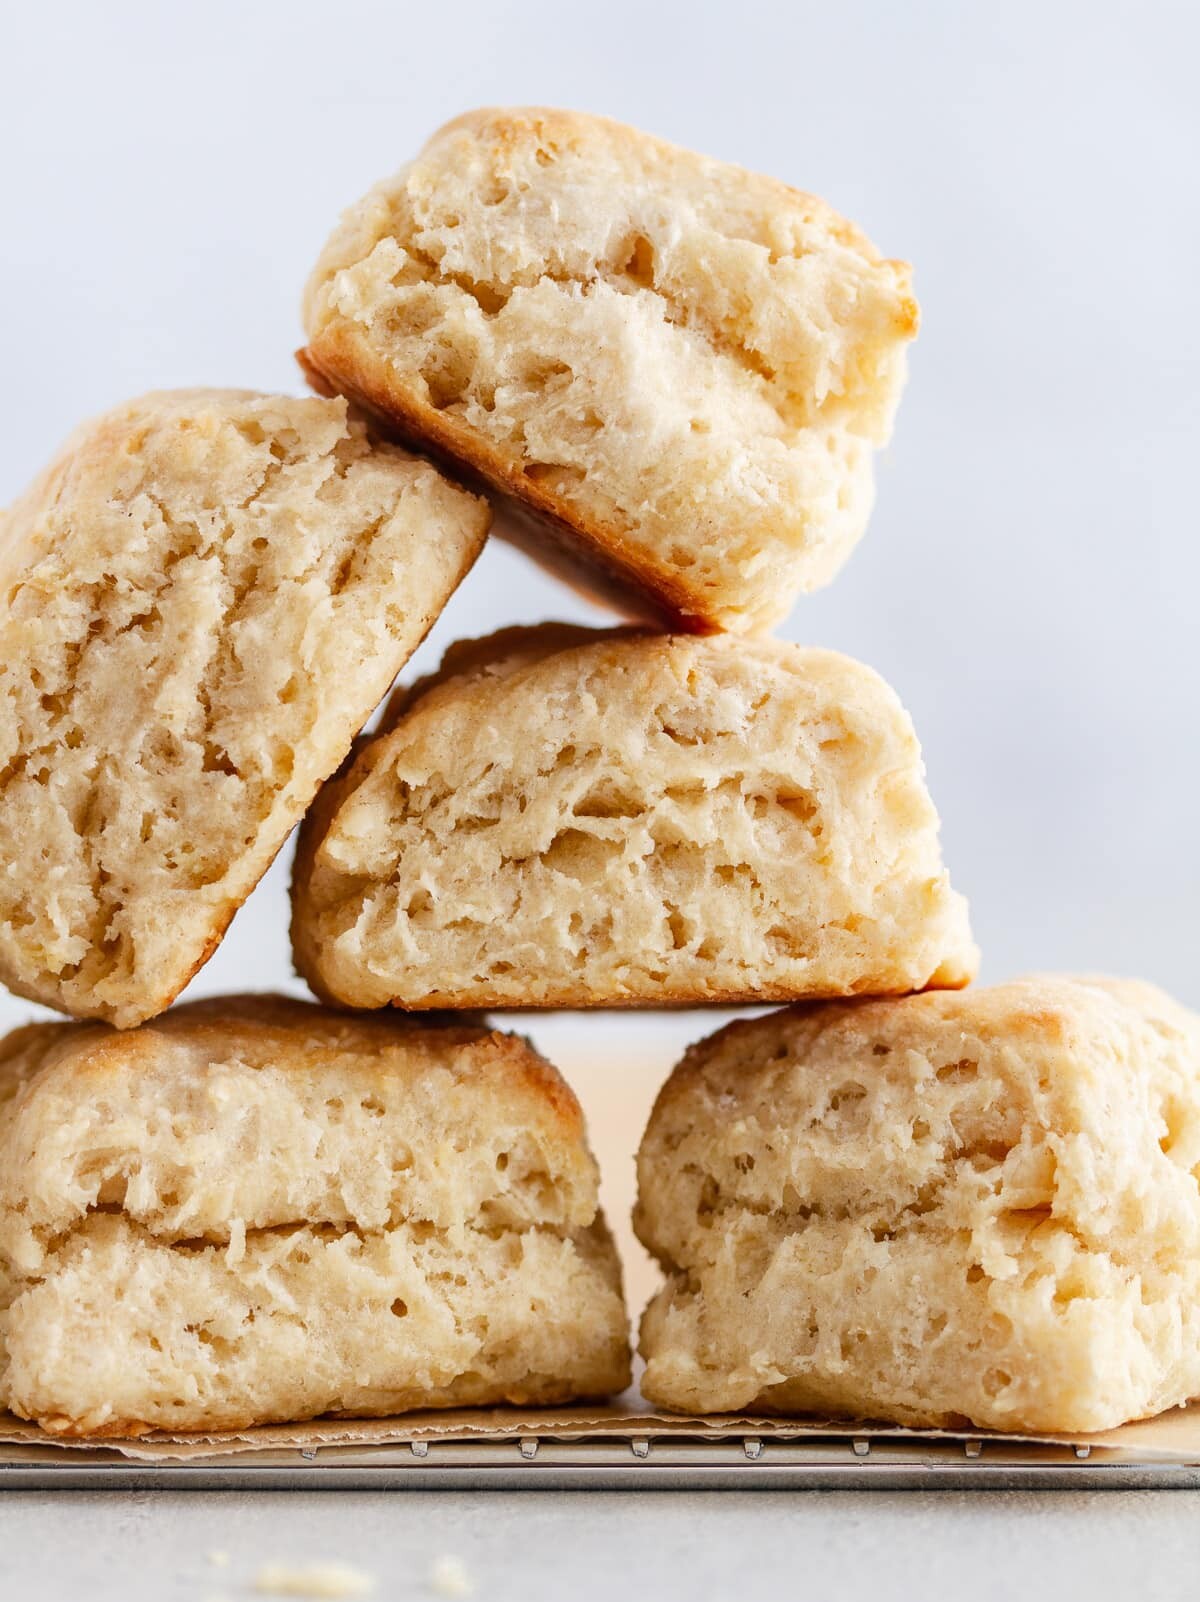
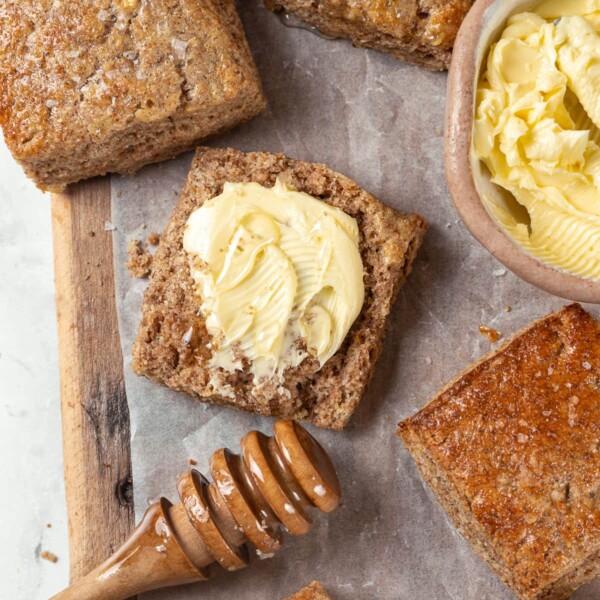
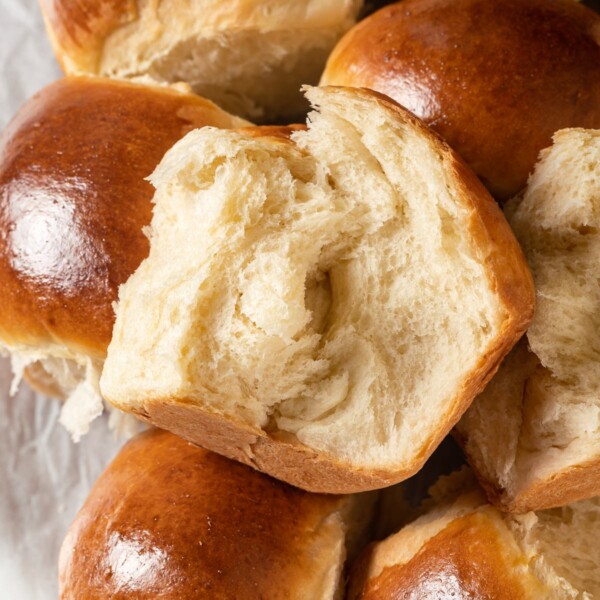
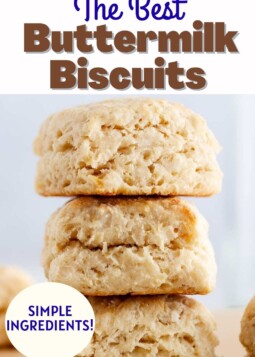
This Best Buttermilk Biscuits Recipe makes tall, flaky biscuits with frozen grated butter. Mixed by hand with simple ingredients for tender layers every time!
A Quick Look At The Recipe
This is a brief summary of the recipe. Jump to the recipe to get the full details.
Prep Time
20 minutes
Cook Time
12 minutes
Chill Time
10 minutes
Total Time
42 minutes
Servings
12 biscuits
Difficulty
Easy
Calories *
135 kcal per serving
Technique
Grate frozen butter, mix dough, roll, cut, chill and bake.
Flavor Profile
Buttery, tangy, flaky with a tender crumb.
* Based on nutrition panel
I’ve tried so many biscuit recipes, and these are hands down the best! The grated butter trick is genius, my biscuits were sky-high and so flaky. Even my Southern mother-in-law asked for the recipe. Making these every weekend now! ⭐⭐⭐⭐⭐
Lauren
Why You’ll Love This Recipe
- The grated butter technique. Grating frozen butter creates tiny pockets and ribbons throughout each biscuit, resulting in incredible flakiness without the work of laminating dough.
- Foolproof results every time. Cold ingredients, minimal handling, and a quick freezer rest guarantee tall, tender biscuits.
- Versatile beyond breakfast. These work beautifully for breakfast sandwiches, biscuits and gravy, shortcakes, or alongside dinner.
- Simple ingredients you have on hand!
Table of Contents
Growing up, I had too many dry, crumbly biscuits that left nothing but the taste of flour in my mouth. But I knew there had to be a way to create the flakiest, fluffiest, best buttermilk biscuits. After testing countless techniques, I finally cracked the code for the best buttermilk biscuits with grated frozen butter!
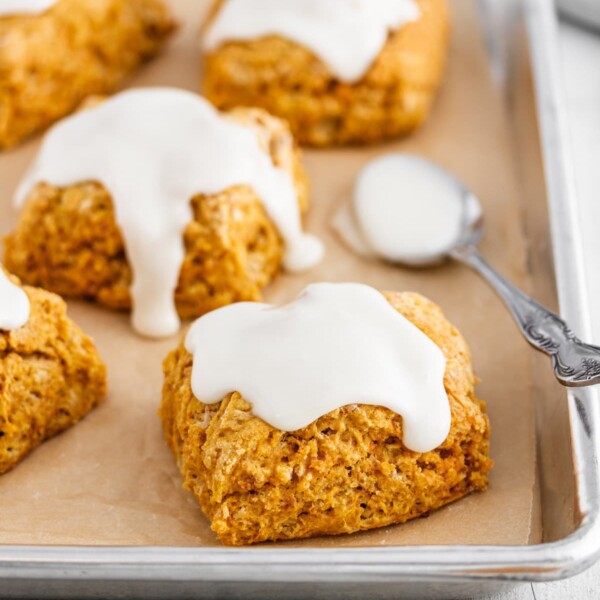
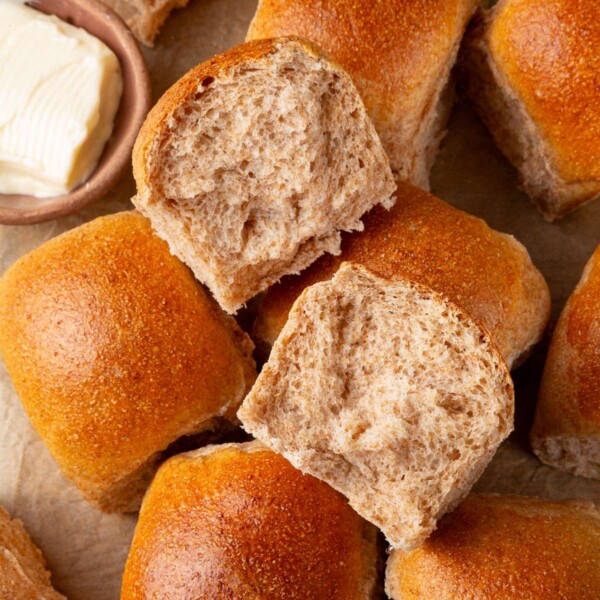
Let these buttermilk biscuits just be the beginning of your journey! There are so many fun and exciting ways to eat and flavor biscuits! Be sure to try these buttermilk ranch biscuits or sweet potato biscuits with marshmallow icing! If you love soft, buttery breads, these biscuits sit right alongside my dinner rolls recipe as an everyday staple.
Ingredients & Substitutions
- All-Purpose Flour: All-purpose flour creates tender biscuits. If you are looking for a gluten-free option, you can try these gluten free biscuits with gravy.
- Baking Powder & Baking Soda
- Kosher Salt
- Unsalted Butter: Frozen is best. Grating it keeps those butter pockets intact. If you only have refrigerated butter, freeze it for 15 minutes first.
- Buttermilk: Cold from the fridge. The acidity tenderizes the biscuits and adds that signature tang. If you have extra buttermilk, try easy buttermilk pot bread next!
Variations
- Add some herbs! Take inspiration from this rosemary bread or this hoagie bun recipe and add chopped fresh herbs such as rosemary, thyme, chives, or even dried Italian seasoning.
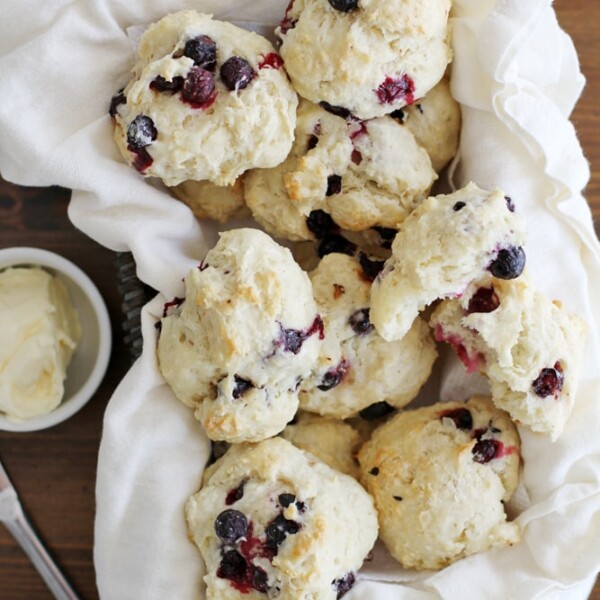
- Add some fruit. You can add little pockets of sweetness with dried cherries, strawberries, or cranberries. If you are looking to add fresh fruit, try these blueberry drop biscuits.
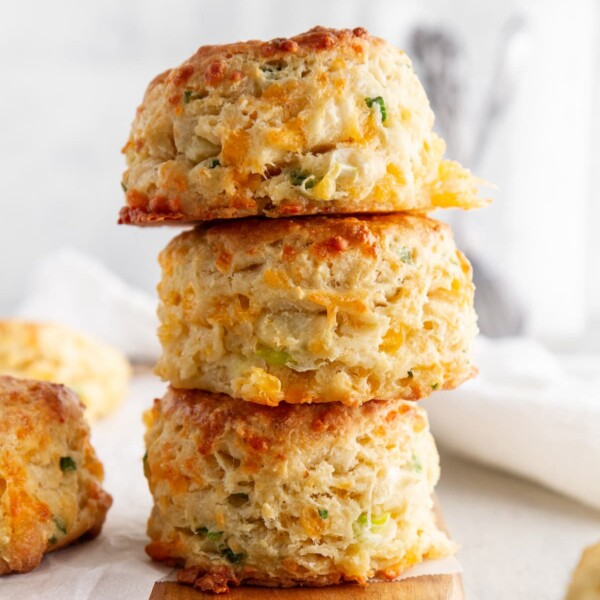
- Make them cheesy: Add shredded sharp cheddar, like this cheddar biscuit recipe, or parmesan cheese when you mix in the butter. You can even use them as a quick topper for chili pot pie!
- Top with some flavor. Top the biscuits with heavy cream or an egg wash before baking and top with this everything bagel seasoning!
Professional Tips
- Keep everything cold. As with rough puff pastry, cold ingredients create flaky layers! Frozen butter, cold buttermilk, and even freezing the shaped biscuits for 10 minutes help create tall, flaky layers.
- Don’t overmix. Stir just until the dough comes together. Overworking develops gluten and makes tough biscuits.
- Use a sharp knife or bench scraper to cut the dough. A dull knife or twisting a biscuit cutter can cause the edges to seal and prevent them from reaching their maximum rise.
How to Make the Best Buttermilk Biscuits
Use these instructions to make these perfectly flaky homemade buttermilk biscuits! Further details and measurements can be found in the recipe card below.
Step 1: Preheat the oven to 450°F and grease the bottom of a baking sheet with butter or line it with parchment paper.
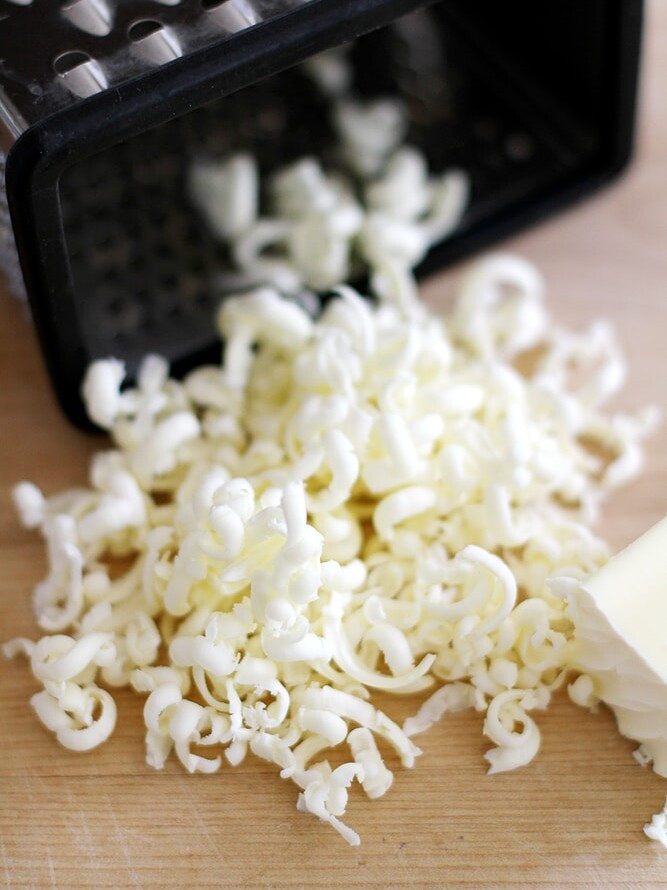
Step 2: Prep the butter. Grate frozen butter into a small bowl using a box grater. Place the bowl in the freezer while you prep the other ingredients (photo 1).
You can also use cold butter from the fridge, cut into small squares.
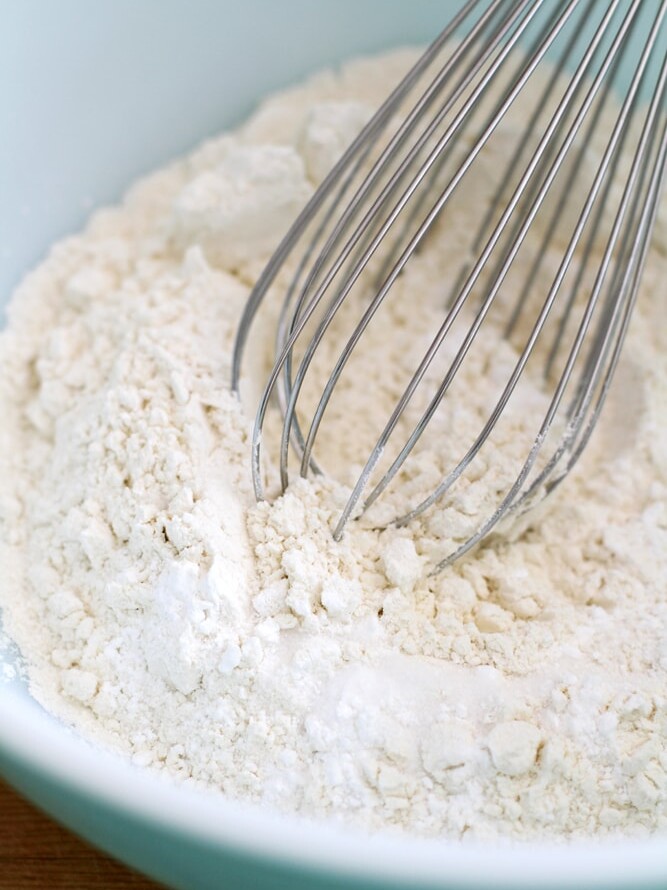
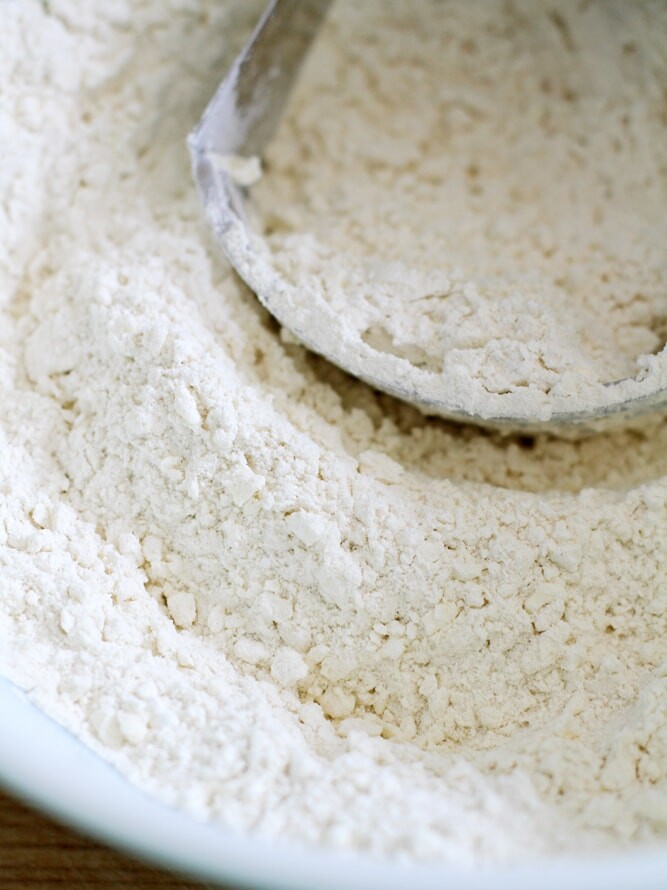
Step 3: Mix dry ingredients. In a large bowl, whisk together the flour, baking powder, salt, and baking soda (photo 2).
Step 4: Cut in butter. Add the grated frozen butter to the flour mixture. Using a pastry blender or two knives, cut in the butter until it resembles very small peas, like when making lemon poppy seed scones. Don’t use your hands; the heat will warm the butter (photo 3).
This can also be done in a bowl of a stand mixer fitted with a paddle attachment.
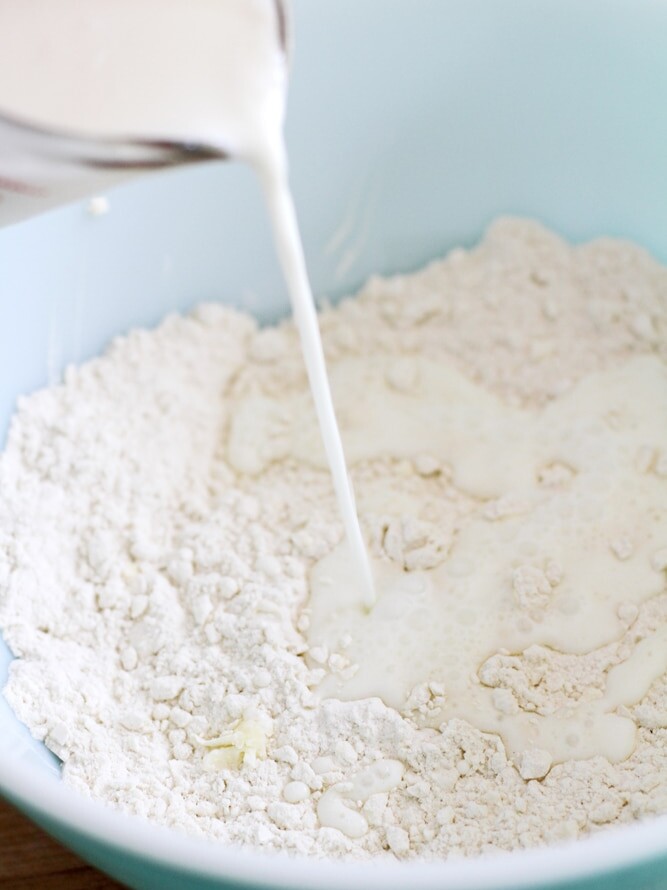
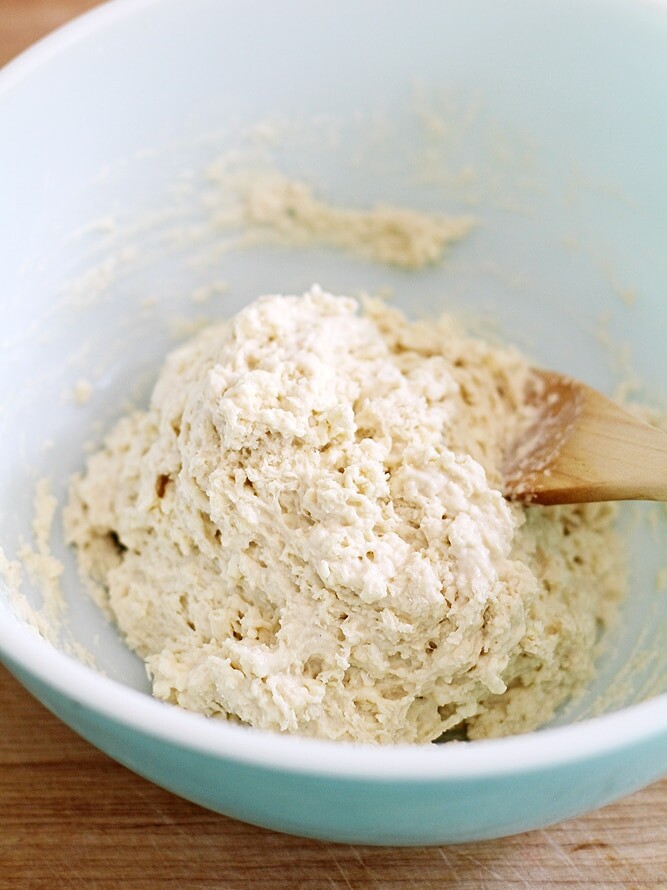
Step 5: Add buttermilk. Slowly pour in cold buttermilk and stir with a wooden spoon just until a dough forms. Don’t overmix (photo 4).
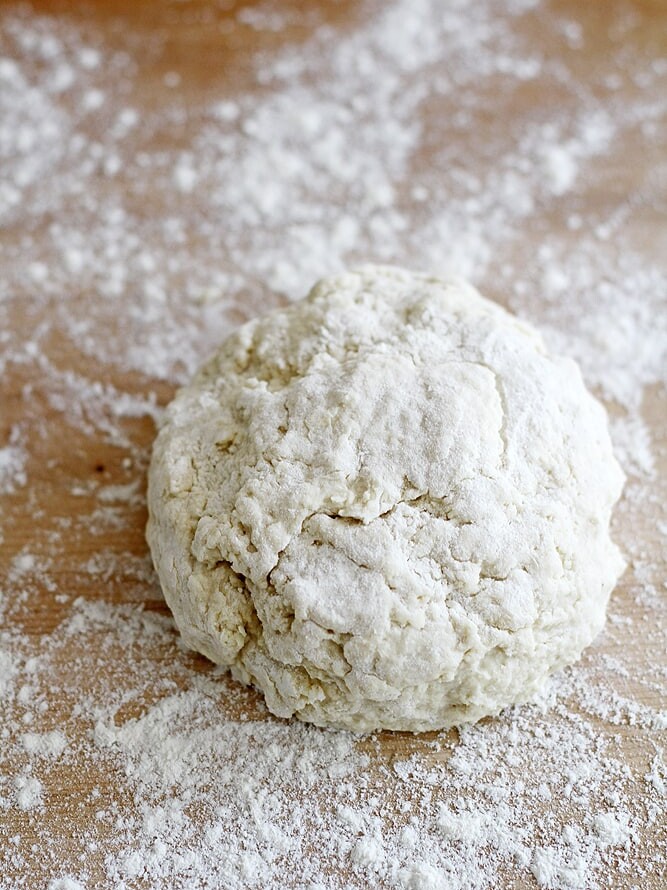

Step 6: Shape the dough. Transfer dough to a lightly floured surface and gently pat into a rough ball. Use a sharp knife or bench scraper to cut the dough in half. Place one half on top of the other, then gently press the halves together, shaping them into a rough ball again. Repeat 3 times to create those layers (photos 5-7).
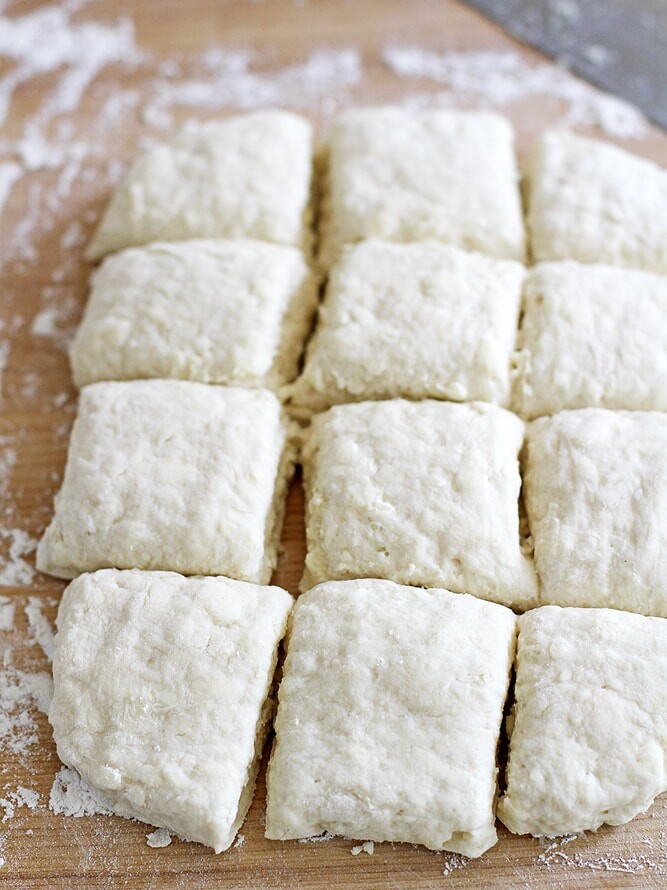
Step 7: Cut biscuits. Gently roll the biscuit dough using a rolling pin into a rectangle about 1 inch thick. Cut the dough into 12 equal squares using a sharp knife or bench scraper (photo 8).
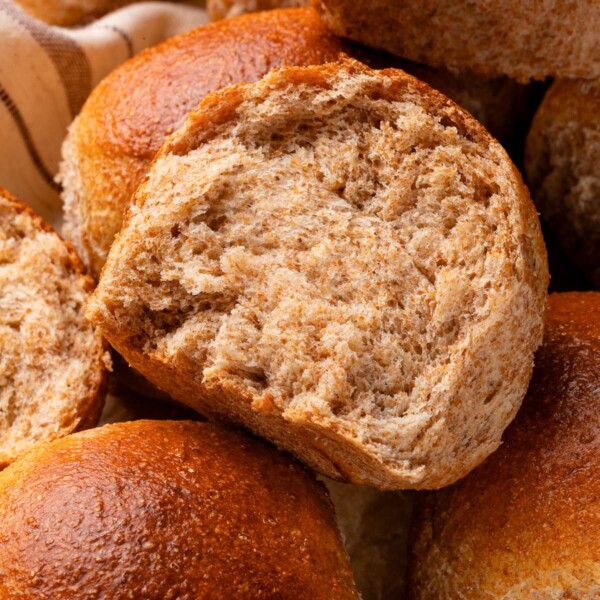
I found that trimming the edges of the biscuits will create a more prominent rise in the oven. Just like with these whole wheat biscuits.
Step 8: Transfer to the lined baking sheet, spacing about 1 inch apart.
Step 9: Freeze briefly. Stick the baking sheet in the freezer for 10 minutes. This extra step helps the butter chill again, yielding the tallest, flakiest biscuits.
If your dough got a little warm or your kitchen is warm, I suggest chilling your biscuits for at least 30 minutes to an hour.
Step 10: Bake. Transfer straight from the freezer to the preheated oven. Bake for 10-12 minutes until golden brown and puffy.
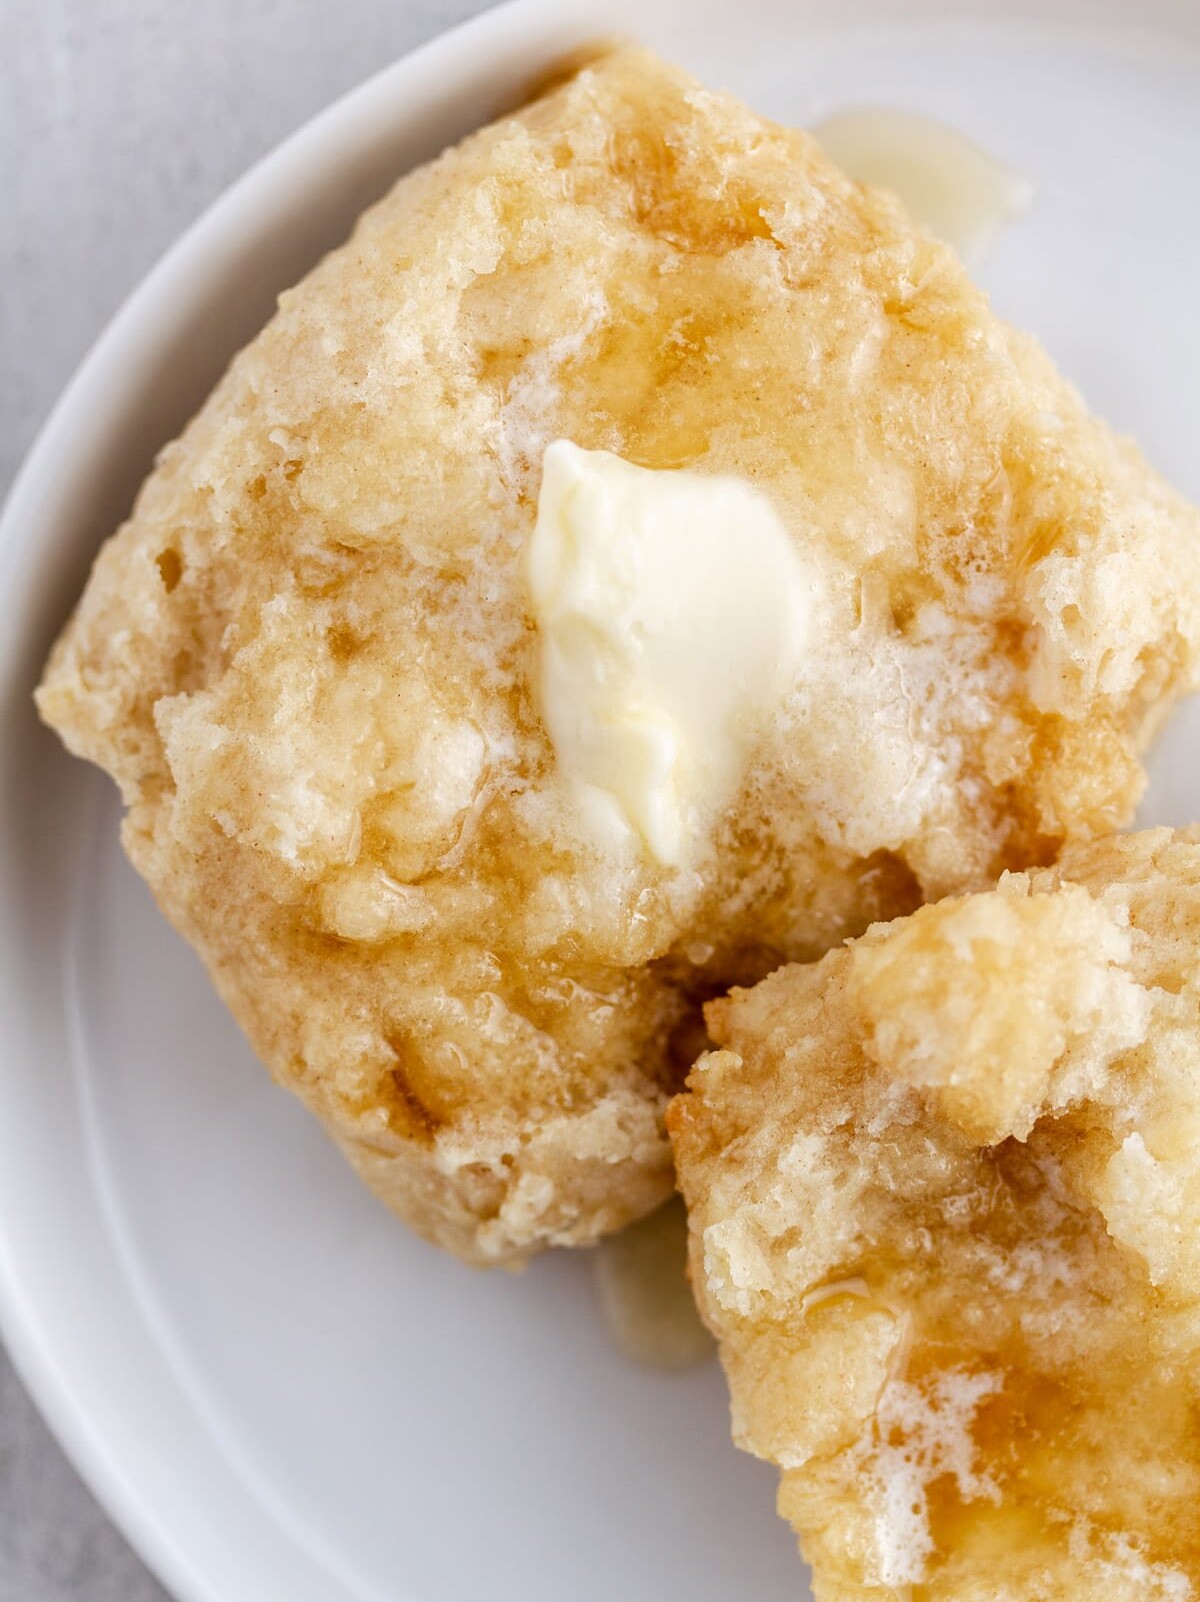
Step 11: Serve. Eat immediately while warm. The hardest part? Not eating them all at once.
I especially love them alongside easy tomato bisque when I want something cozy but simple.
Recipe FAQs
Store in an airtight container at room temperature for up to 2 days. If you need to keep them longer, refrigerate them for up to a week, though they may lose some texture. If you want to store them even longer, freeze them! Wrap each biscuit individually in plastic wrap, then place them in a freezer bag. They’ll keep for 2-3 months. Reheat in a 350°F oven for 5-10 minutes to refresh.
Yes! Cut the biscuits and freeze them unbaked on a baking sheet. Once frozen, transfer to a freezer bag. Bake from frozen, adding 2-3 minutes to the baking time.
Yes, just reduce the salt in the recipe to 1/2 teaspoon.
Make a quick substitute: Add 1 tablespoon lemon juice or white vinegar to a measuring cup, then add enough whole milk to make 1¼ cups. Let it sit for 5 minutes before using.
More Biscuit Recipes to Try!
Rolls & Biscuits
Rolls & Biscuits
Rolls & Biscuits
Rolls & Biscuits
If you enjoyed this recipe, please leave a star rating and let me know how it goes in the comments below! I love hearing from you and your comments make my day!
Best Buttermilk Biscuits

Ingredients
- 6 tablespoons unsalted butter, frozen or refrigerated, plus more for greasing baking sheet
- 2 cups unbleached all-purpose flour
- 1 tablespoon baking powder
- 1 teaspoon salt
- ¼ teaspoon baking soda
- 1 cup low fat buttermilk, cold
Instructions
- Preheat the oven to 450°F and grease the bottom of a baking sheet with butter or line it with parchment paper.
- Grate the frozen butter into a small bowl using a box grater. Place the bowl in the freezer while you prep the other ingredients.
- In a large bowl, whisk together the flour, baking powder, salt, and baking soda until well combined.
- Add the grated frozen butter to the flour mixture. Using a pastry blender or two knives, cut in the butter until it resembles very small peas. Don’t use your hands; the heat will warm the butter.
- Slowly pour in cold buttermilk and stir with a wooden spoon just until a dough forms. Don’t overmix.
- Transfer dough to a lightly floured surface and gently pat into a rough ball. Use a sharp knife or bench scraper to cut the dough in half. Place one half on top of the other, then gently press the halves together, shaping them into a rough ball again. Repeat 3 times to create some layers.
- Gently shape the dough into a rectangle about 1 inch thick. Cut the dough into 12 equal squares using a sharp knife or bench scraper.
- Transfer to the prepared baking sheet, spacing about 1 inch apart.
- Stick the baking sheet in the freezer for 10 minutes. This extra step helps the butter get cold again for the tallest, flakiest biscuits. If your dough got a little warm or your kitchen is warm, I suggest chilling your biscuits for at least 30 minutes to an hour.
- Transfer straight from the freezer to the preheated oven. Bake for 10-12 minutes until golden and puffy.
- Serve. Eat immediately while warm. The hardest part? Not eating them all at once.
Video
Notes
- Yield – 12 Biscuits
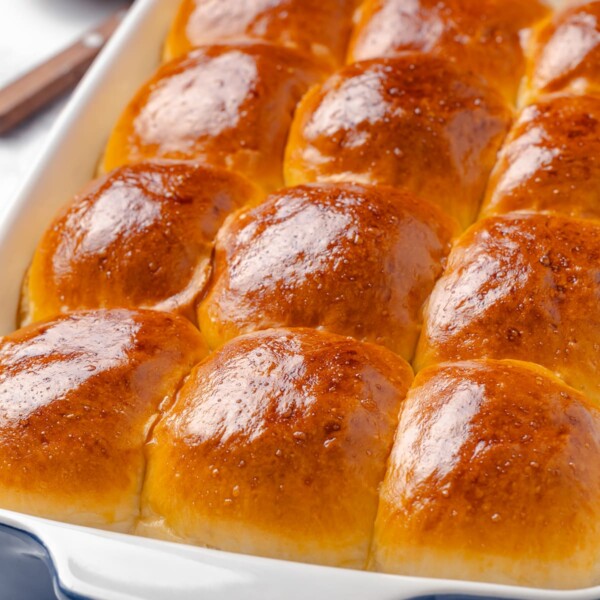
- Presentation – You can top the biscuits with heavy cream or an egg wash before baking for a great shine.
- Technique – Cut or grate the butter into small pieces, then place it back in the fridge. You want cold butter and buttermilk.
- Variation – Cut the biscuits with a round biscuit cutter; you can re-roll the scraps once.
- Storage –Store leftover buttermilk biscuits in an airtight container at room temperature for 1-2 days.
Nutrition
Nutrition information is automatically calculated, so should only be used as an approximation.
 Like this recipe? Rate & comment below!
Before You Go
I hope you loved this southern biscuits recipe! Check out our other delicious quick bread recipes like these lemon poppy seed muffins or this moist zucchini bread!


I’ve tried so many biscuit recipes, and these are hands down the best! The grated butter trick is genius, my biscuits were sky-high and so flaky. Even my Southern mother-in-law asked for the recipe. Making these every weekend now!
I made up the dough, cut the biscuits out and put them in the freezer. Here I am 2 days later ready to bake them and didn’t know how I should alter the temp or baking time since they will be solid. Any suggestions? This is the best biscuit recipe I have ever found! Thank you!
Hi Jennifer! So glad you love the recipe! Bake them straight from the freezer at 450°F, just add a couple extra minutes until they’re golden and puffy and your kitchen smells like a giant, buttery biscuit. Happy baking! ~gvd team
I love that you just cut them in squares!! I do the same!!! But I use lard and the kids hate the flavor ( i use lard that my husband had leftover from making carnitas so the flavor is really strong like bacon). I will definitely try your recipe and see if they like the butter flavored better. They look amazing. Thank you for explaining everything well!!!!
Hi Megan! I can’t wait for you to try this! I’m so happy the post was helpful and happy baking! ~gvd team
I hate having to get out all the fixing out for the biscuits. I solved that by mixing up 3 or 4 recipes at a time. I put them in my freeze in a seal container. When I want biscuits, I take out the amount I need for number of biscuits I want to make. That is when I add the amount of liquid I need and proceed with the recipe. Also I use half butter flavored Crisco and half butter.
Hi Pat! That’s an awesome way to make it work for you! Fresh biscuits alwayssss! ~gvd team