
When using WordPress, it is important to understand the Dashboard. This is an admin area where you can modify and control your website. From within the WordPress Dashboard, you can add plugins, access plugin settings, other important website settings, and much more. This guide provides a basic overview on accessing and using the WordPress Dashboard.

Accessing the WP Admin
The Dashboard can typically be accessed by going to https://yourwebsite.com/wp-admin. You will be presented with a login screen, where you can log in to your administrator account.

Once logged in, from within the admin, you can access various things. Such as posts, post categories, pages, themes, plugins, and more. Use the navigation menu in the left sidebar to navigate to and adjust various aspects of your website.
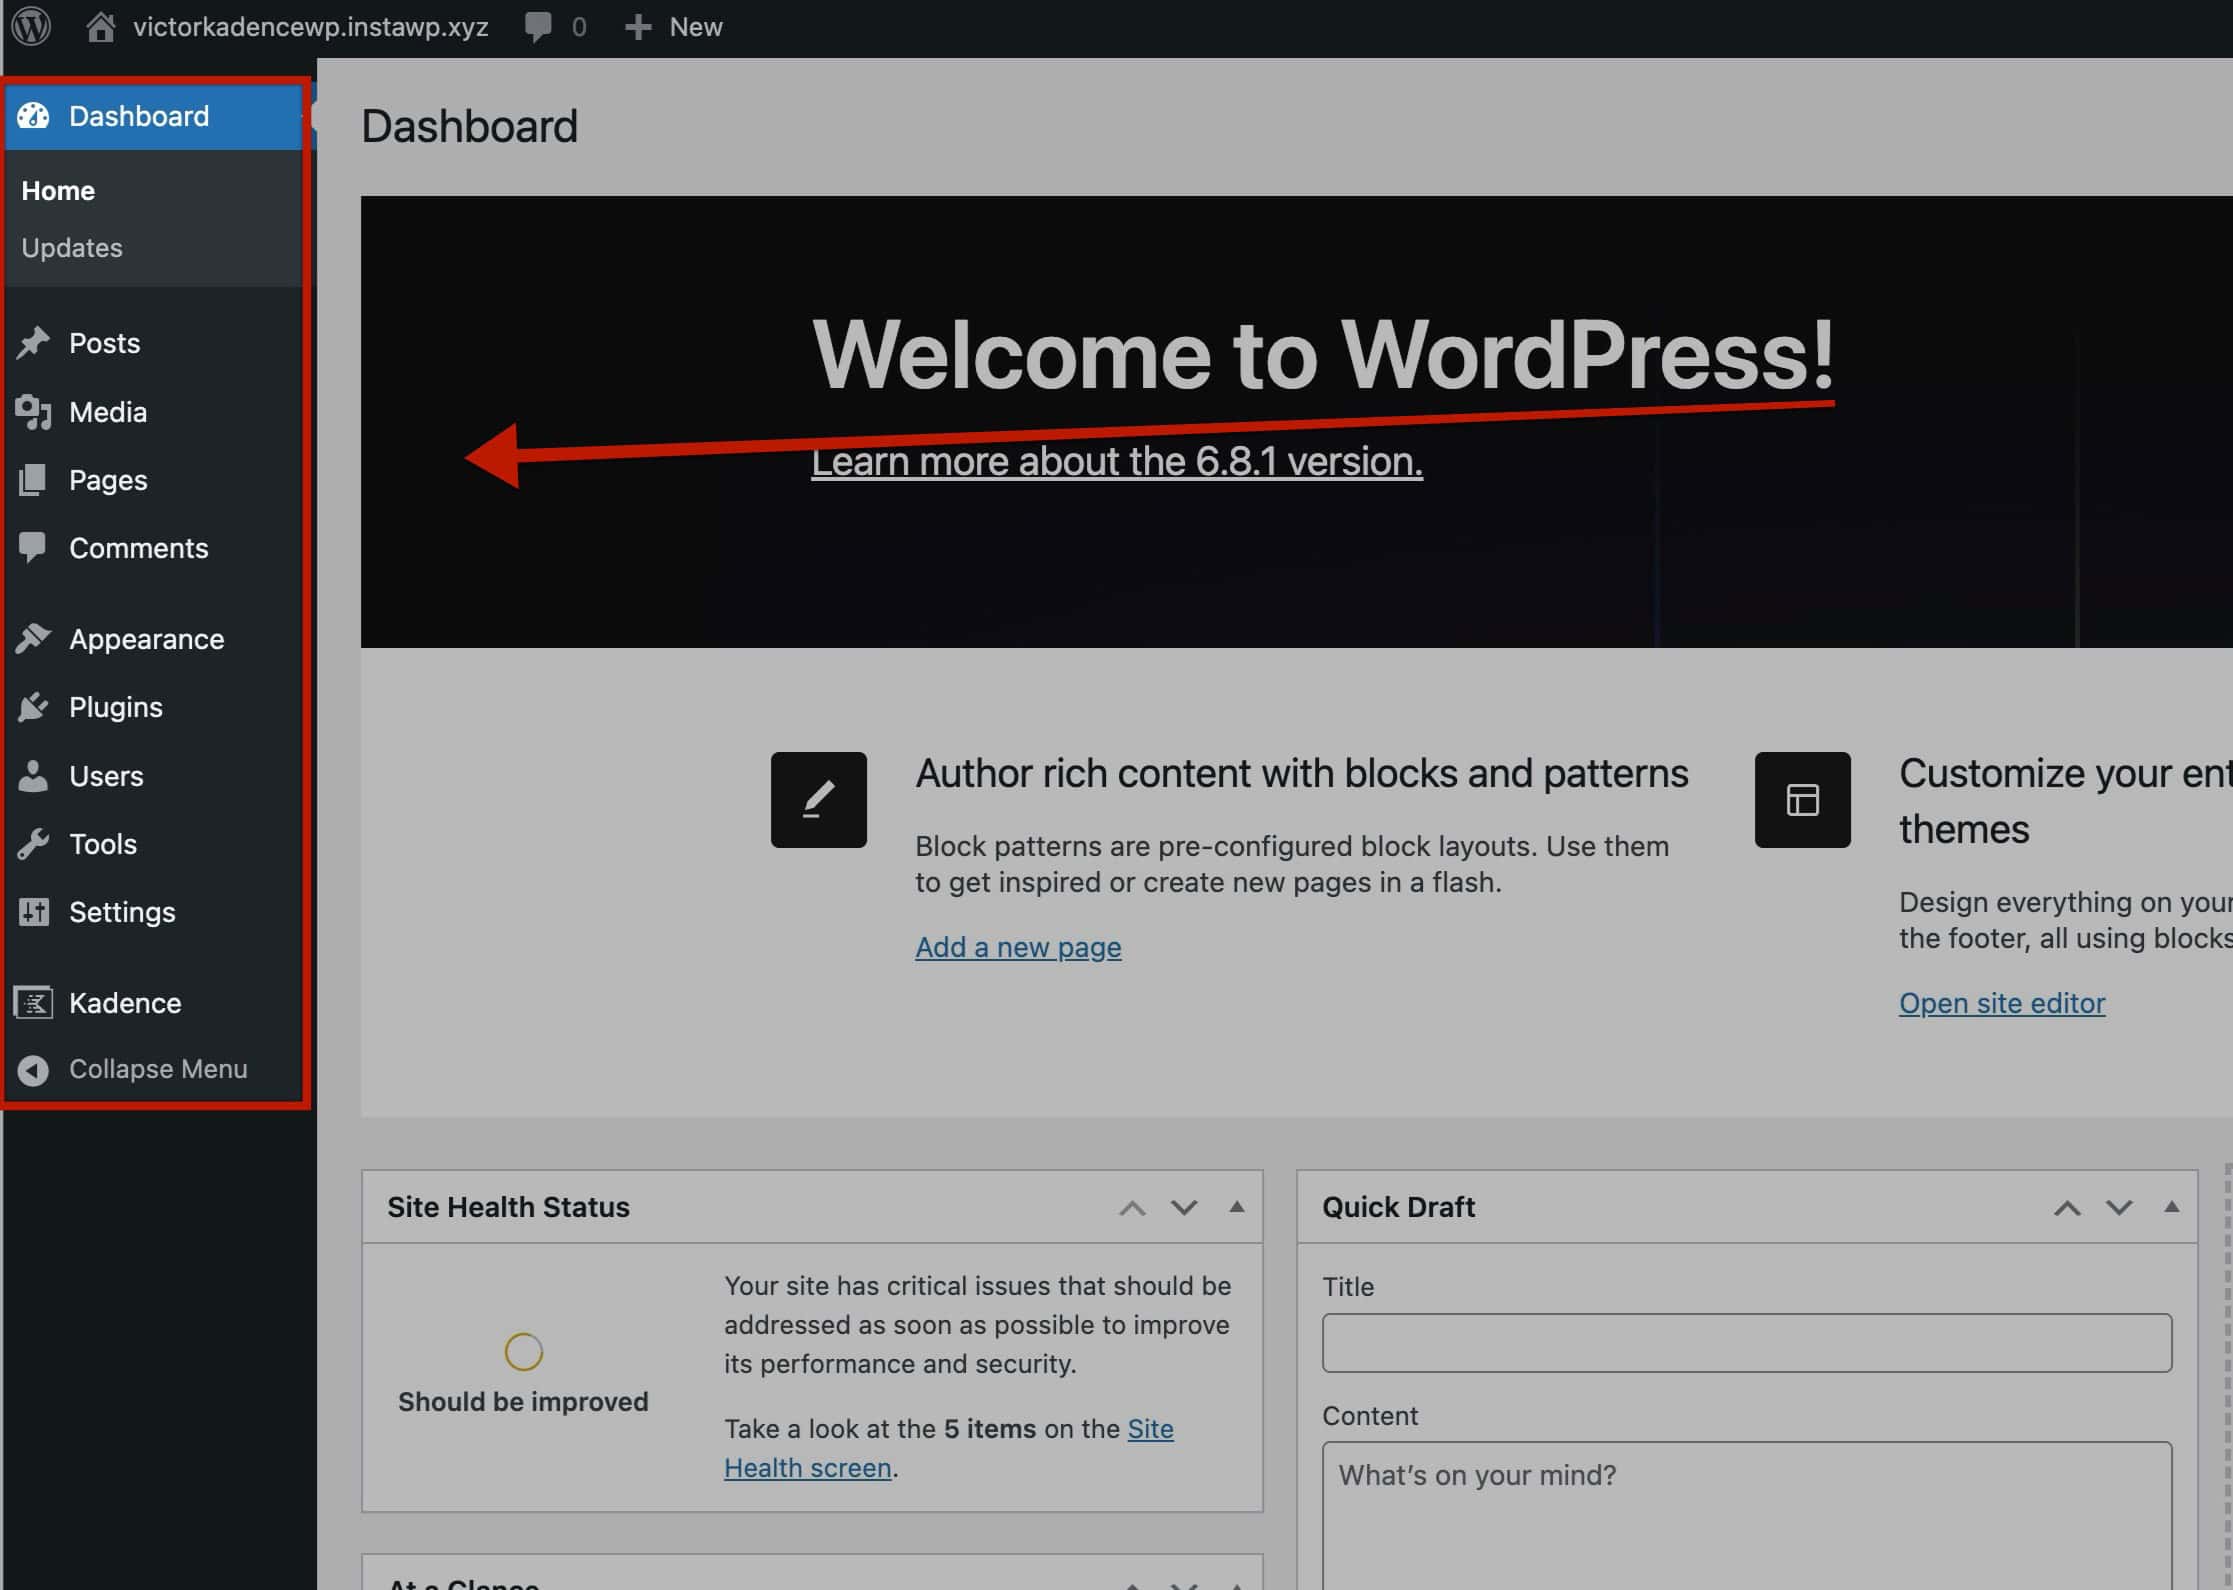
As you activate more plugins, the admin menu will add new items, allowing you to manage those plugins.. This can be nested within an existing menu, like tools, or as an entirely new menu item. When activating Kadence plugins, you will notice additional menu items appear.

Use each menu item to manage different features of your WordPress website.
Admin Bar
At the top of posts, pages, and across your website, you may notice the admin bar. This bar can be used to add new posts, pages, users, and more. It also simplifies navigating from and to your website homepage and the wp admin page.


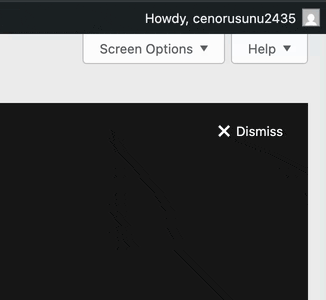
Caching plugins and security plugins tend to add additional related features to the admin bar.
Enabling/Disabling the Admin Bar
You can enable or disable the Admin Bar on a user-to-user basis. This can be done by going to the Dashboard -> Users -> All Users and editing a user. Locate the setting named Show Toolbar when viewing site. Here, you can enable or disable the Admin Bar for that user.

Some plugins allow you to disable the Admin Bar sitewide. However, doing so isn’t a core feature of WordPress.
