
Kadence Hooked Elements allow you to essentially take complete control over your website. This includes the ability to insert content into posts/pages/archives across your website using theme hooks.
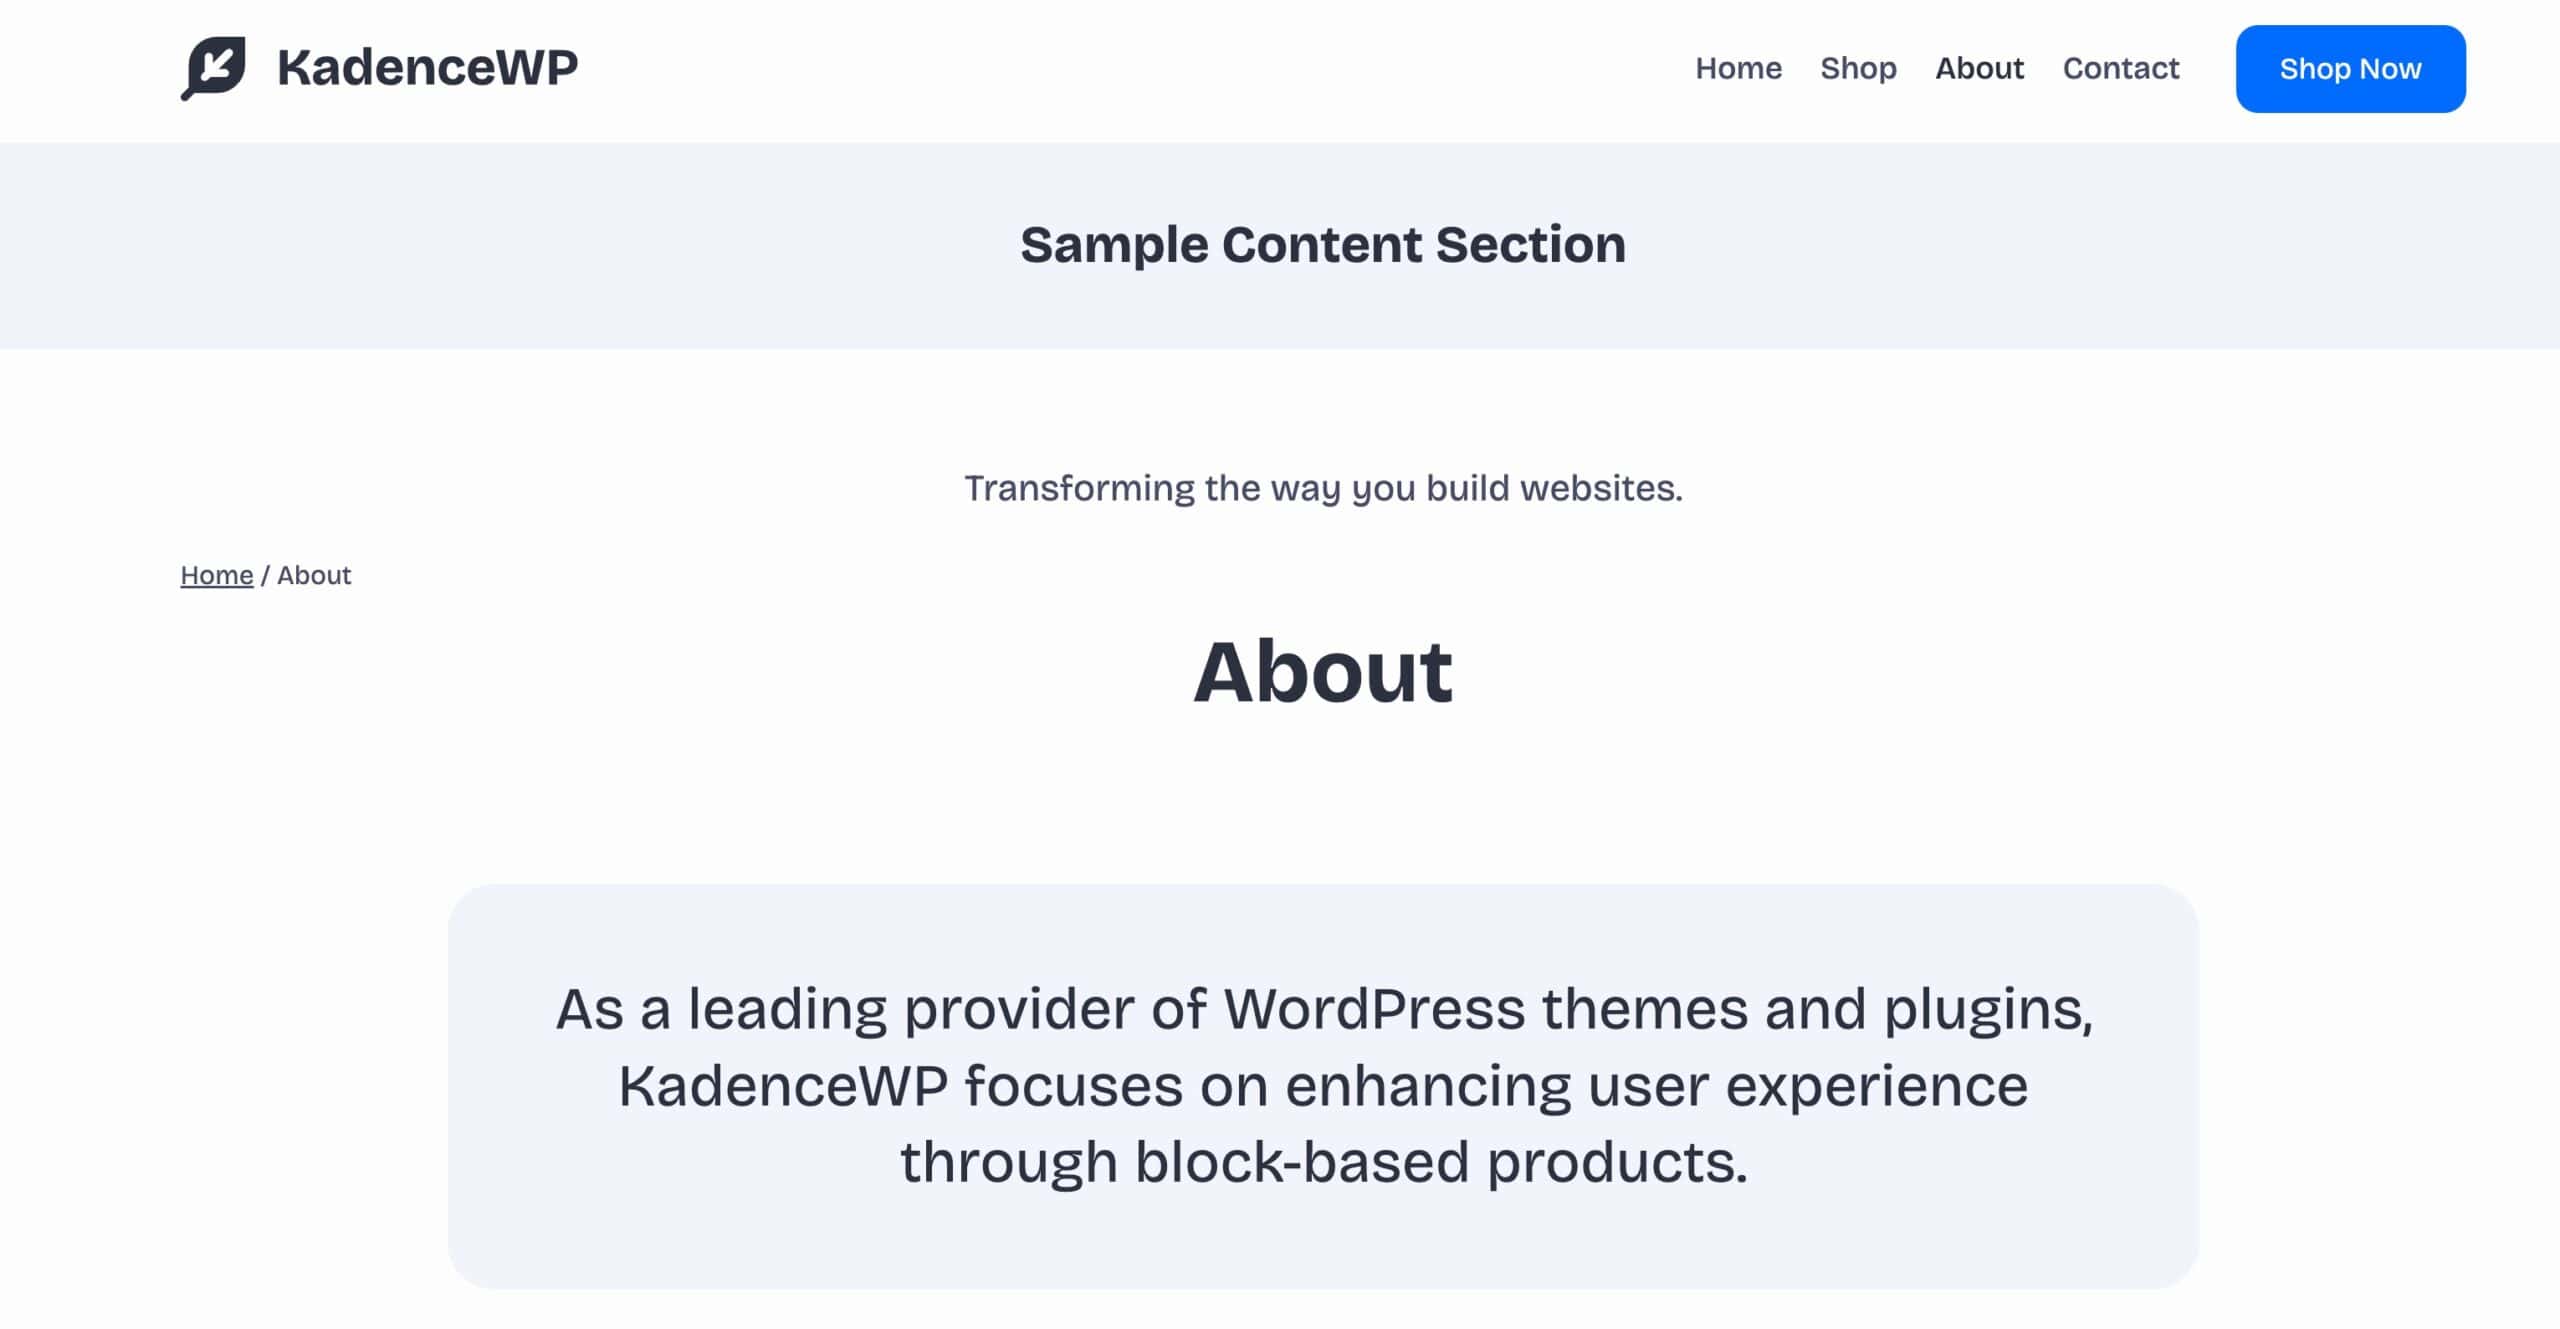
For example, here is a Content Section Hooked Element that is placed before the post content:
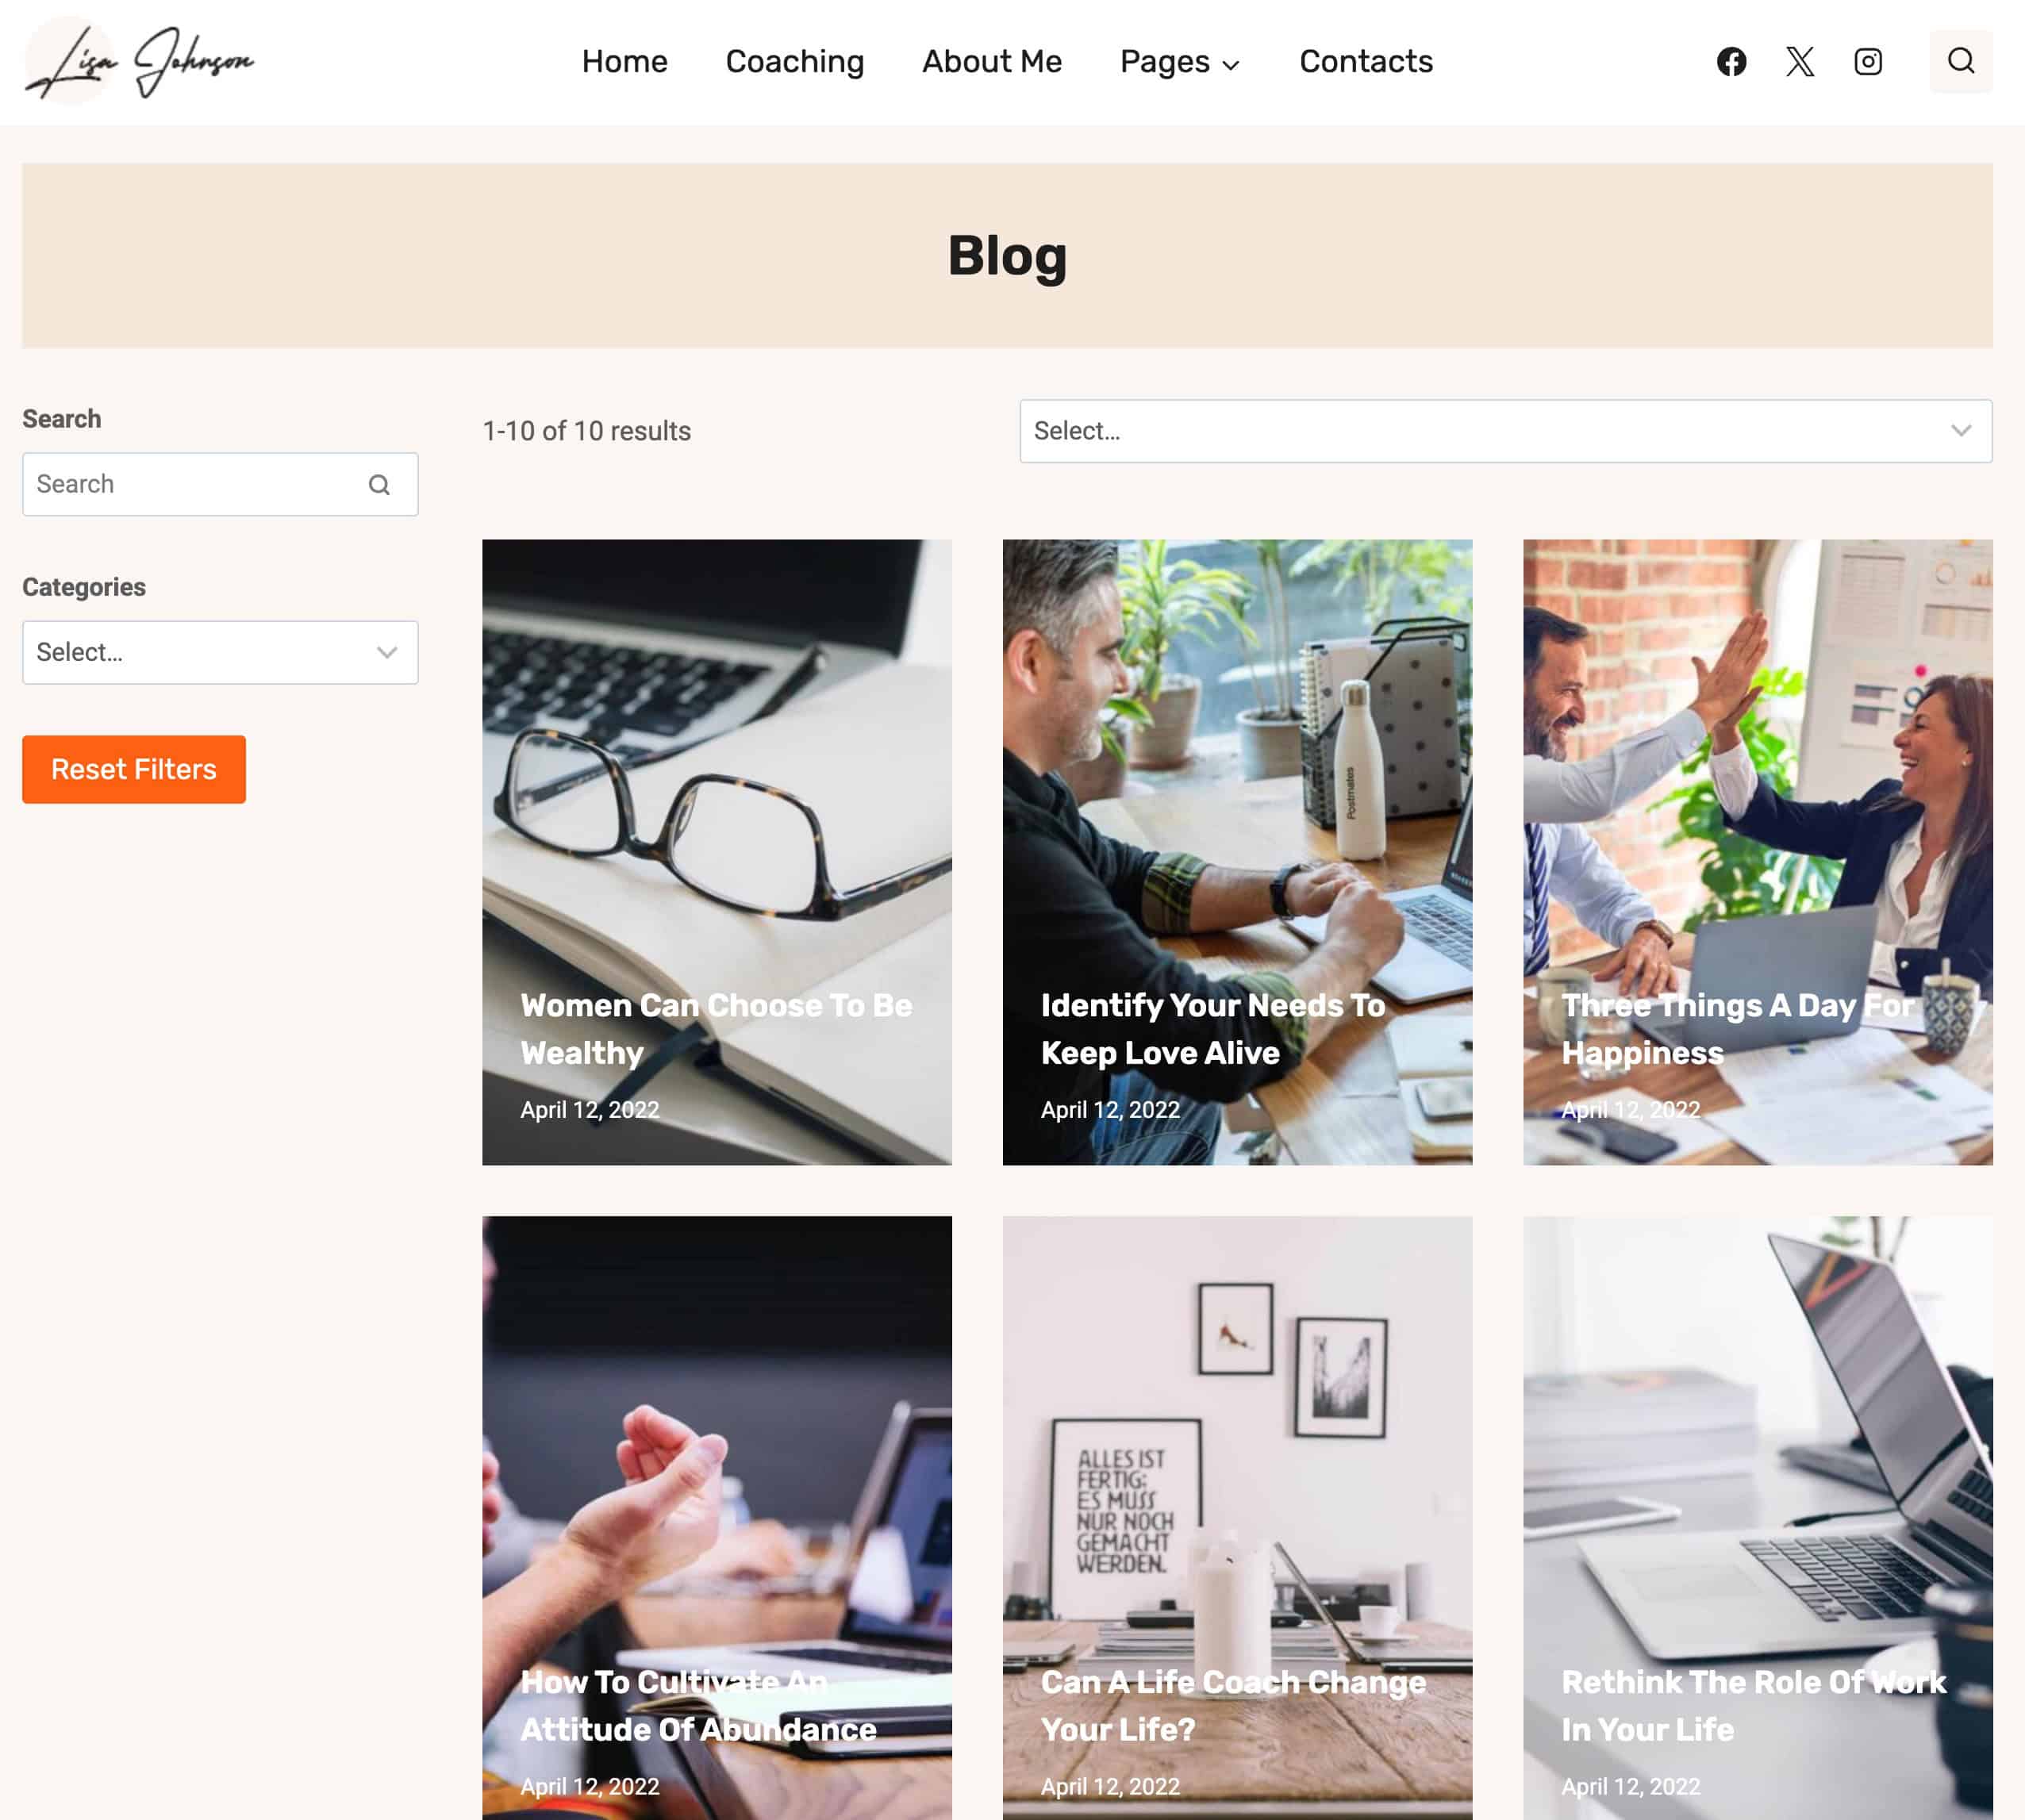
Here is an example Template Hooked Element that is set to replace the archive content:
This is a premium feature available through the Kadence Theme Kit Pro plugin, which you can get as a stand-alone product or as part of the Kadence Plus Plan.
Helpful Resources:
- Installing Theme Kit Pro – This feature requires Theme Kit Pro. Follow this guide to successfully install, activate, and license this premium plugin.
- Installing and Creating Kadence Elements – Follow this guide to enable and begin using Kadence Elements.
This guide will overview of Elements, Element Settings, and guide you to resources to help expand on these things.
Element Types
There are four types of Elements you can create:
- Content Section HookedElements – Add content into various hooked locations across your site. This can be used to add custom title areas, add in special text contents, and much more.
- Template Hooked Elements – Replace full content areas like single posts or pages. (Requires Kadence Blocks Pro for dynamic content.)
- Fixed Section Elements – Add floating or sticky sections that stay visible as users scroll. Fix items to the top or bottom of the screen.
- HTML Editor Hooked Elements – Insert custom HTML or scripts in areas like the site
<head>or footer. This can be used for custom scripts or custom HTML elements in general.
Click here for a general overview of each Element Type and what they are capable of.
Element Settings
Use the Element Settings to control your Element. This is where you can set an Element Placement, which consists of the ability to use various Kadence Theme Hooks, along with the ability to use custom hooks. This allows you to insert content into other hooks that may be available on the website.
You can set various settings such as:
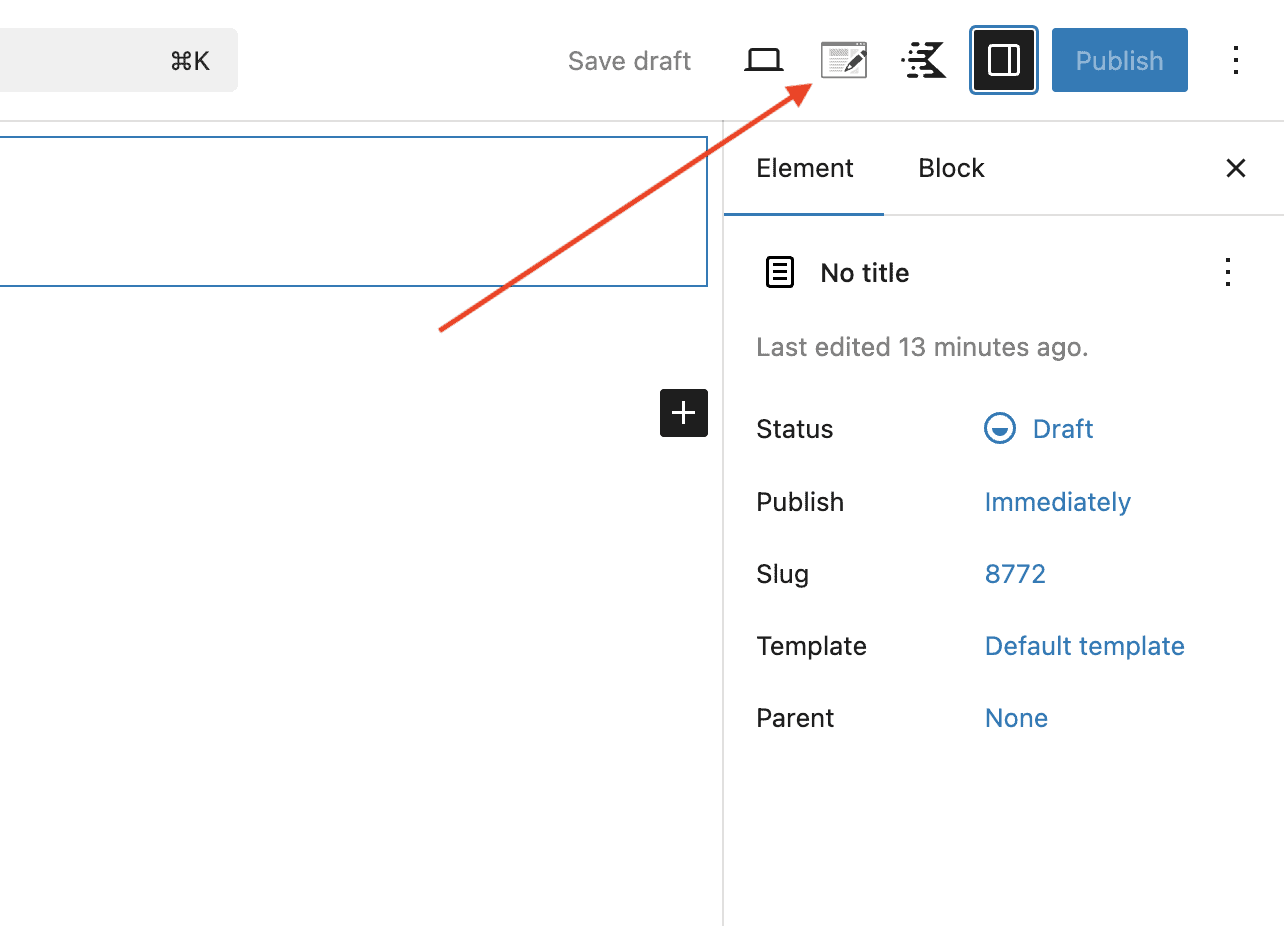
- Preview Setup – Setup a preview post type and post to ensure you can visually see things from within the live block editor.
- Placement Settings – Determine which hook/placement the element will use. This can vary from element type to element type.
- Display Settings – Determine which posts, pages, archives, or general location within your website the hooked element will be applied to. This gives you control over where elements apply and allows you to exclude specific pages from seeing elements.
- User Settings – Limit element visibility based on user-related parameters, such as being logged in or logged out.
- Device Settings – Limit elements based on the device type. (Desktop, tablet, or mobile.)
- Expires – Set an expiration date/time on an element.
Click here to learn more about Element Settings.
Dynamic Elements (Theme Kit Pro + Blocks Pro)
Using Hooked Elements, you can take complete control over your website. When used in combination with Dynamic Content, Hooked Elements become unstoppable. Dynamic. Content is available in Kadencd Blocks Pro and offers the ability to dynamically display content, such as the Current Post Title. This allows you to apply the title to multiple posts at the same time.
For example, see how dynamic content can be used within template elements below
Result:

Kadene Blocks Pro (Unlocks Dynamic Content) and Theme Kit Pro (Unlocks Hooked Elements) can be purchased together in the Plus & Ultimate/Lifetime Plans. Click here to view our pricing.
If you aren’t looking for dynamic and just want to insert static content, you can do so as you wish using text methods within your Hooked Elements.
