Showing posts with label Okra. Show all posts
Saturday, August 4, 2012
Canning Mama's Vegetable Soup, aka Tomatoes, Corn and Okra
When I was growing up, Mama's canning goal every year was 100 quarts of green beans, 100 quarts of peaches, and 100 quarts of vegetable soup... she canned other things as they came in, but these three remained constant... and vegetable soup, Mama style, was a staple at our house... She would pop open a jar or two of this summery mixture of tomatoes, corn and okra, add some other ingredients, like potatoes, carrots, onions, maybe some ground beef or stew meat or chicken and let it simmer while a pone of cornbread baked in the oven in her cast iron frying pan reserved ONLY for cornbread... and in just a little while it was supper on a cold winter evening... nothing better!
Tomatoes, corn, and okra usually come in from the garden about the same time so it's only natural to mix this trio of goodness together in a delicious soup base. Tomatoes, corn, and okra are coming in in our garden now so I mixed up a little batch... I won't have 100 quarts, as a matter of fact the soup I mixed up last night only made 3 quarts, but with every bite, I'll be eating deliciousness and remember all those winter evenings eating Mama's soup while my brothers and sister shared our day along with Mama and Daddy... this soup means family to me.
Here's what I did...
There's no real "recipe" for this soup... you basically use whatever amounts of each ingredient that you have on hand... I had about 8-10 pounds of tomatoes, peeled and cored... (I poured boiling water over my whole tomatoes, left them for a minute or two, the put them in cold water and the peels slip right off)
8 ears of white field corn (you could use sweet corn), cut off
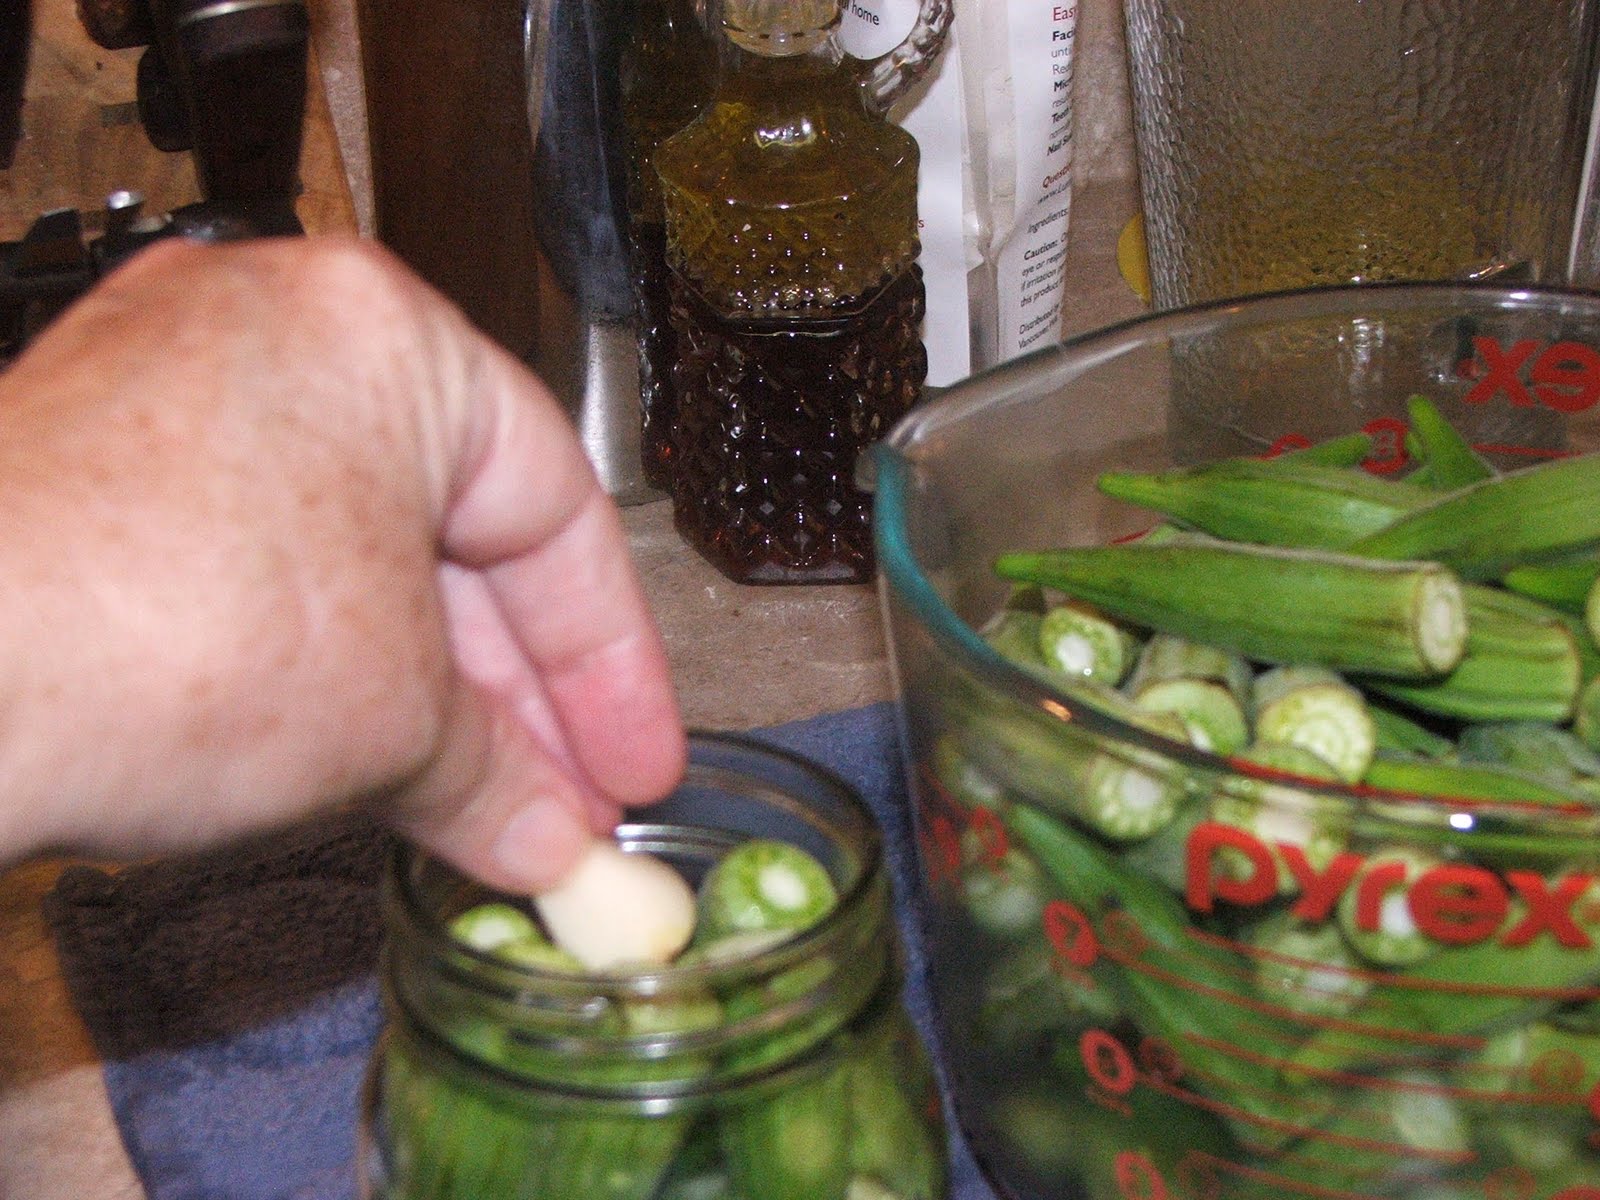
1-2 pounds of okra, sliced
I mixed the three ingredients together in my large stainless steel saucepan...
I brought the mixture to a boil over medium heat, then reduce the heat and let it simmer for a few minutes (maybe 10-15 minutes) until everything was heated through.
I washed, rinsed and sterilized my quart jars and put my lids in hot water to simmer... keeping everything hot until I was ready to use them.
I filled the jars, leaving a half-inch headspace. I added a teaspoon of canning salt to each quart (this is optional).
I wiped the jar rims with a damp cloth, then tightened the lids on to fingertip tightness.
I then processed my jars of soup at 10 pounds pressure for 85 minutes (using the time and psi for corn).
After processing and allowing the pressure in my pressure canner to drop to zero... then waiting an additional 10 minutes to allow the jars to adjust to the lowered pressure (reducing the risk of jar breakage), I removed the jars from my canner and set them on a folded dish towel on the counter to cool...
And to listen for the PING! of each successfully sealed jar! Live for the PING!
Labels:
Canning,
Corn,
Okra,
Soup,
Tomatoes,
Vegetable Soup,
Vegetables
Tuesday, August 16, 2011
Freezing Okra Mama's Way
As I've said before, there's no better way to eat okra than cut up, rolled in corn meal and fried... a mess of fried okr-y! A Southern tradition.
My Mama and the rest of my family always looked forward to the hottest days of summer when the okra, a heat-loving veggie began to ripen and a mess of fried okry was sure to find its way to many a summer supper, along with fresh sliced tomatoes, green beans, new potatoes cooked with just a bit of butter, and whatever additional bounty the garden offered. No meat needed! You never missed it!
Mama spent many summers trying to capture and preserve that summer "Fried Okry" flavor so we could enjoy the same yumminess come wintertime... just slicing and freezing the okra resulted in a big frozen lump that took forever to thaw and when it did was mushy and hard to roll in the meal... she tried freezing the okra pods whole but then you either had to slice hard-as-a-rock okra pods or wait til they thawed and again... mushy! Canning them resulted in slimy slimy and un-fry-able (pickled and canned are great, as is sliced and canned in veggie soup or gumbo, but we're talking okra for frying)...
So after quite some time and much trial and error, Mama came up with the following method... it's not perfect... nothing can take the place of fresh, fried okra... but it's pretty darn good...
Here's what she did... and what I did with my recent abundance of okra...
I sliced it up like I would to prepare for frying... My DH was a wonder... a gentleman and a scholar... he sliced all those itchy, slimy okra pods for me while I worked on other things... God bless that man!!!
| Love Love Love that sweet man's hands! |
I sprinkled a light coating of cornmeal
onto the sliced okra (you want a light coating here, makes for the BEST fried okra... I hate that thick coated store-bought deep-fried stuff, it's NOT traditional, Southern-fried okra... Light coating of cornmeal! Just what sticks to the damp okra... shake off the rest!)
Then I spread the meal coated okra onto a baking pan and baked it to a partial-doneness in a 350 degree oven for about 20 minutes. It doesn't get brown, it only sort of bakes the corn meal onto the okra and dries it out a little so it doesn't stick together so much when frozen.
I took it out of the oven after the 20 minutes or so (work in batches if you have TONS of okra!) and allowed it to cool completely.
Once it was cool, I bagged it up and vacuum seal
ed it (don't have to vacuum seal, it's just what I did and since I have a vacuum sealer
and CAN, I did... Mama never did) Freezer bags
or containers
will work fine.
If you DO have a vacuum sealer and decide to vacuum your okra... stop the seal about halfway through the vacuuming step so it doesn't squish the okra completely flat! You don't want that.
Pop your bags of okra into the freezer and you have "almost as good as fresh" fried okra to look forward to next winter!
Thursday, August 11, 2011
Canning Okra Pickles
Ahhhh okra, the fruit of the South!
Not far from where we live in S.C. there's even a small town that holds a festival each year honoring this vegetable with its Annual Irmo Okra Strut. We love our okry south of the Mason Dixon Line (if you're a true Southerner, that's how you say it, Oak-ree!). Of course, the BEST way to eat okra is fresh out of the garden, sliced and rolled in cornmeal and fried (another Southern favorite, FRIED... fried anything!)
I recently scored a half bushel basket of okra from the farmers market and enjoyed a "mess" of fried okra (in the South, a "mess" of anything is enough for a meal for however many people you need to feed... it's a Southern measure of volume, a "mess") I remember when I was growing up sometimes Daddy would pick okra and if there wasn't enough for a "mess" for supper, Mama would slice up some green tomatoes and add to the okra so there WOULD be enough for a "mess." Yummy!!! Okra and green tomatoes, chopped, rolled in cornmeal, and fried in Mama's well-seasoned cast-iron frying pan... and served alongside a fresh sliced ripe tomato... Mmmmm... makes you wanna slap your grandma!
With my plethora of okra, I thought I'd make another Southern favorite... okra pickles... here's what I did...
I chose the smallest okra pods for my pickles, washed them and sliced the stem ends off (taking care not to slice too deep, don't want to open the seed end and let out all the innards)
I prepared my pint jars by sterilizing them in a pan of water set on two stove eyes, heating them to boiling.
I simmered my lids and rings, keeping them hot until I was ready for them.
In a large stainless steel saucepan, I combined 3 cups of water
3 cups white vinegar
1/3 cup canning and pickling salt
And 2 teaspoons dried dill weed (you could use dill seed or fresh dill if you want, I happened to have dill weed on hand)
I brought the mixture to a boil over medium high heat, stirring to dissolve the salt. I reduced the heat and kept the mixture hot until I was ready to use it.
Meanwhile...
I packed the okra pods into the hot jars to within a generous half inch of the top of the jar.
I added to each jar... one clove of garlic and half a small hot red pepper (I used chili peppers)... stems removed, halved lengthwise and seeded (and may I UNDERLINE the importance of wearing rubber gloves while cutting or seeding hot peppers!!! Even if you think "Hey I only need two or three, I'll just do them without fooling with getting the gloves out... ask me how I know!... I had burny hands all afternoon!)
Ladle the hot pickling liquid into the jar to cover okra, leaving half inch headspace. Remove air bubbles (a butter knife run down the inside of the jar between the okra and the jar will work nicely) and adjust headspace if necessary by adding more pickling liquid.
I wiped the rims, centered the lids onto the jars and screwed the bands down to a fingertip tightness.
I processed the jars in a boiling water bath (place jars in the canner, ensuring they are completely covered with water, bring to a boil) processing them for 15 minutes.
After the processing, I removed the jars using my jar lifter
(a handy dandy gadget that saves hands!) and placed them on a folded dish towel on the counter to cool... and to listen for the PING! of each successfully sealed jar!
Okry Pickles!!! Makes a delicious addition to a relish tray... and a nice change from your average dill pickle!
Subscribe to:
Comments (Atom)