Showing posts with label Focaccia. Show all posts

Friday, August 24, 2018

Potato salad with Fresh As Tarragon, capers and Friarielli flowers, plus focaccia with Fresh As herbs


I have been trying a few freeze dried herbs from Fresh As and this potato salad is definitely a winner.

Boil the potatoes and peel, then cut and mix with mayo and capers. Sprinkle with Fresh As French Tarragon. I also added some edible flowers from my friarielli (cime di rapa) plants.


The friarielli seeds come for Italian Seeds Pronto, such a great winter crop! Eat the leaves, tips and flowers!


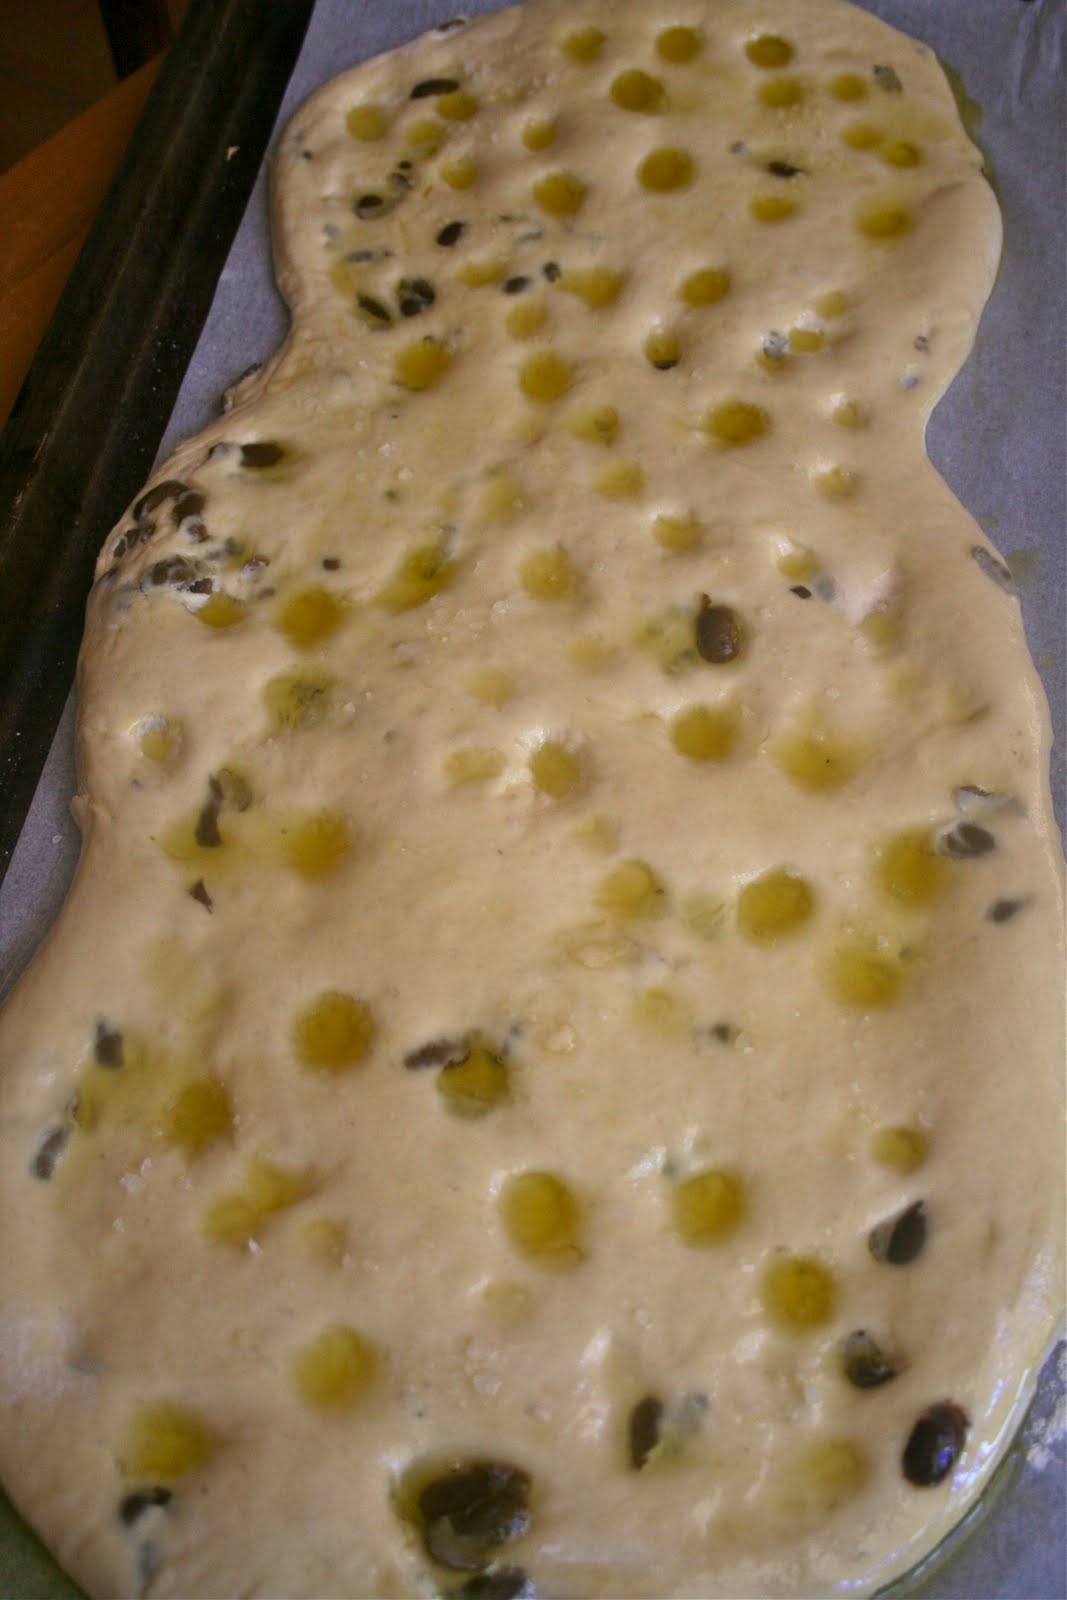
I also tried other Fresh As powders: chili, garlic, oregano, basil and rosemary (plus the French Tarragon) on focaccia. I used letter stencils before adding the powders, just to record what went where. FYI, the garlic becomes orange after baking.


Delicious, and also pretty in a bread basket!


And on some fried eggplants (added after frying, with salt).


 Flowers from my garden


 Photos and Recipes by Alessandra Zecchini ©


Saturday, March 12, 2016

Using vegetables from the garden, plus grissini


I love summer and the smell of my veggie garden! It is a bit like a jungle now and we are towards the end of the season so there are more weeds than veggies, but what a joy! One of the best things for me is to make minestrone soup with whatever I can pick on the day, even when it is hot (and then you can have it warm). And I am saving some for winter in some old ice cream containers. So funny, my boy opened the freezer the other day and was excited seeing boxes and boxes of ice cream, I felt a bit mean telling him what they actually contained...


Then I like to put veggies on focaccia and pizza, yellow and green zucchini slices look good and taste even better!


Ok, this is nothing to do with veggies, but it is so cool to make grissini, I just use some basic bread dough (500g high grade flour, 2 tbsp gluten flour, 300ml water, pinch of salt, brewer yeast and pinch of sugar), add a bit of olive oil and stretch out long grissini which I roll in polenta flour before baking.


And now for my flower Pinterest board: my pride and joy orchid, which gave me 14 flowers this time.
Happy weekend!

Photos and Recipes by Alessandra Zecchini ©

Monday, December 10, 2012

Focaccia made with the water from mozzarella and no yeast

I saw it done several times in Italian blogs, and since the other day I had some mozzarella from Massimiliano I wanted to try it too. I think that I will need to work on it but as a first attempt it was brilliant and I will never throw away the water from mozzarella again!! Please read carefully because I think that some of you may be really interested in this one!

I had 200 ml of mozzarella water (you know that whitish water that you get in the bag when you buy mozzarella? Yes, that one!), I put it in a 900ml yogurt container, then I added 1 tbsp of extra virgin olive oil, one pinch of salt, 1/3 tsp of brown sugar and 200 g of high grade flour. I though that it was wise to start with an equal water to flour ratio. I stirred the lot with a fork and covered it. I didn't expect it to rise so much, after 24 hours it was doubled! Maybe it is because I covered it with a good top? I decided to put it in the fridge overnight to slow the process, but the morning after the dough had gone down :-(. Still, half a morning in the sun and it was already bubbly again!


Just look at it! I thought that it could have handled a bit more flour, but I didn't really have time to experiment, so I poured it directly on a baking tin, without touching it! 


Then I placed it inside the cold oven for a couple of hours to see if it was going to rise some more, but it was too soft, it just spread out instead!! So I turned the oven on and baked it. When I thought that it was nearly done I brushed it with olive oil and added some rock salt and cumin seeds on top and then baked it for other 5 minutes.


I think that it is too early for me to give you a proper recipe for this, I am not quite sure how long it is best to bake it for, but one thing is sure: Please do try and experiment!! Don't through the water from the mozzarella away, it is an amazing starter for a sour dough type of bread and focaccia, especially if you are like me and don't fancy keeping a sour dough starter going for months and months (sorry sour dough, I travel too much for this!). Look at the cut focaccia! It was so soft and tasty... I will make it again and again and if you try I am sure that you will be pleased too!


Photos and Recipes by Alessandra Zecchini ©

Saturday, November 27, 2010

Summer!


Yes Summer is here in New Zealand, cricket on the radio (not that I understand it, but it feels good), the sky is blue and I made another focaccia like the one I did a few days ago, but this time with sun-dried tomatoes. Very nice!

Happy Sunday!


Wednesday, November 17, 2010

olive focaccia made while mopping the floors


One of my kids' favourite snack when they get home from school is a nice piece of freshly baked focaccia. I don't usually measure the ingredients, but the flour/water ratio is about 500 g of flour for 300 ml of water, plus a pinch of salt and 2 tsp of dried yeast granules and a pinch of sugar (this yeast dose is good up to 1 kg of flour. I made a dough.


While the dough was rising I cleaned the pantry and found a jar of the olives I marinated last year. They were still good, small (I picked them from a friend's tree) but very tasty.
If you like to know how to preserve your own olives go to the CUISINE ON THE NET section on the sidebar of this blog, and click Preserving Olives.


First I needed to remove the stones, which I did with a knife. At first I did this over the jar, but it was messy and I wasted too much oil, so I drained a few olives (over the jar) little by little and then I cut the flesh off the stones.


I added the olives to the risen dough and mixed.


Then I left the dough to rise for a second time (I cannot give you exact times because I was mopping the house and making this focaccia at the same time... maybe 1 hour the first time and then 45 minutes?


I rolled the dough and resumed mopping (and you can see the mop in the picture!!!!) for other 30 minutes.


Then I made some little 'craters' with my fingers and added some olive oil from the olives' jar. I sprinkled with some rock salt on top.


Baked for about 30 minutes at 200 °C, and when the kids came home they smelled it immediately!!! Yum!!!!

Photos by Alessandra Zecchini ©

LinkWithin

Related Posts with Thumbnails