Showing posts with label Preserves. Show all posts

Tuesday, January 31, 2017

Frutta sotto spirito


The easiest way to preserve fruit, if you like alcoholic fruit, that is! The Cape gooseberries are with Whisky, and the cherries and plums with Cognac (I added a bit of sugar to the plums because they were a little sour). I will try them soon!!

Photos and Recipes by Alessandra Zecchini ©

Sunday, June 26, 2016

Quince jelly


I love quince jelly, lovely project for rainy days! Wash and quarter some quinces, removing the pips, then boil the lot with lemon juice and a little water until the fruit is soft and mushy. 


Put the pulp inside a jelly bag, cheaper if you just use a clean pillowcase (I have one which I use just for jellies) and hung it over a bowl (using a broom and two chairs) for a day and night.


This way the juice will drop into the bowl. As a rule if you like a clear jelly do not squeeze the bag! But I confess that I gave it a little squeeze… I wanted to get more out of it!


Measure the juice and add the same amount of sugar, then boil again.


I had lots, so I put half in a container to set, and added Fresh As Raspberry powder to the other half for a quick raspberry jelly. Delicious!


Photos and Recipes by Alessandra Zecchini ©

Thursday, March 19, 2015

Plum Jam (using much less sugar that the traditional 'Anglo' recipes)


Jam made with plums from Oratia. I removed the stone and cooked the plums with a little water and some jam setting sugar (this was a present, and I wanted to try it). The NZ jam tradition seems to be 1kg of sugar for 1 kg of fruit (or even more sugar if you make raspberry jam) for an Italian this is too much. I go for 40 to 60%, with the latter being my preference if I need to preserve the jam for a long time (it helps agains botulin). You can taste the fruit better with less sugar :-).


And our cats, Nikita (left) and Marameo (right) are also enjoying the last of the sun, sleeping outdoors all day long! Marameo is 18 now, an old lady cat 


 Photos and recipes by Alessandra Zecchini ©

Wednesday, August 31, 2011

Quince Jelly


Living in the bush means that I don't have many fruit trees, but from time to time I am lucky enough to get fruit from friend's trees.
One of my favourite has to be quince; it looks so retro and photogenic (ok, I am talking about my dress as well!) and I love quince paste! But this year I decided to make quince jelly, just for a change.


Cut the quinces and remove the pips, add the juice of half a lemon and then place into a pot with a little water. Cook until the quinces are a soft mush. Now you will have to place this 'mass' into a jelly bag or cloth (I use a cotton pillowcase which I bought just to make jellies) and hung it overnight over a bowl to collect the juices. Drip drip drip you will collect some lovely red-orange coloured juice, but do not squeeze the bag, or the jelly will become cloudy!


Measure the juice and add the same amount in sugar. Bring to boil and simmer for about 20 minutes. Test to see if the jelly is setting by picking up a little on a teaspoon: if it hardens when cold then the jelly is ready, otherwise boil it a little longer. Once ready pour into a rectangular container. After a few minutes skin the top (this will have all the 'scum' which rises to the surface and needs to be discarded).
Let the jelly set for a few days, then cut into cubes and serve.


Photos and Recipes by Alessandra Zecchini ©

Sunday, August 28, 2011

Plum Paste


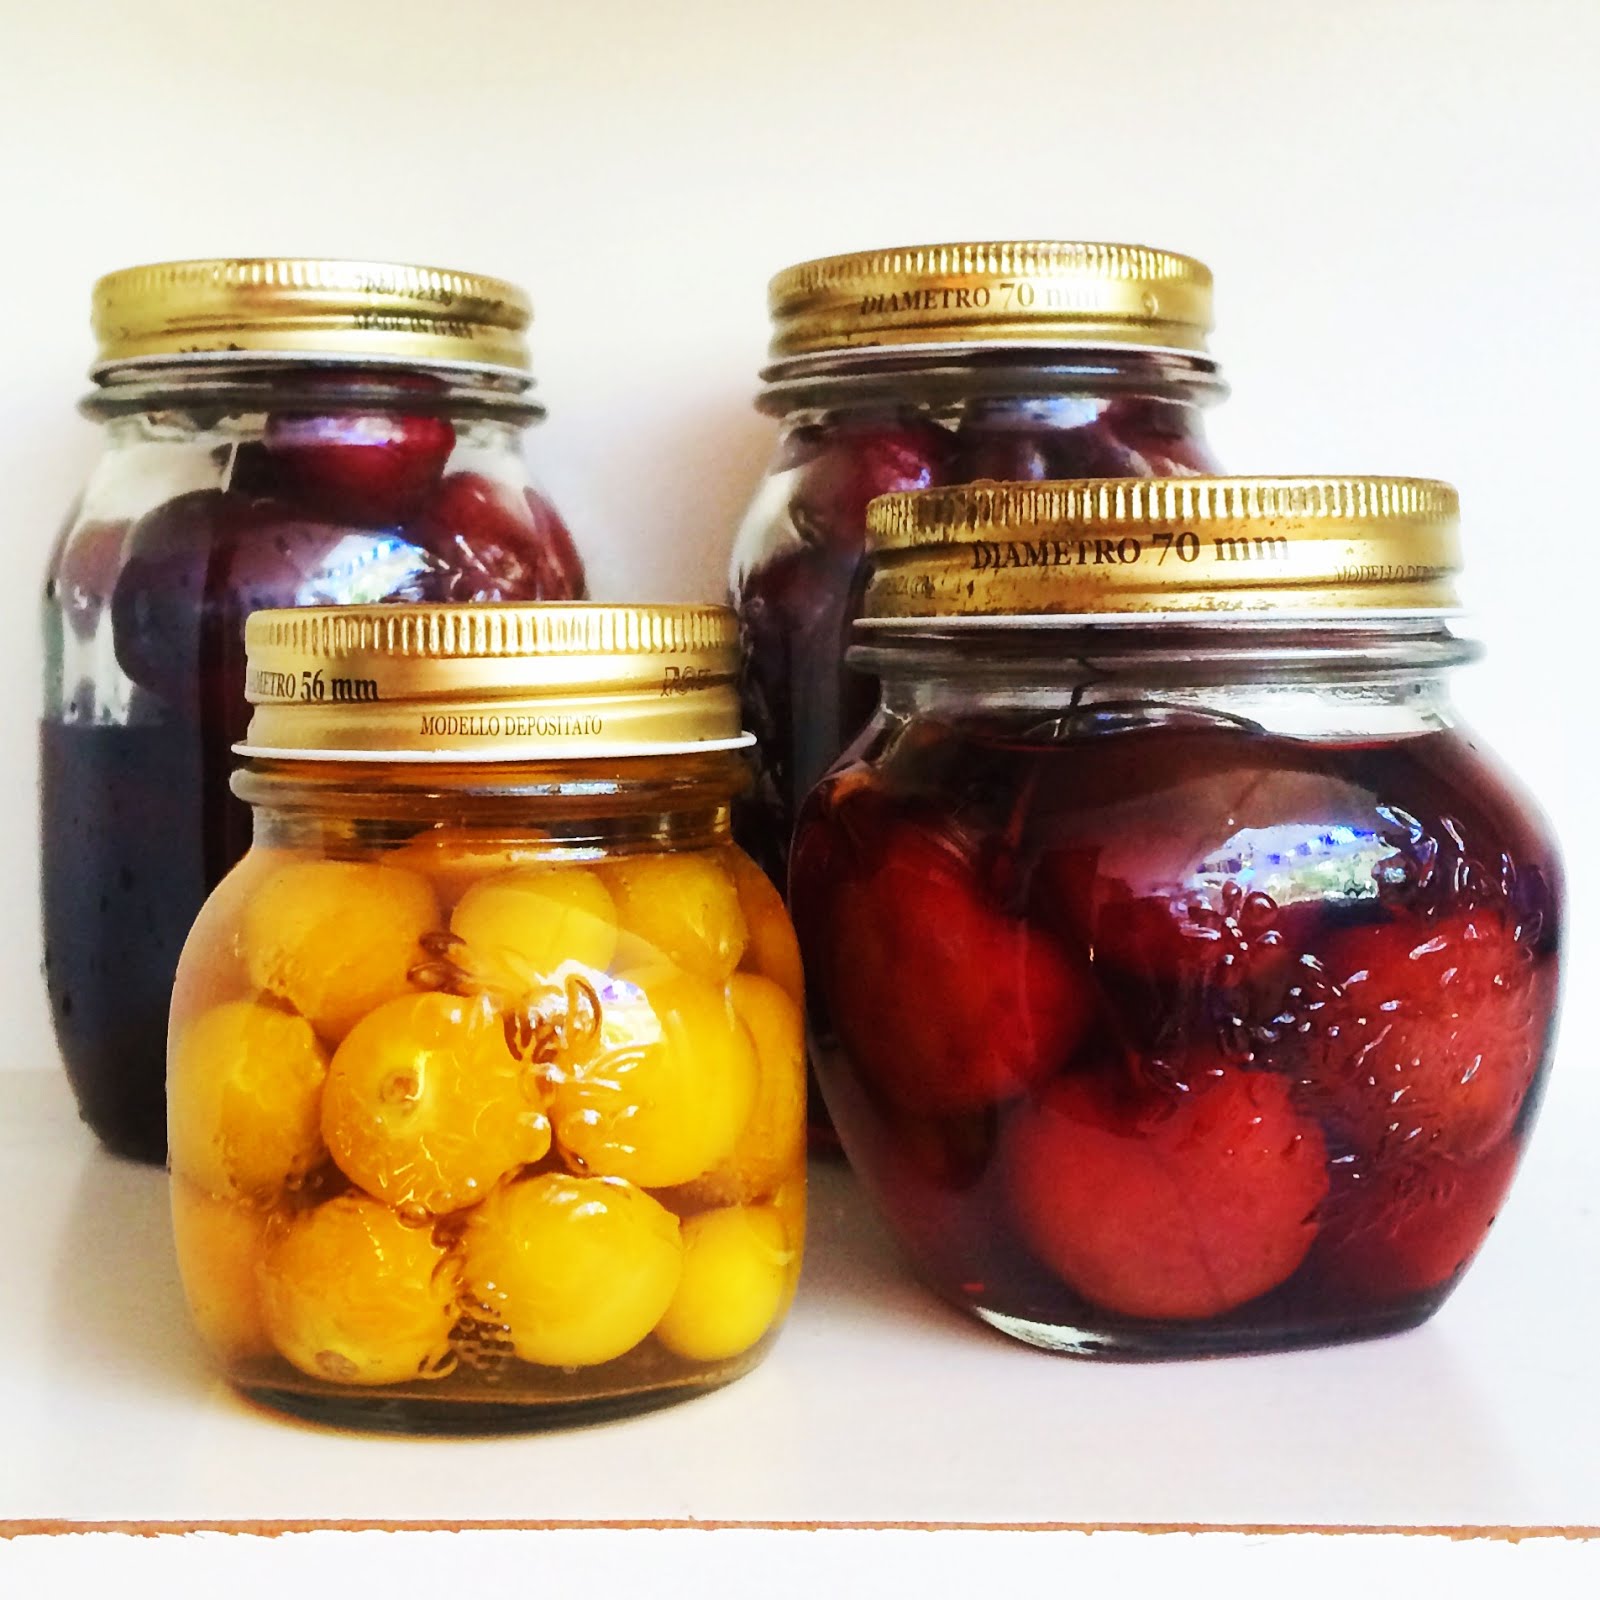
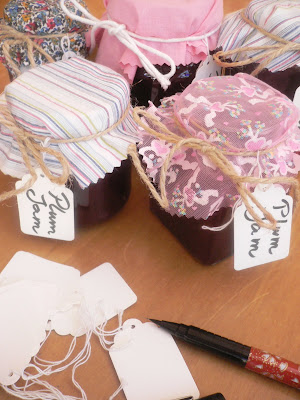
I got the plums from Arfi's garden, when I went to her house for an Auckland food bloggers get-together (this was in the Summer, a bit out of season now in NZ, but ok if you are in the Northern Hemisphere).

Wash the plums and place them in a large saucepan with a little water. Bring the fruit to a gentle boil.


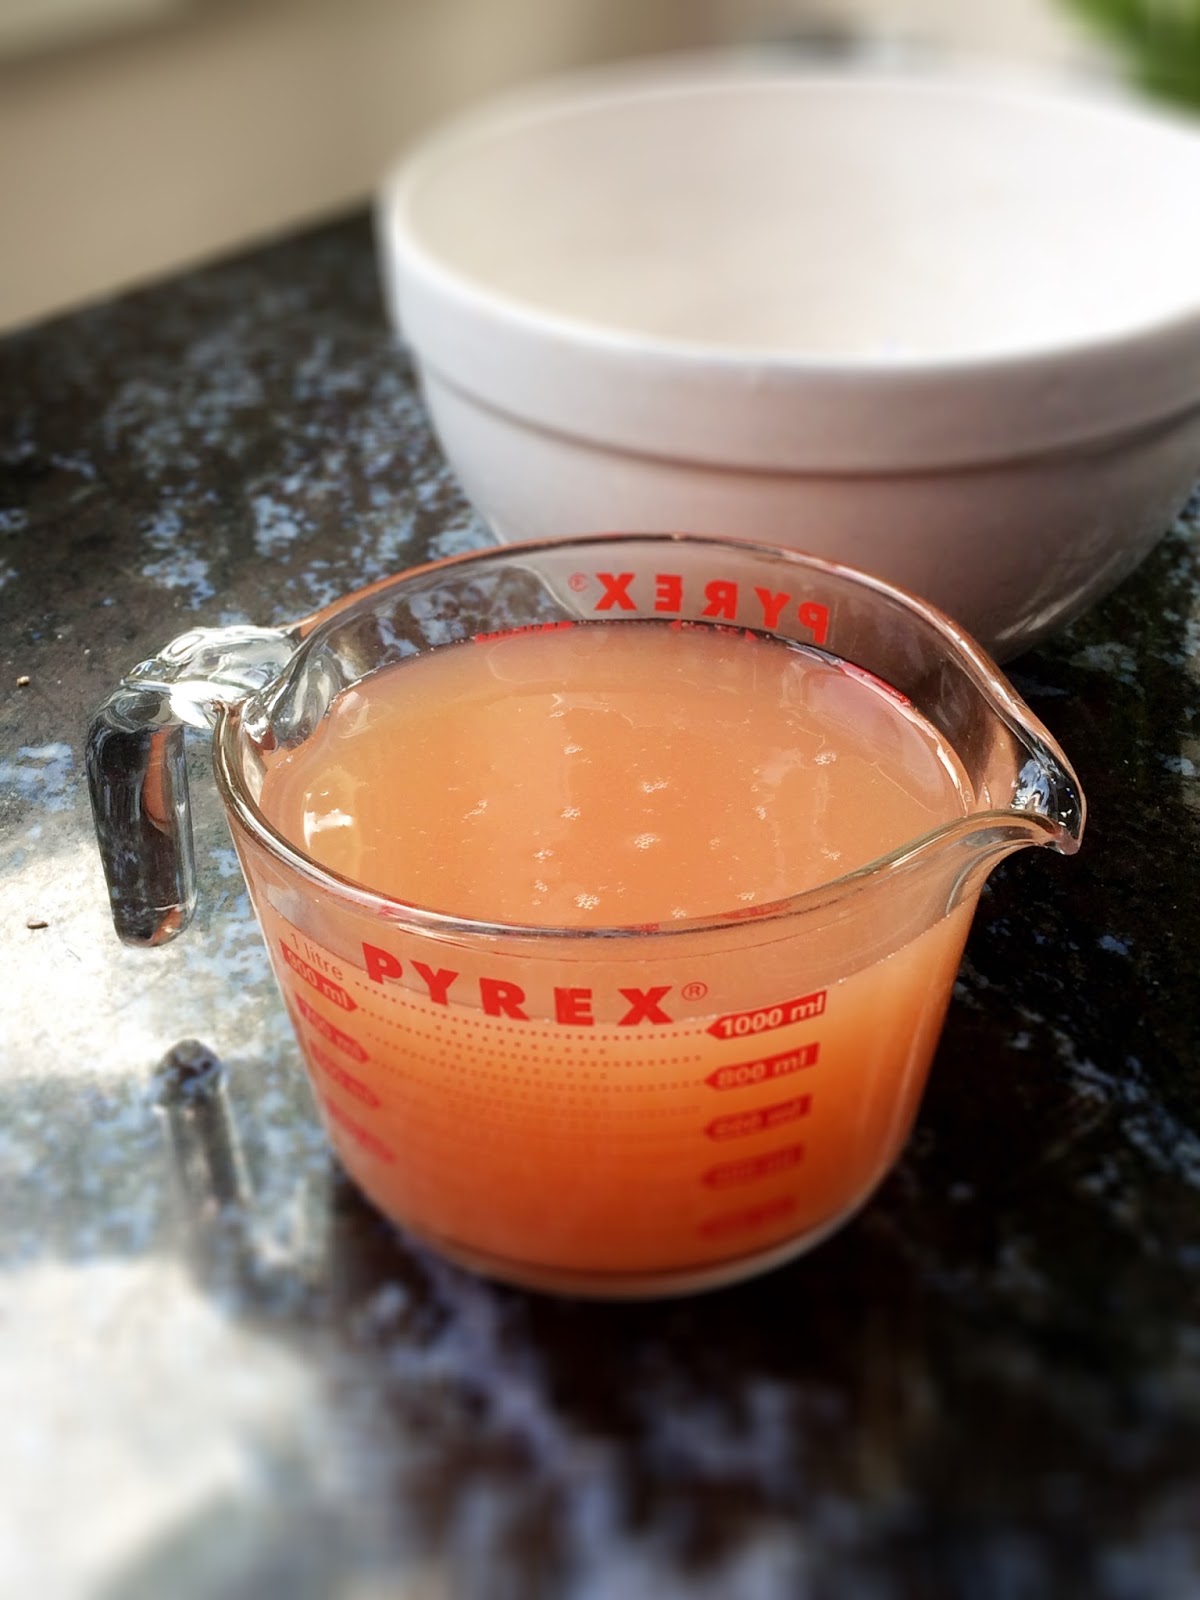
Simmer the jam for about 20 minutes and then pass through a sieve, discarding the stones.
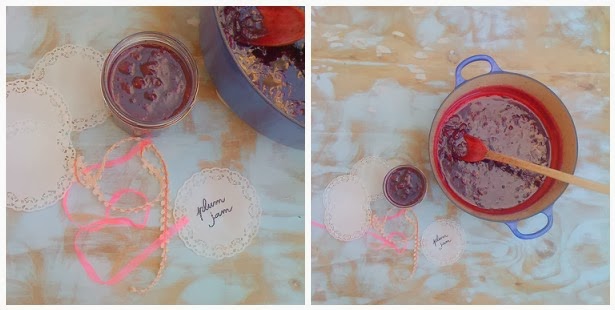
Put back into the pot and bring back to the boil. Add the sugar (I used 60% sugar to the weight of the fruit) and stir well. Simmer until you are happy with the consistency (the more you cook it, the thicker the paste. You can also add an apple (not peeled, just chopped and pips removed) for a thicker paste. 


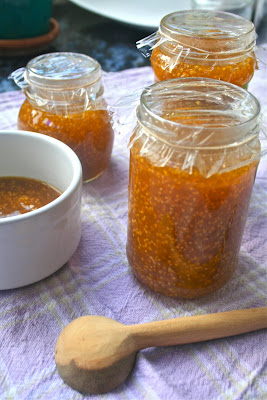
Place the paste into plastic containers, jelly moulds, cups... anywhere you can let it set for a few weeks. I used a silicon muffin tray.


When you need to use the paste tip it over a plate. I did this a bit too early (I couldn't wait to try it) and the top was still soft, but the longer you wait the harder it will become. Arfi calls it Plum Cheese, it is great with bread or crackers.


Photos and Recipes by Alessandra Zecchini ©

Monday, June 27, 2011

Cape Gooseberry Jam


Last Summer I went on a two weeks holiday and upon my return I found that I didn't have a veggie garden but a forest of leaves and bugs! We had so much rain when I was away, and I could hardly see the tomatoes on the plants (full of leaves), the zucchini plants were rotten while pumpkins were crawling everywhere, and golly, the Cape gooseberries were out of control!


My problem is that I am not very good at 'thinning' plants. I don't have the courage of killing a seedling just because it gets to close to another one... and the result is this: a mess! I almost felt like removing all the cape gooseberry plants at once, but then I remember the Italian bloggers saying that cape gooseberries are so expensive in Europe... so I picked some and made a jam, on the same afternoon that I got home, even if I was tired from the trip.


Ingredients:

700 g cape gooseberries
Juice of half a lemon
500 g sugar (I used caster sugar simply because I just had that in the pantry, having being away so long!)
1 big apple


Wash the freshly picked fruit and place in a large saucepan with a little water and the lemon juice. Bring the fruit to a gentle boil. When the fruit is simmering add the apple, cut and cored but not peeled (the peel contain pectin, which will help your jam set) and the sugar. Stir often and cook for 30 minutes, then blend with an immersion blender. Cook for 10 more minutes, at this point the jam should start setting (check by picking up a little with a metal spoon).


Place the hot jam in sterilised jars, dried in the oven. Either seal the jars with cellophane covers (available in all supermarkets) and secure with an elastic band, or use capsule lids (I use Quattro Stagioni brand).
If using capsule lids, seal the jars well, place in a pot and cover with water. Bring to the boil and simmer for 20 to 30 minutes, depending on the size of the jars. Let the jars cool down in the pot overnight and when they are cold make sure that the capsule has popped by pressing gently on the lid. Properly sterilised jars will keep for over a year.


The jam turned out to be great, possibly one of the best jams I have made during the Summer :-)


Photos and Recipes by Alessandra Zecchini ©

Wednesday, February 2, 2011

My Sweet and Spicy Tomato Chutney


Ingredients


1 kg tomatoes

1 red onion

3 fresh chillies, finely sliced

3 garlic cloves, peeled

1 tsp freshly grated ginger

4 tbsp sultana

250 ml white vinegar

1 tsp salt

1 tsp hot chilli powder (optional)

1 cinnamon quill

5 cloves

400 g sugar

1 apple


Wash the tomatoes and dice into 2 or 3 cm pieces. Peel and chop the onion and dice into 1 cm pieces. Place the vegetables in a large saucepan with the chillies, garlic cloves and ginger.


Bring to simmer, stirring often, and when the tomatoes are starting to break add the sultanas, vinegar, salt, hot chilli powder (if using), cinnamon and cloves. Bring back to simmer point and then add the sugar.


Stir well until the sugar is dissolved, then add the apple, also diced into 2 or 3 cm pieces, but not peeled (apple peel contain pectin, a setting agent). Keep stirring and simmer until the apple becomes soft, but not mushy.


Add some fresh chillies if you like and simmer for five more minutes.


Place the hot chutney into sterilised jars (dried in the oven), then let it cool down and close with the capsule lids. Place the jars in a pot and cover with water. Bring to the boil and simmer for 20 to 30 minutes, depending on the size of the jars. Let the jars cool down in the pot overnight and when they are cold make sure that the capsule has popped by pressing gently on the lid. Store in a dark place and then, once opened, in the fridge.


Photos and Recipes by Alessandra Zecchini ©


Sunday, January 30, 2011

Plum Jam


Plum jam is one of my favourite, and as I live near some beautiful orchards in Oratia, west of Auckland, I like to make the most of the plentiful supply.


Plum Jam


Ingredients:


For each Kg of plums I used 600 g of sugar, (because I like my plum jam a little tart) and one teaspoon of pectin.


Wash the freshly picked fruit and place in a large saucepan with a little water. Bring the fruit to a gentle boil. When the fruit is simmering add the sugar and stir well. After 5 minutes add the pectin. Simmer the jam for about 5 more minutes and then pass through a sieve, discarding the stones.


Place the hot jam in sterilised jars, dried in the oven. At this point you can add to each jar a cinnamon stick (for dark plums) or a long pepper (for yellow plums); or you can wet the inside of the jar with a little grappa or brandy (an old Italian method). Either seal the jars with cellophane covers (available in all supermarkets) and secure with an elastic band, or use capsule lids (I use Quattro Stagioni brand).


If using capsule lids, seal the jars well, place in a pot and cover with water. Bring to the boil and simmer for 20 to 30 minutes, depending on the size of the jars. Let the jars cool down in the pot overnight and when they are cold make sure that the capsule has popped by pressing gently on the lid. Properly sterilised jars will keep for over a year.


I also made plum paste, I just used the jam that was left in the bottom of the pot and cooked it a bit longer. Then I pour it into a square container and let it set hard.


Photos and Recipes by Alessandra Zecchini ©