It's U-Pick Strawberry season at the local farms near us... so out to the fields we headed. But first...
There was a GREAT yard sale (a moving sale actually, a "make me a reasonable offer and I'll take it" sale) advertised locally as well so of course we had to check that out before we made our way to the strawberry farm. We plan to move soon and are in need of several items, especially storage and we scored big on plastic
storage bins
at the yard sale and found a like-new
file cabinet
and several other items we just "had" to have. After stowing our purchases inside our compact car... and tied onto the top of our compact car, and holding some smaller items on our laps... we chose to take our treasures back home before picking strawberries, looking very much like the
Beverly Hillbillies
as we meandered our way through the back streets of town to unload our wares.
Another back story... I am a country girl, born and raised in the hills of North Carolina... I met my wonderful, precious husband four years ago and three years ago I moved to town, to a new life with my now DH, a city boy, one of the hardest working men I've ever known, but a city boy nonetheless and accustomed to modern conveniences and take-out... till he met me! He's learning that he actually enjoys "from scratch" living, especially "from scratch" cooking, but he still likes pizza delivery,
microwave
s, and coffee at the touch of a button.
This was his first "U-Pick" experience...
We arrived at the farm and headed to the stand to pick up our buckets for berry picking... I asked the price and was directed where to go in the fields to start picking... DH's eyes were locked on the boxes of already picked berries right there on the table underneath the shade of the stand. "What's wrong with these?" he asked. They were ONLY a couple dollars more! The farm stand attendant and I chuckled a little and I said, "he has no sense of adventure, does he?" I chose my buckets, handed DH his and we started down the path toward the strawberry fields... already he was directing... "people are generally lazy, so I bet if we go to the farthest field, we'll find more berries," says he, the man who was 3 minutes before, ready to buy pre-picked strawberries! We made our way a quarter mile or more to the farthest field, at his suggestion.
As we began searching the plants for the ruby-colored juicy berries, his lack of exuberance began to change... I started hearing "Look here at this big one!" and "Here's a bunch of them on this plant!" and after a taste or two... "Man! these are sweet and so juicy!" "C'mon down THIS row, there are a LOT of good ripe ones here!" We had a blast choosing and picking our own sweet berries... maybe he was just glad I didn't expect him to grow them too! News Flash! That's my next plan! I'll make a farmer out of that sweet city boy yet!
After picking our buckets full and overflowing... there seemed to always be "just one more really big one over here!" we started back to the farm stand to pay (DH admitted to the attendant that he had "taste-tested" about five berries, "for quality control, you know"... she laughed and said, "That's OK, we'll let you have those) and then on to our next stop... a cool drink and lunch at one of our favorite restaurants... then home where the Strawberry Picking King leaned back on the couch for a little afternoon nap in front of the television and Canning Granny headed to the kitchen to began the process of "putting up" the fresh juicy goodness! Strawberry pie filling...
**Disclaimer** The USDA and Ag Extension offices do not recommend using flour,
cornstarch
, or other thickeners in home canning. Older grannies have done so for many years without harm, but it's not a recommended method.
Me, being the rebel that I am, chose to use my granny's tried and true methods, took the risk and used cornstarch in my Strawberry Pie Filling project. It seems there IS a new thickener on the market that IS approved by the USDA, it's called
ClearJel
(not to be confused with
SureJel
) and is a modified cornstarch that is said to work better in home canning. This product is not readily available at the local grocery store, however, (you have to order it online) and it's more expensive than good old cornstarch. I took my chances. Here's what I did...
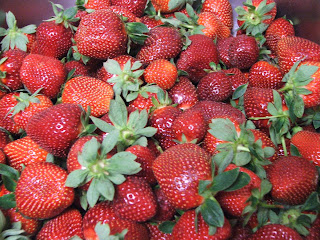
I hulled and sliced 16 cups of strawberries.
Then I mashed up 8 cups of the berries (half of them), using a
potato masher
.
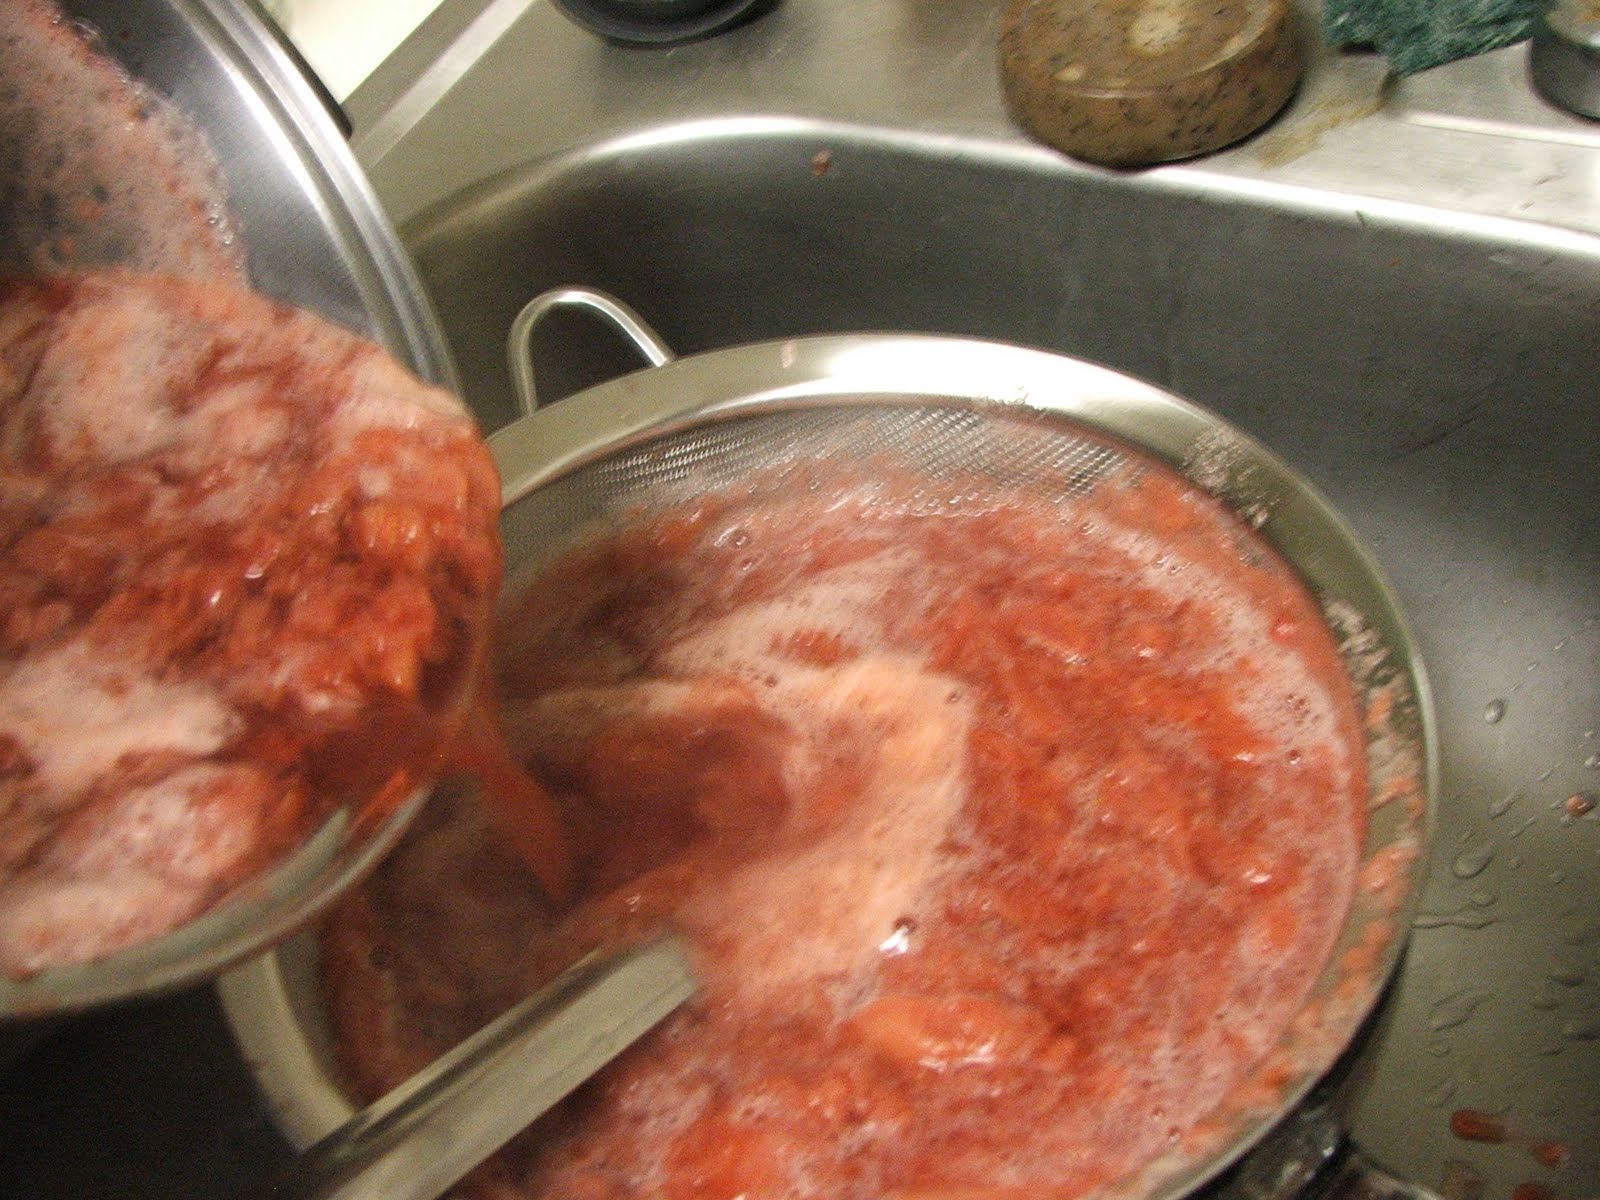
Next I added 4 cups of water to the mashed strawberries and brought the mixture to a boil and simmered for about three minutes.
I strained this mixture through a
fine mesh wire strainer
and returned the juice to my saucepan (at least 4 cups of juice is needed, I think I had about 6 cups, so I went with that... if there's not at least 4 cups, water can be added until it measures at least 4 cups)
Once my juice was added to the pot
I added 4 cups of granulated sugar
A box of strawberry
Jello
(3 oz. box)
A teaspoon of salt and 12 Tablespoons of cornstarch
Meanwhile I had washed my
pint canning jars
and left them hot in the dishwasher (my dishwasher gets hot enough to sterilize jars)
And I put my lids and rings in simmering water and kept them hot until I was ready to use them.
I stirred my juice, sugar, cornstarch, etc. mixture constantly as I brought it to a boil...
Then continued stirring and cooking the mixture until it was thick and clear red. I then poured this mixture over the remainder of the sliced strawberries in a large stock pot (I also added the mashed berries I had strained the juice from, I hated for them to go to waste, my pie filling might not be as pretty, but it will be yummy, and I'll feel much better not wasting any of the sweet deliciousness).
I stirred the still hot mixture until it was all blended well.
I then ladled the hot mixture into my hot pint jars, using my
canning funnel
.
Wiped the jar rims with a damp cloth.
And tightened the lids onto the jars (finger tightness is all you need)
I then loaded the jars into my
water bath canner
(a large pot with a lid will work too, as long as you can cover the jars with water)
I filled the canner with hot water to cover the jars.
I put a lid on the canner loosely and brought the water to a boil, then adjusted the heat to keep a gentle boil going, processing the jars in the boiling water bath for 40 minutes.
After the jars processed, I used my
jar lifter
and removed the jars from the canner and set them (about an inch apart for air circulation) on a folded dish towel on the counter to cool and seal.
DH awoke from his nap to the wonderful aroma of strawberries filling the house...
I listened for the PING sound of a successfully sealed jar... Then it was time for my nap! Zzzzzzzzzz.....
Canning Granny©2011 All Rights Reserved


 (with the heat on high), about 2 Tablespoons of butter for every pound of onions... I had sliced 6 pounds of onions, so I melted one stick of butter...
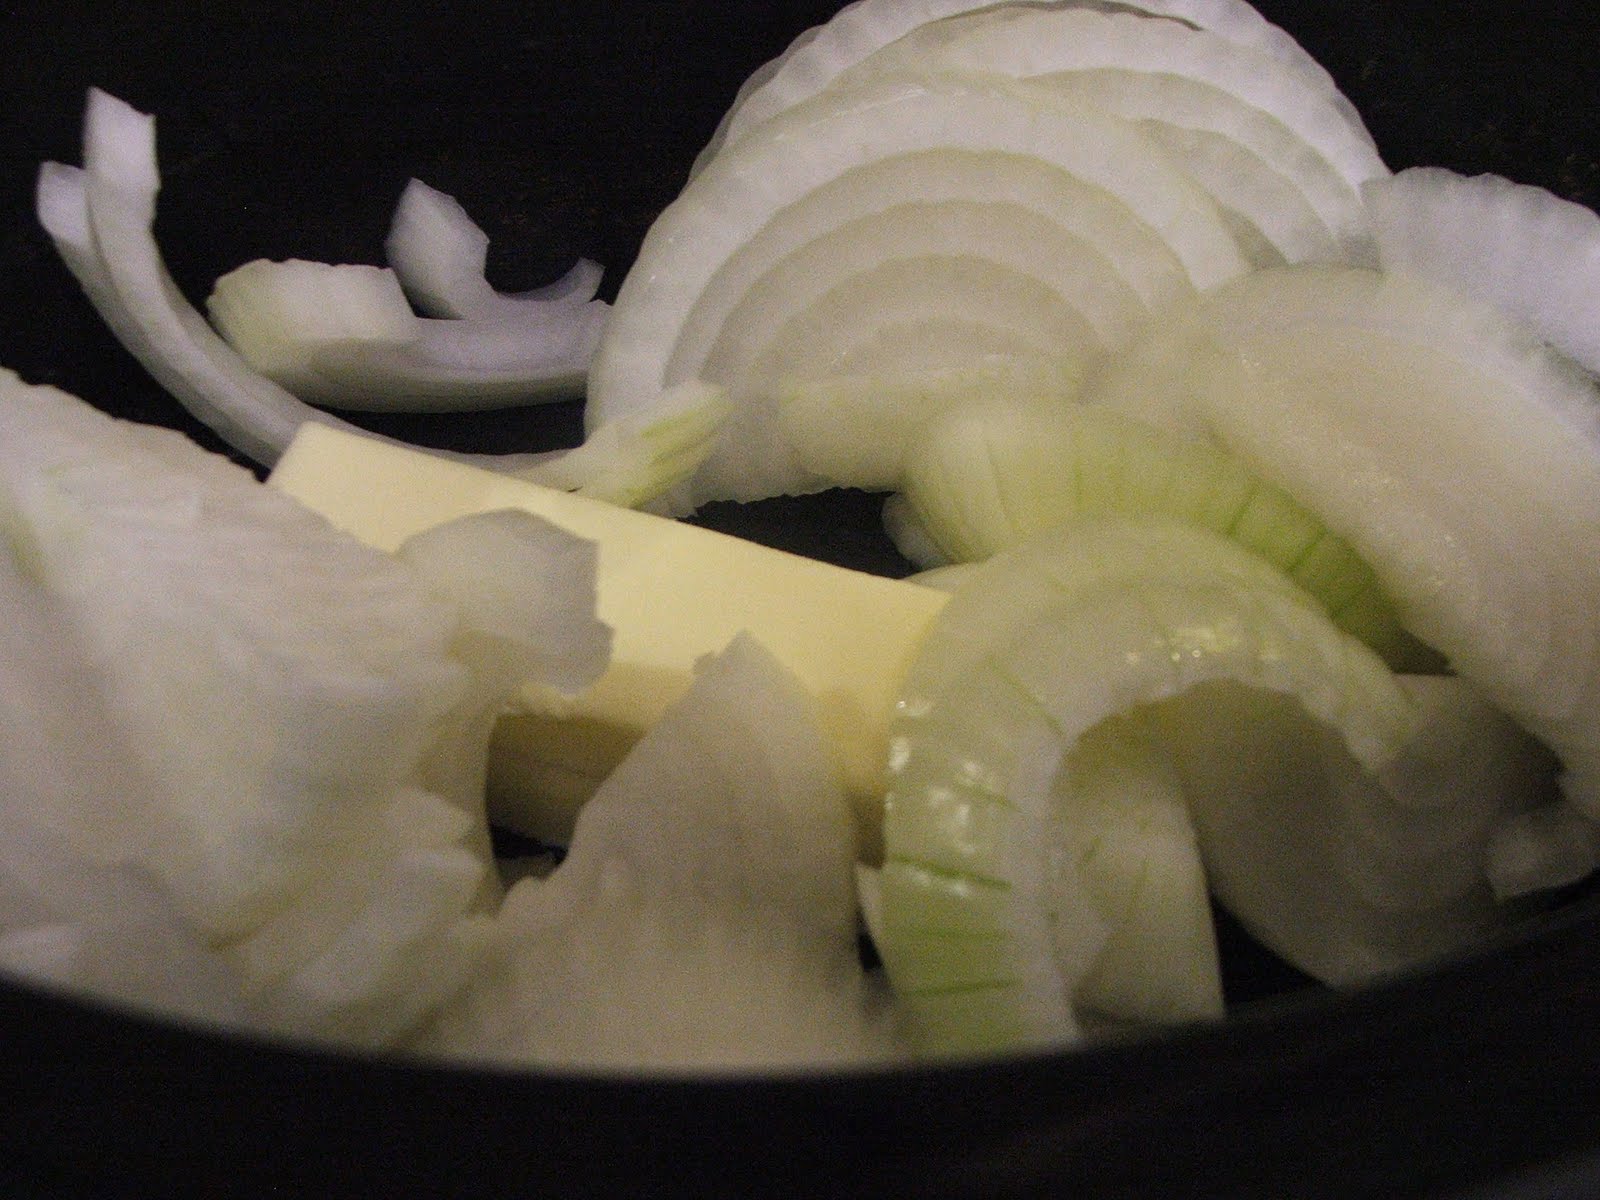


 in a pan of water set across two stove eyes with a dish towel lining the bottom of the pan to keep the jars from tipping over or knocking together.


 , I ran it down the sides to get rid of any air bubbles (a butter knife will do the job just as well).
 out.
out.