Showing posts with label Pork. Show all posts

Wednesday, February 29, 2012

Canning Pulled Pork Barbecue

I am from Western North Carolina... lived there all my life... and then I moved... to the Midlands of South Carolina three years ago. I love my job here, the people are so wonderful. Winters are mild here. Spring is beautiful, the flowers are gorgeous. It's really a nice place... and my life is better than ever...

But...

There are a few things I REALLY miss about my former lifelong home... it's flat here, sometimes I really miss my mountains... it's HOT here in the summer, and humid... and the barbecue here is... well... to put it politely... it's not to my liking... (*whispers* it's yucky)

Where I come from barbecue is almost a religion... and it's red... and slightly sweet, with a little vinegary flavor...

Here barbecue is eaten, loved by many... and it's yellow... mustard based... they think that's normal... they actually like it that way! THEY don't know any better...

I recently bought two nice Boston Pork Butts on sale at my local grocery store... it was time to make some REAL barbecue!

Boston butt is a cut of pork that comes from the upper part of the shoulder from the front leg and may contain the blade bone. In the US, smoked or barbecued Boston butt is southern tradition. In pre-revolutionary New England and into the American Revolutionary War, some pork cuts (not those highly valued, or "high on the hog," like loin and ham) were packed into casks or barrels (also known as "butts") for storage and shipments. The way the hog shoulder was cut in the Boston area became known in other regions as "Boston butt." In the UK it is known as "pork hand and spring," or simply "pork hand."

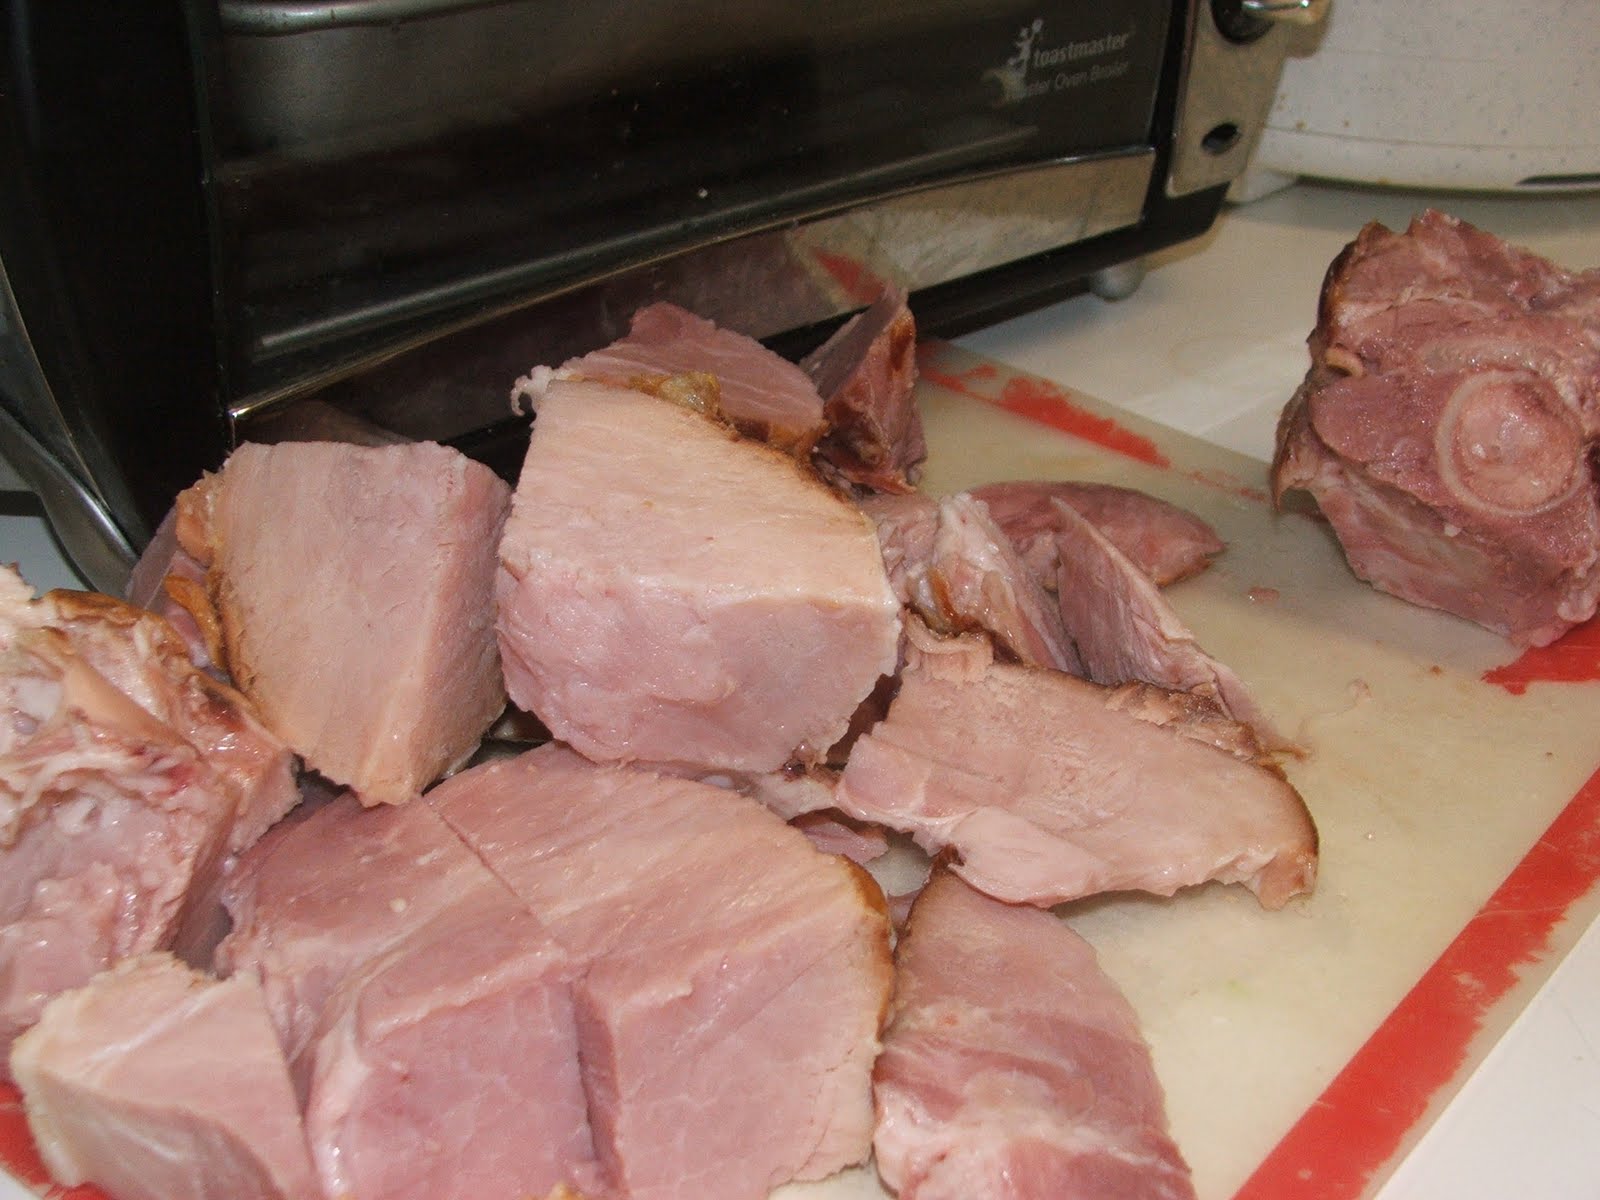
There are many ways to cook pork butt... it can be slow roasted in the oven, wrapped in aluminum foil and baked, put in the slow cooker... we decided to smoke ours this time... Mmmm!


After cooking, I pulled the pork (hence the name, "pulled pork") from the bone, removed all the fat and gristle, chopped, and shredded it. (Smokey Dog enjoyed the fat, gristle, and bone... over a period of several meals)


Then I made my homemade barbecue sauce with...

1-3/4 cups ketchup
1/4 cup prepared mustard
1/4 cup brown sugar
1/4 cup apple cider vinegar
1/2 Tbsp. garlic powder
1 tsp. black pepper
1/2 oz. liquid smoke
1 oz. Worcestershire sauce
1 oz. hot sauce (I used Louisiana brand)
1/2 Tbsp. lemon juice

Since I was barbecuing two butts... I doubled the above recipe, except for the liquid smoke... since the meat was already smoked AND liquid smoke tends to intensify when canned, I left it at 1/2 ounce.

Any good barbecue sauce would work with this process, bottled, your own recipe, someone else's recipe... it's all a matter of taste.


I mixed my sauce in with the pulled pork... it seemed a little dry for canning... I wanted my pork to be completely submerged in the sauce... so I added some water until I got the consistency I was looking for (I added about 2-3 cups of water).

I brought the meat/sauce mixture to a simmer... meanwhile I prepared my pint canning jars by boiling them in water... and I put my lids in simmering water to sterilize and kept them all hot until I was ready for them.

Again, a matter of taste... the pulled pork could be canned without sauce, adding the sauce after opening or used in other pork recipes... broth or water could be added to the jars of pork instead of the BBQ sauce.


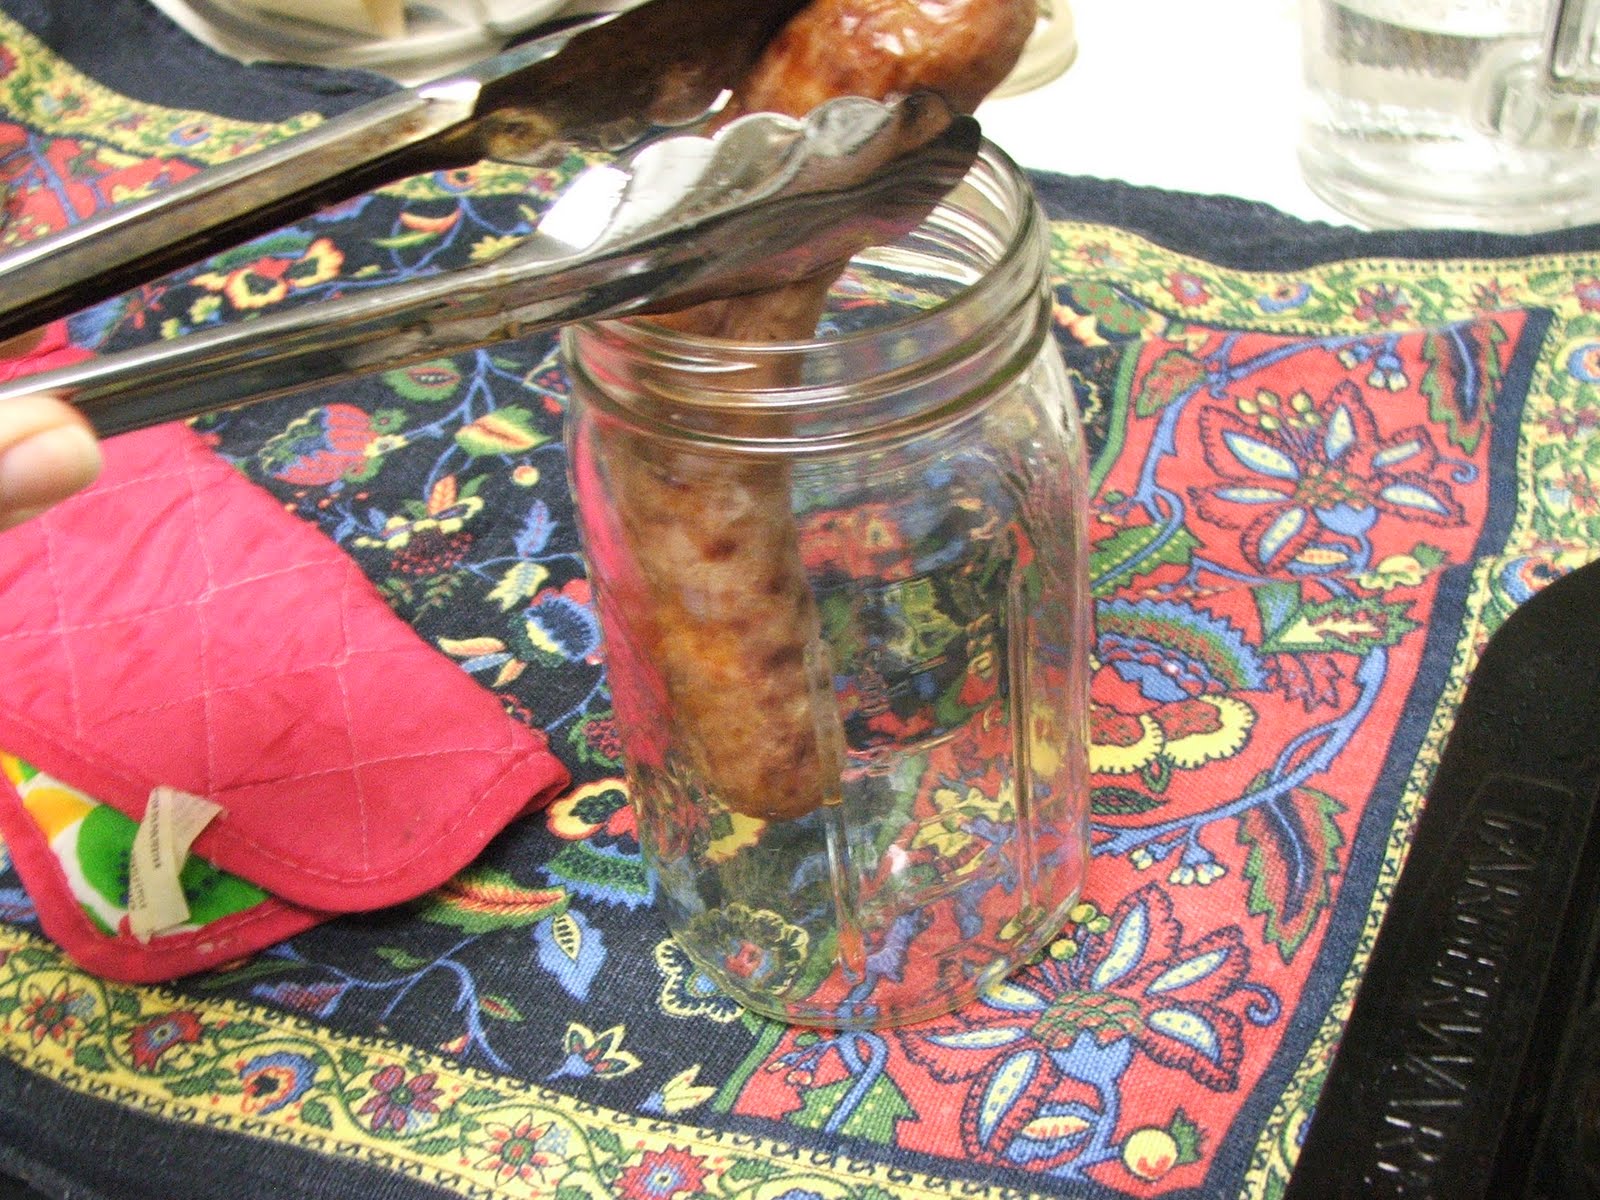
I ladled the hot barbecue into the hot jars...


I wiped the jar rims with a damp cloth to remove any residue... dipping the cloth in a little vinegar helps to remove any grease that might have been left on the jar rim.


I removed the lids from the simmering water using my handy dandy magnetic lid wand, tightening them onto the jars to a fingertip tightness.

I processed the jars in my pressure canner at 10 pounds of pressure for 70 minutes (90 minutes for quart jars).

After processing, I removed the canner from the heat and let it cool, and allowing the pressure to drop naturally (don't hurry it or it might result in broken jars and ruined barbecue!)... then I removed the canner lid...


...and removed the jars from the canner using my jar lifter... and set them on a folded dish towel on the counter to cool... and to listen for the PING of each successfully sealed jar.


Ahhh... real barbecue any time I want it... RED... like barbecue is supposed to be!


Tuesday, May 10, 2011

Canning Ham


OK... so I bought a big ham when they were on sale near Easter, can't pass up a good sale. We stayed home, just the two of us on Easter this year so there's that big ol' ham for two! I decided to slice out what we would eat and can up the rest... here's what I did...

First I washed my jars, this time I used quart jars, and kept them hot until I was ready for them. I simmered my lids and rings in hot water and kept them hot... and I got my trusty pressure canner out and got it ready.


I cut my ham up into chunks to fit nicely into my jars.


Once I had all the ham "chunked" up it was time to start filling the jars.


I had a nice, meaty ham bone left over and not one to waste a good ham bone, I put it in the crockpot with some pintos for supper... Yummy! But I digress... back to canning the ham...

I filled the jars with the ham chunks, leaving an inch of headspace. Now the decision... do I add broth or water to the ham? or not? I chose not, the ham would make its own juices.


I wiped the jar rims with a cloth dampened with a little vinegar (the vinegar helps remove any greasy residue better than water alone)... removed my lids (using my trusty magnetic wand gadget) and screwed them onto the jars (finger tightness) then I processed the jars, following the directions in my canner's instruction booklet, at 10 pounds of pressure for 90 minutes.

After the jars processed and the canner cooled down, the pressure returning to ZERO... I removed the jars from the canner with my jar lifter and set them on the counter on a folded dish towel to cool and seal.


I sat back, relaxing with a cool drink and listened for the sound of the PING of a successfully sealed jar! A beautiful sound!

Now if I could only can deviled eggs to go with that ham... Hmmmm... canned deviled eggs??? Nah! Guess not!

Canning Granny©2011 All Rights Reserved


Tuesday, May 3, 2011

Canning Bratwurst


Brats were on sale this week at the grocery store... I bought a few packages. I vacuum sealed some of them and put them in the freezer. But my freezer is not so big... and it's filled to overflowing with important things, like ice cream! So I decided to can a few of these Mega-Brats... here's how I did it...

First I browned the sausages a little in the oven... cooked them at 400 degrees for maybe 10-15 minutes, just to brown them and keep them from sticking together when I canned them, the canning process would cook them through, I just wanted a good brown on them.

I heated my wide mouth quart jars by washing them in the dishwasher and leaving them hot until I was ready to use them (my dishwasher gets HOT!) And I simmered my lids and rings in hot water until time to seal the jars.


Using tongs, I began loading up the jars with the brats... these brats were extra-long so had to squish and maneuver them a little to fit them in the jars, but I did it! I got five brats in each jar.


I wiped the jar rims with a damp cloth... with meats and the greasiness they possess, it's a good idea to dampen the cloth with a little vinegar, it helps cut the grease better than water alone.


I removed the lids from the simmering water using my magnetic wand gadget and sealed the jars with a fingertip tightness (not too tight, not too loose!)


Using my pressure canner's recommended directions for pressure canning meats (each canner is different, read and follow ALL safety and canning instructions carefully)... I pressure canned my brats at 10 pounds of pressure for 90 minutes.


After the processing, I removed the canner from the heat and let the pressure drop to ZERO without any outside influences... just let it sit and do its thing.

Then I opened the canner CAREFULLY... it's still hot, Hot, HOT!!! and removed the jars one at a time using my jar lifter... setting them on a folded towel on the counter to cool.


And to wait for the PING! of a successfully sealed jar!

Canning Granny©2011 All Rights Reserved


Monday, April 25, 2011

Canning Brunswick Stew

We recently took a vacation trip to St. Simons Island, Georgia where we visited James Gould's (Mr. Gould "Dear" of Eugenia Price's Lighthouse trilogy fame) lighthouse and attended Christ Church where the history of the island is abundant inside the beautiful old church built by the Rev. Anson Green Phelps Dodge, and among the headstones in the cemetery underneath the beautiful live oaks draped with Spanish moss. At night we stayed just up the road and across the intracoastal waterway and Marshes of Glynn in the coastal town of Brunswick.


On our return, the Canning Granny in me was bound and determined to can up some Brunswick Stew in honor of our stay on the Golden Isles of southern Georgia.


The georgiaencyclopedia.org states that...

"Brunswick, Georgia, claims to be the place of origin for Brunswick stew. A twenty-five-gallon iron pot  
outside that coastal town bears a plaque declaring it to be the vessel in which this favorite southern
food was first cooked in 1898. In truth, the one-pot meal is credited to a number of places with Brunswick in
their names, but the honor (so far as the name is concerned) must go to Brunswick County,
Virginia. There, according to an entrenched local tradition supported by a 1988 Virginia General Assembly
proclamation, Jimmy Matthews, an African American hunting-camp cook, concocted a squirrel stew for his
master, Creed Haskins, in 1828, the stew being named for its home county.


As Georgia humorist Roy Blount Jr. quipped, 'Brunswick stew is what 
happens when small mammals carrying ears of corn 
fall into barbeque pits.'"


The recipe I chose to use for my stew is Spanky's Seafod Grill and Bar's 
World Famous Brunswick Stew, a recipe with several steps...
I started with the sauce
In a 2 quart sauce pan, over low heat, melt ¼ cup of butter then add:
1¾ cups Catsup
¼ cup Yellow Mustard
¼ cup white vinegar

Blend until smooth, then add:
½ tablespoon chopped garlic
1 teaspoon coarse ground black pepper
½ teaspoon crushed red pepper
½ oz. Liquid Smoke
1 oz. Worcestershire Sauce
1 oz. Crystal Hot Sauce or ½ oz. Tabasco
(I used Crystal Hot Sauce, very tasty!)
½ tablespoon fresh lemon juice

Blend until smooth, then add:
¼ cup dark brown sugar
Stir constantly, increase heat to simmer (DO NOT BOIL) for approx. 
10 minutes.
Makes approx. 3½ cups of sauce (set aside - to be added later).

DH decided the sauce would make a great BBQ sauce...
might mix some up
later and can it by itself for
basting chicken on the grill and such.
Now for the stew part of this yummy concoction...


In a 2 gallon pot, over low heat melt ¼ lb of butter then add:
3 cups small diced potatoes
1 cup small diced onion
2  14½ oz. cans of chicken broth
1 lb baked chicken (white and dark)
8-10 oz. smoked pork

Bring to a rolling boil, stirring until potatoes are near done, then add:
1 8½ oz. can early peas
2   14½ oz. cans stewed tomatoes -
(chop tomatoes, add liquid to the stew pot)

The prepared sauce
1 16 oz. can of baby lima beans
¼ cup Liquid Smoke
1  14
½ oz. can creamed corn

Slow simmer for 2 hours


Here's where I strayed from the recipe a little since I planned on canning 
this Brunswick Stew...
I added the onions, broth, chicken and smoked pork, stewed tomatoes, 

prepared sauce, liquid smoke, and creamed corn, but waited to 
add the potatoes, peas, and lima beans until just before filling my 
canning jars... didn't want my veggies to cook all to mush since 
they would be pressure canned for 90 minutes...
I added them last, just heating them through before filling my jars. 

And since the recipe I was using claimed to make one gallon of stew, 
I decided to double the recipe so I would have a full run of seven 
quart jars of stew and some left over to eat for supper.

Some of the ingredients for Brunswick Stew


Roasted chicken ready for shredding and
adding to the stew pot
Adding ingredients to the stew pot
Chopping roasted chicken

Potatoes diced and ready to add to the stew pot


I added the potatoes to the stew last so they wouldn't
turn to mush during the 90 minute canning process, just
letting them heat up without cooking through.
I sterilized my quart canning jars and simmered my lids and rings for 
10-15 minutes and kept them  hot till they were ready to use.


I filled the jars leaving an inch of headspace, then wiped the jar rims with a 
damp cloth to remove any dripped juice that might keep the lids from sealing. 
I removed the lids from the simmering water with a magnetic wand
(a handy gadget to have!) and tightened them onto the jars. Using my jar lifter
(because those jars are HOT!) I loaded them into the pressure canner for 

processing.

Following my canner's instruction book for the ingredient in the stew that 

takes the most time, I pressure canned the stew at
10 pounds of pressure for 90 minutes.

After allowing the pressure in the canner to drop to ZERO, I removed 

the canner lid and, once again using my handy dandy jar lifter,
I removed the jars from the canner and placed them on a
folded dish towel on the counter to cool.

The PING! sound of a successfully sealed jar is a 

beautiful sound indeed!


Check out this YouTube video DH and I made showing some of the 
steps to canning this delicious Brunswick Stew
http://youtu.be/bXqSBROJBew


Canning Granny©2011 All Rights Reserved


html, body, div, span, applet, object, iframe, h1, h2, h3, h4, h5, h6, p, blockquote, pre, a, abbr, acronym, address, big, cite, code, del, dfn, em, font, img, ins, kbd, q, s, samp, small, strike, strong, sub, sup, tt, var, b, u, i, center, dl, dt, dd, ol, ul, li, fieldset, form, label, legend, table, caption, tbody, tfoot, thead, tr, th, td { margin: 0; padding: 0; border: 0; outline: 0; font-size: 100%; vertical-align: baseline; background: transparent; } body { line-height: 1; } ol, ul { list-style: none; } blockquote, q { quotes: none; } /* remember to define focus styles! */ :focus { outline: 0; } /* remember to highlight inserts somehow! */ ins { text-decoration: none; } del { text-decoration: line-through; } /* tables still need 'cellspacing="0"' in the markup */ table { border-collapse: collapse; border-spacing: 0; }