
This is one of those creations that happened while using up leftover vegan pastry and a bit of peperonata I had in the pot. The resulting dish was so pretty and delicious that I decided to share it,
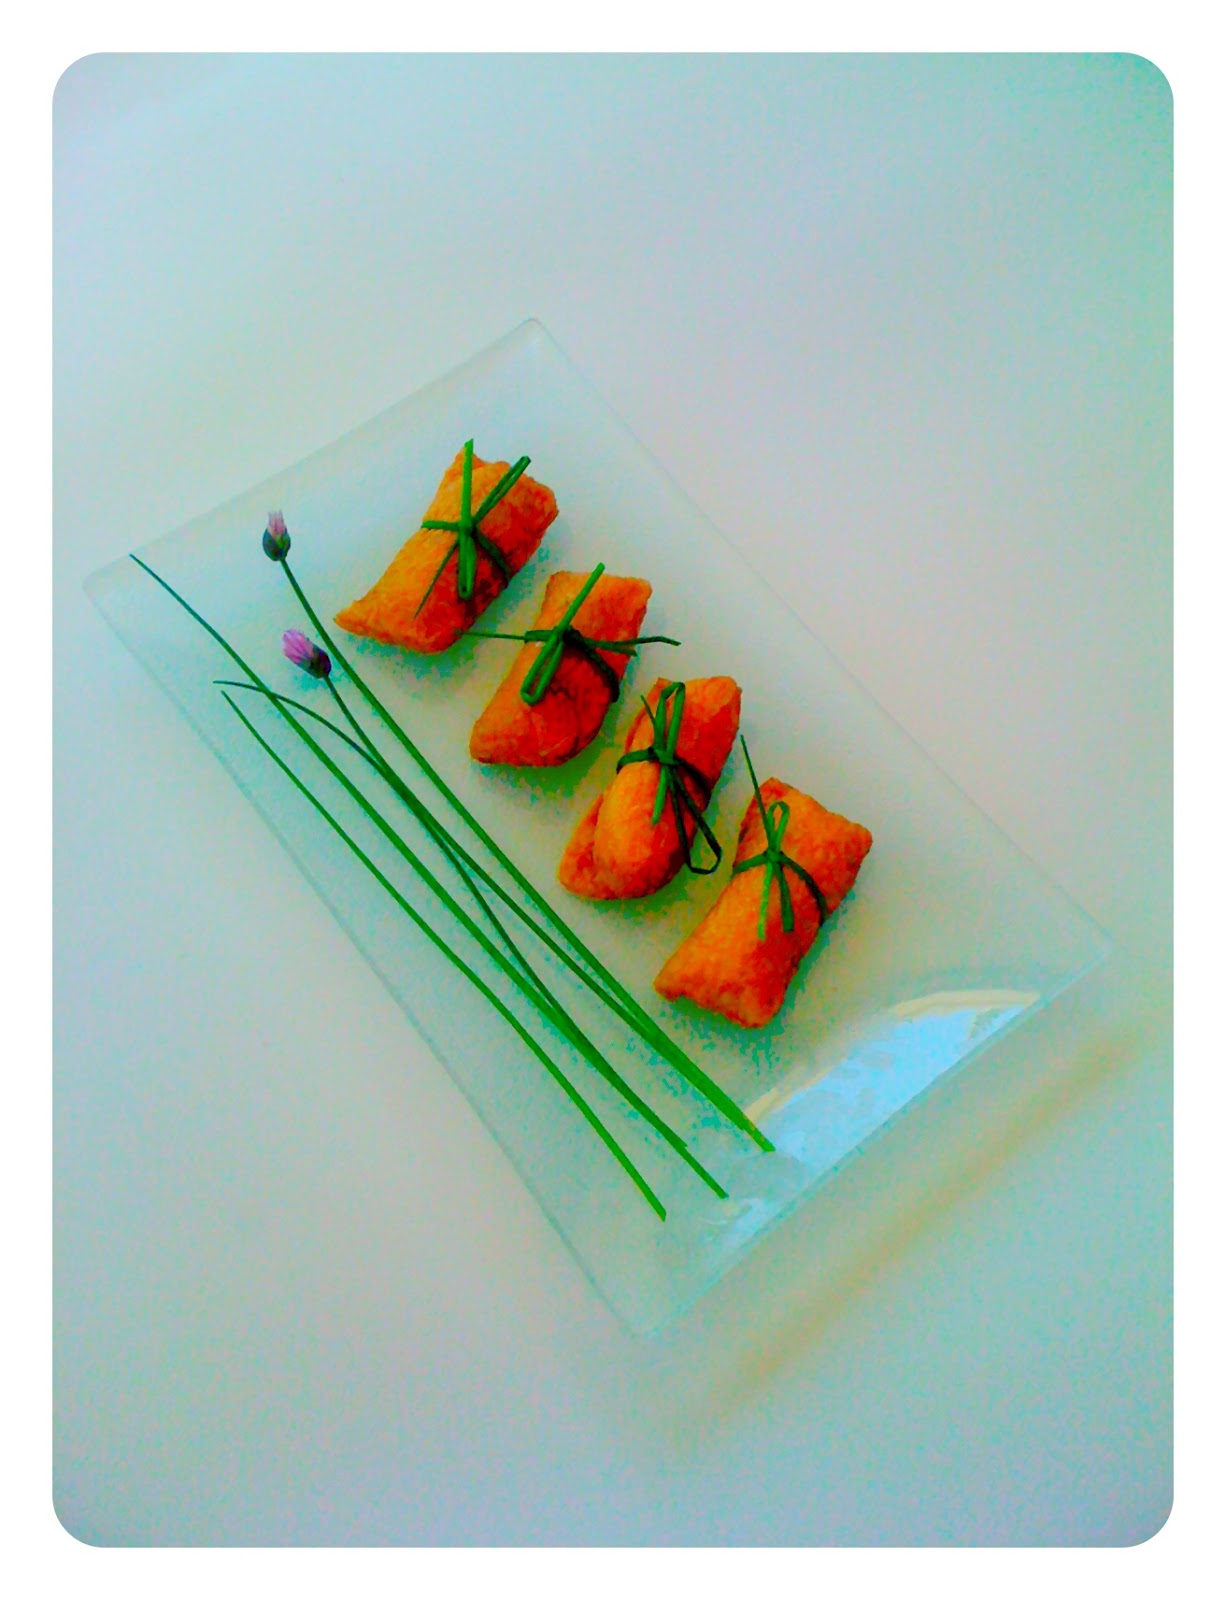
Capsicum pastry rolls
Yu must use some cooked capsicums (bell peppers) for this recipes, and I had some peperonata ready:
Peperonata
2 yellow capsicums
2 red capsicums
1 green capsicum
1 garlic clove
half carrot
1 small celery stalk
2 tbsp extra virgin olive oil (plus more to drizzle at the end)
A little water
salt to taste (if the capers are not too salty)
chopped Italian parsley and fresh basil leaves, plus a drizzle of extra virgin olive oil to finish
Wash and cut the capsicums into thin strips. Peel the garlic and cut into two. Wash and chop the carrot and celery into small pieces. Heat the olive oil in a pan and sauté the vegetables, then add the a little water and salt. Cover and simmer on the lowest setting for 45 minutes to one hour, stirring from time to time, and adding more water if necessary. Adjust with salt at the end, if necessary, and finish with some freshly chopped parsley, fresh basil and another drizzle of extra virgin olive oil.
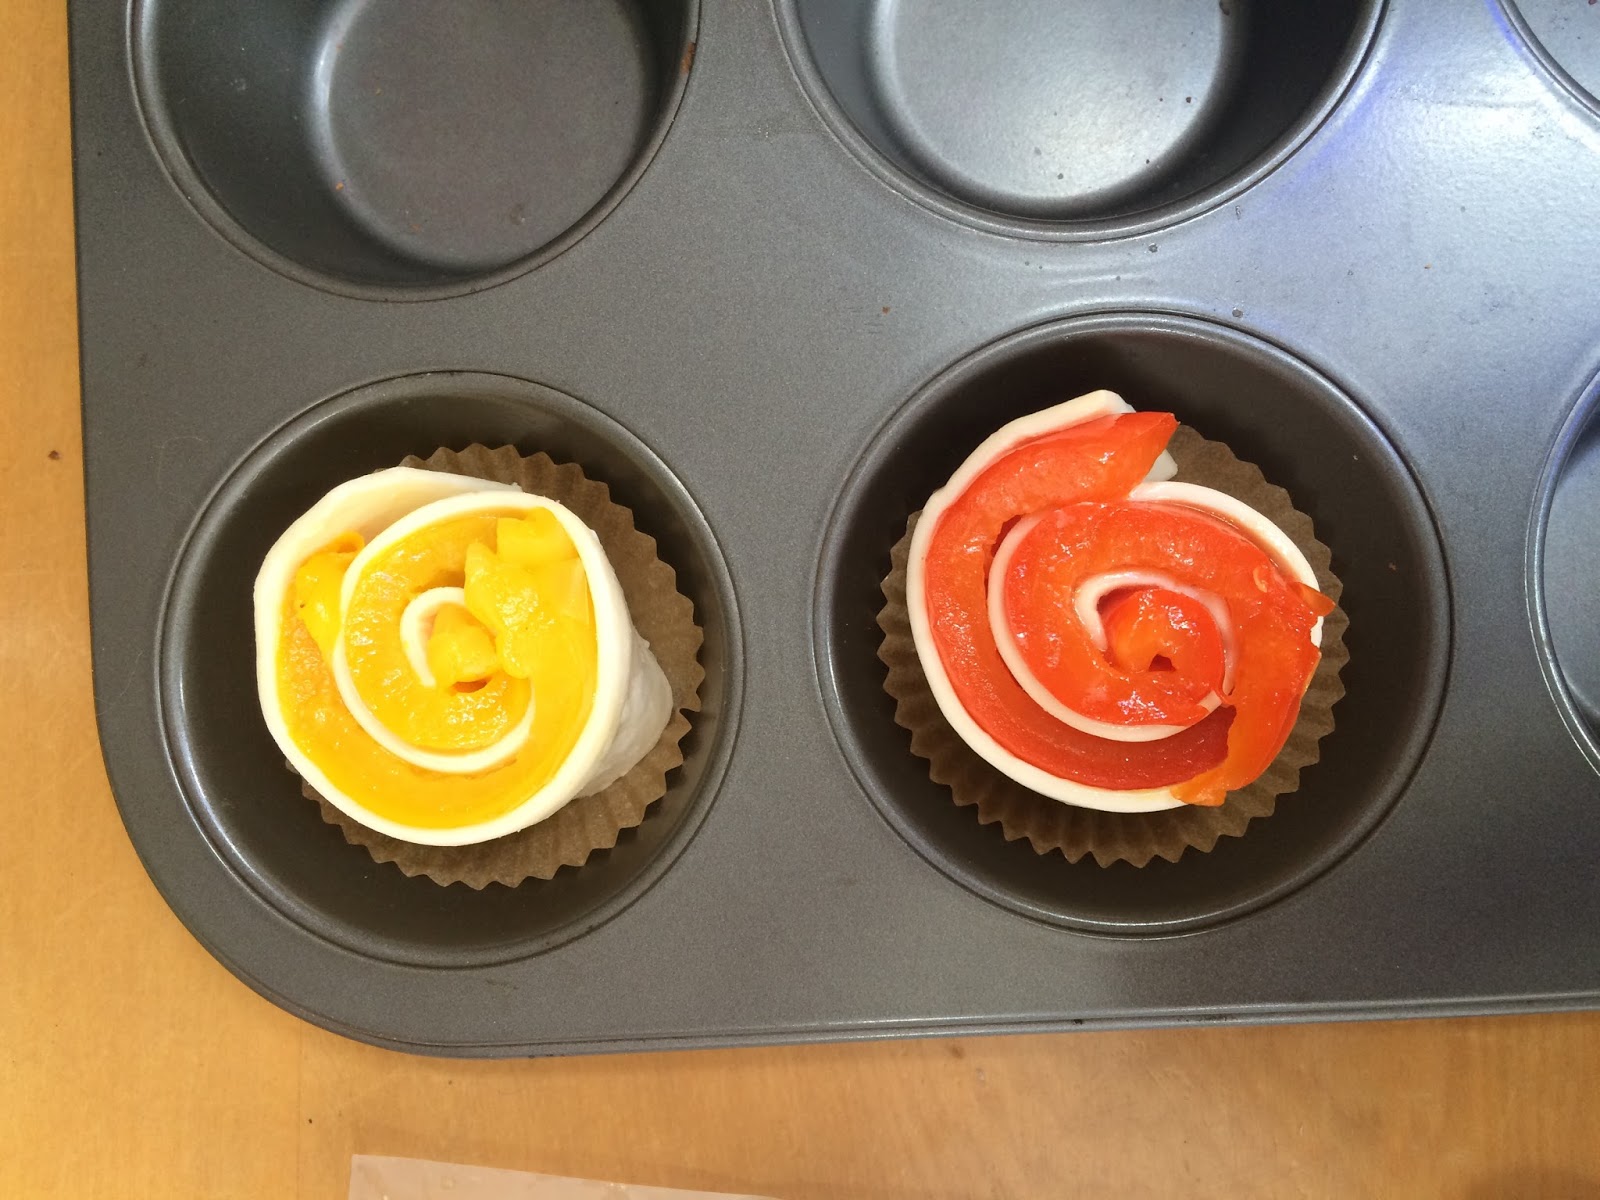
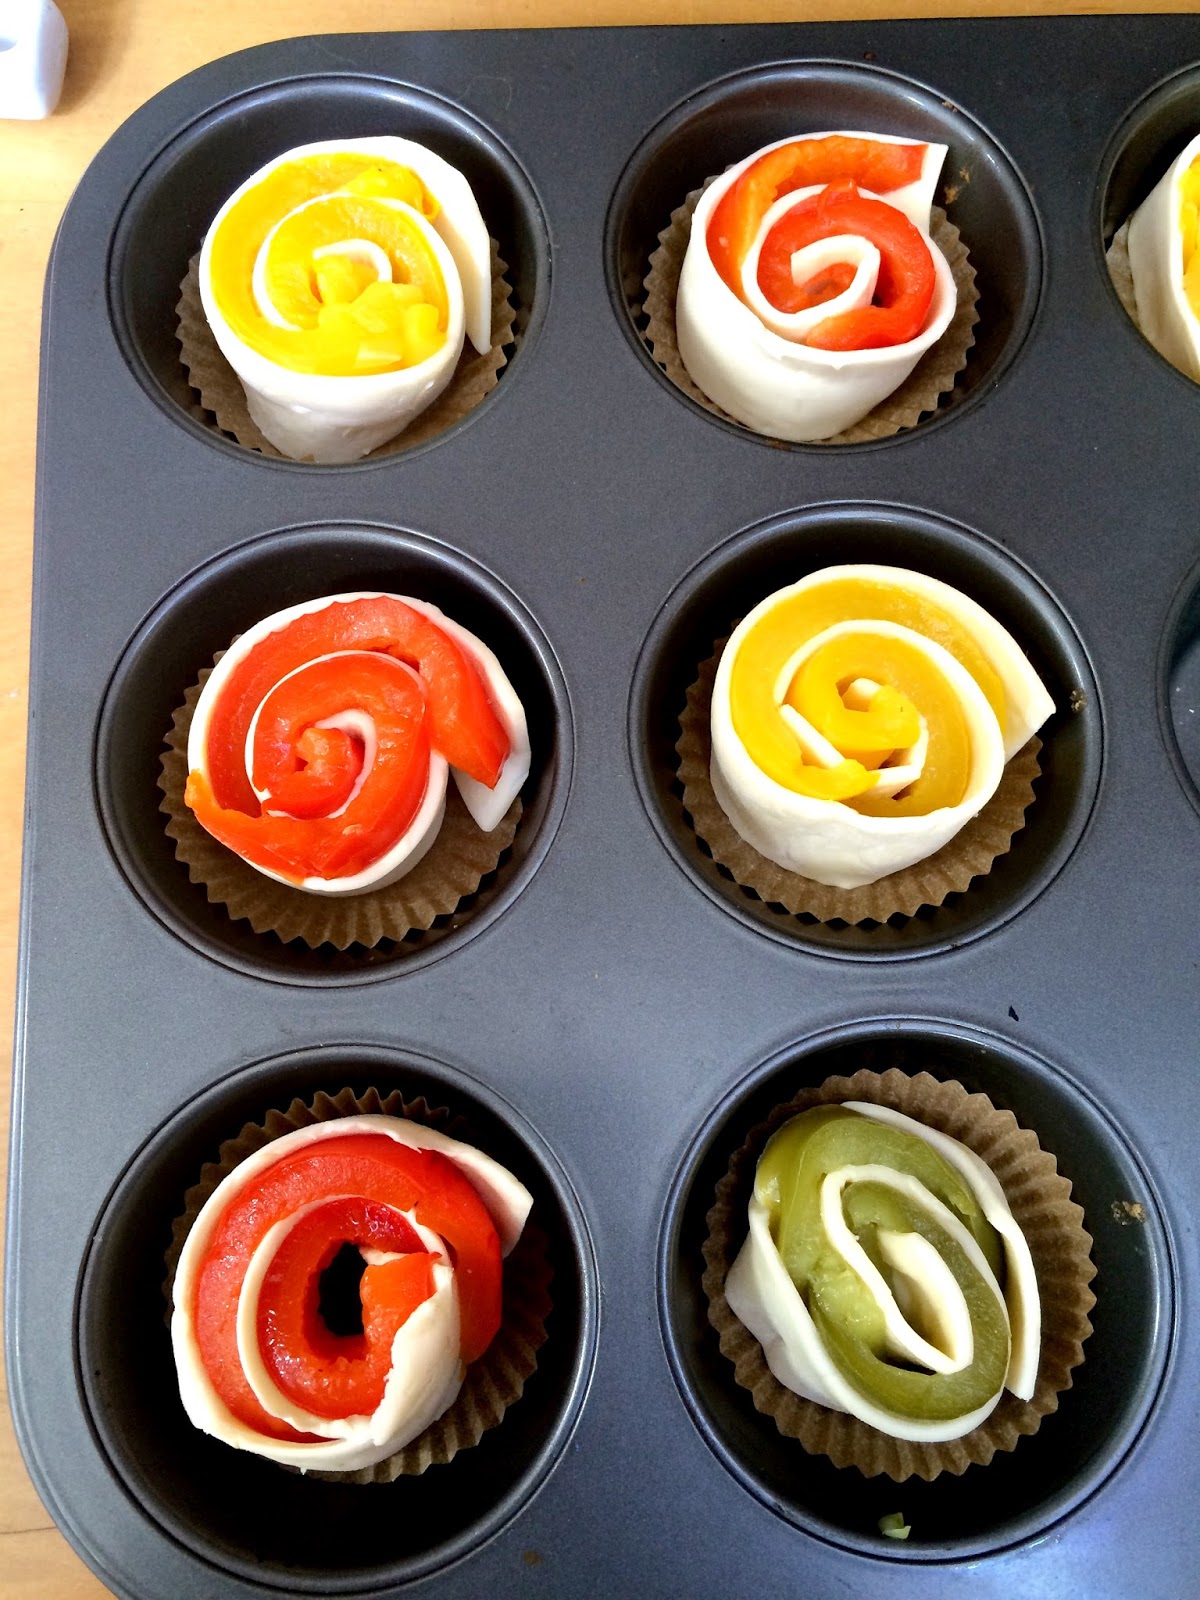
I then used some of the capsicum strips for my pastry rolls: I cut the vegan pastry sheets in long strips and place a thin strip of capsicum on the border of each pastry strip (see photo) and then rolled it up.
To keep the rolls nice and round I place them in a mini-muffin pan, and used some mini-cupcake cases. I sprinkle the top with salt and dried herbs and baked everything at medium heat until the pastry was golden and puffy. Serve hot or cold.

Photos and Recipes by Alessandra Zecchini ©


