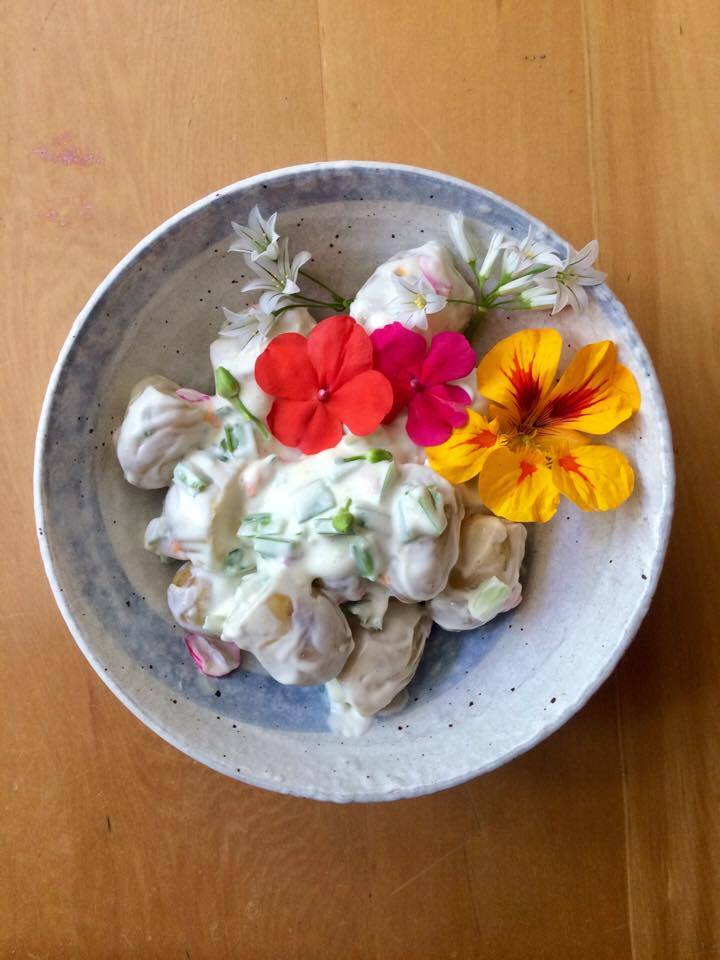
I received a few potatoes to try from Potatoes New Zealand to celebrate November Means New Potatoes, and here are my first creations.
I started with baby perlas, which I knew already. These little new potatoes are cute and a real little treat, so they deserve special attention!
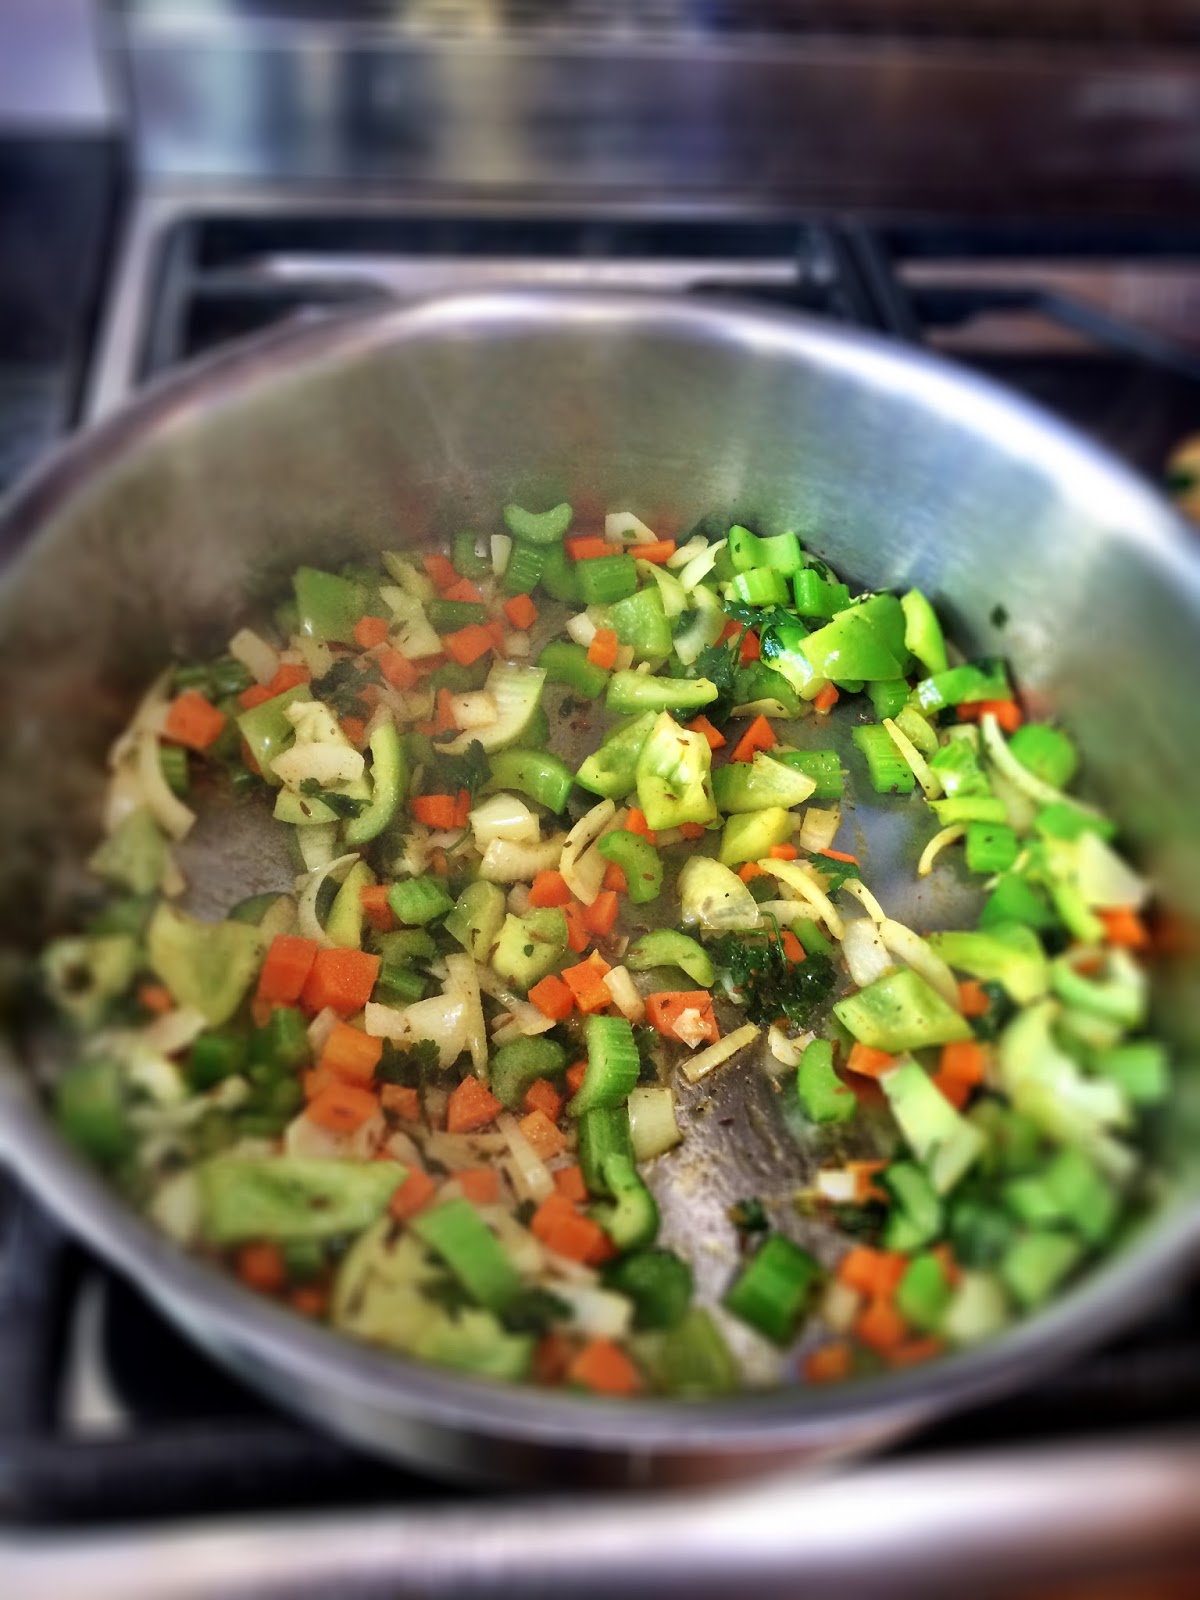
I boiled them first (no mint... just cannot bear minted potatoes, sorry Kiwis!) and then I divided them: half I used for salad, I picked the 'bigger' ones and cut them into two pieces, then I mix them with Vegan mayonnaise (recipe here), chopped onion weed bulbs and stalks, nasturtium buds and petals, and Impatiens' petals.
Keep a few flowers aside for decorations, and onion weed flowers too, if you like. I think that a lot of people now are comfortable with eating nasturtium flowers and buds (I left some buds for decoration too, and for you to see). Buds taste a little like capers. Young tender leaves are nice too (see soup below). Not so many people would eat Impatiens though, or know about them. They taste a little like rocket, and I prefer the red ones, although I always add a few pink ones just because the colour is so pretty. My preference for red ones may be just because I observed the chickens eating all the red ones while leaving behind the other colours, but maybe they are just colour blind? Anyway, I tasted all the colours and decided that the chicken were right... Of course don't eat the flowers if you spray your garden with chemicals!
As for the smaller potatoes, I just heated it some garlic with olive oil in a skillet and then tossed the potatoes around, with an extra good pinch of salt, until hot. Then turned the heat off and added some fresh thyme, another toss, and ecco fatto! Patatine novelle in padella al timo!

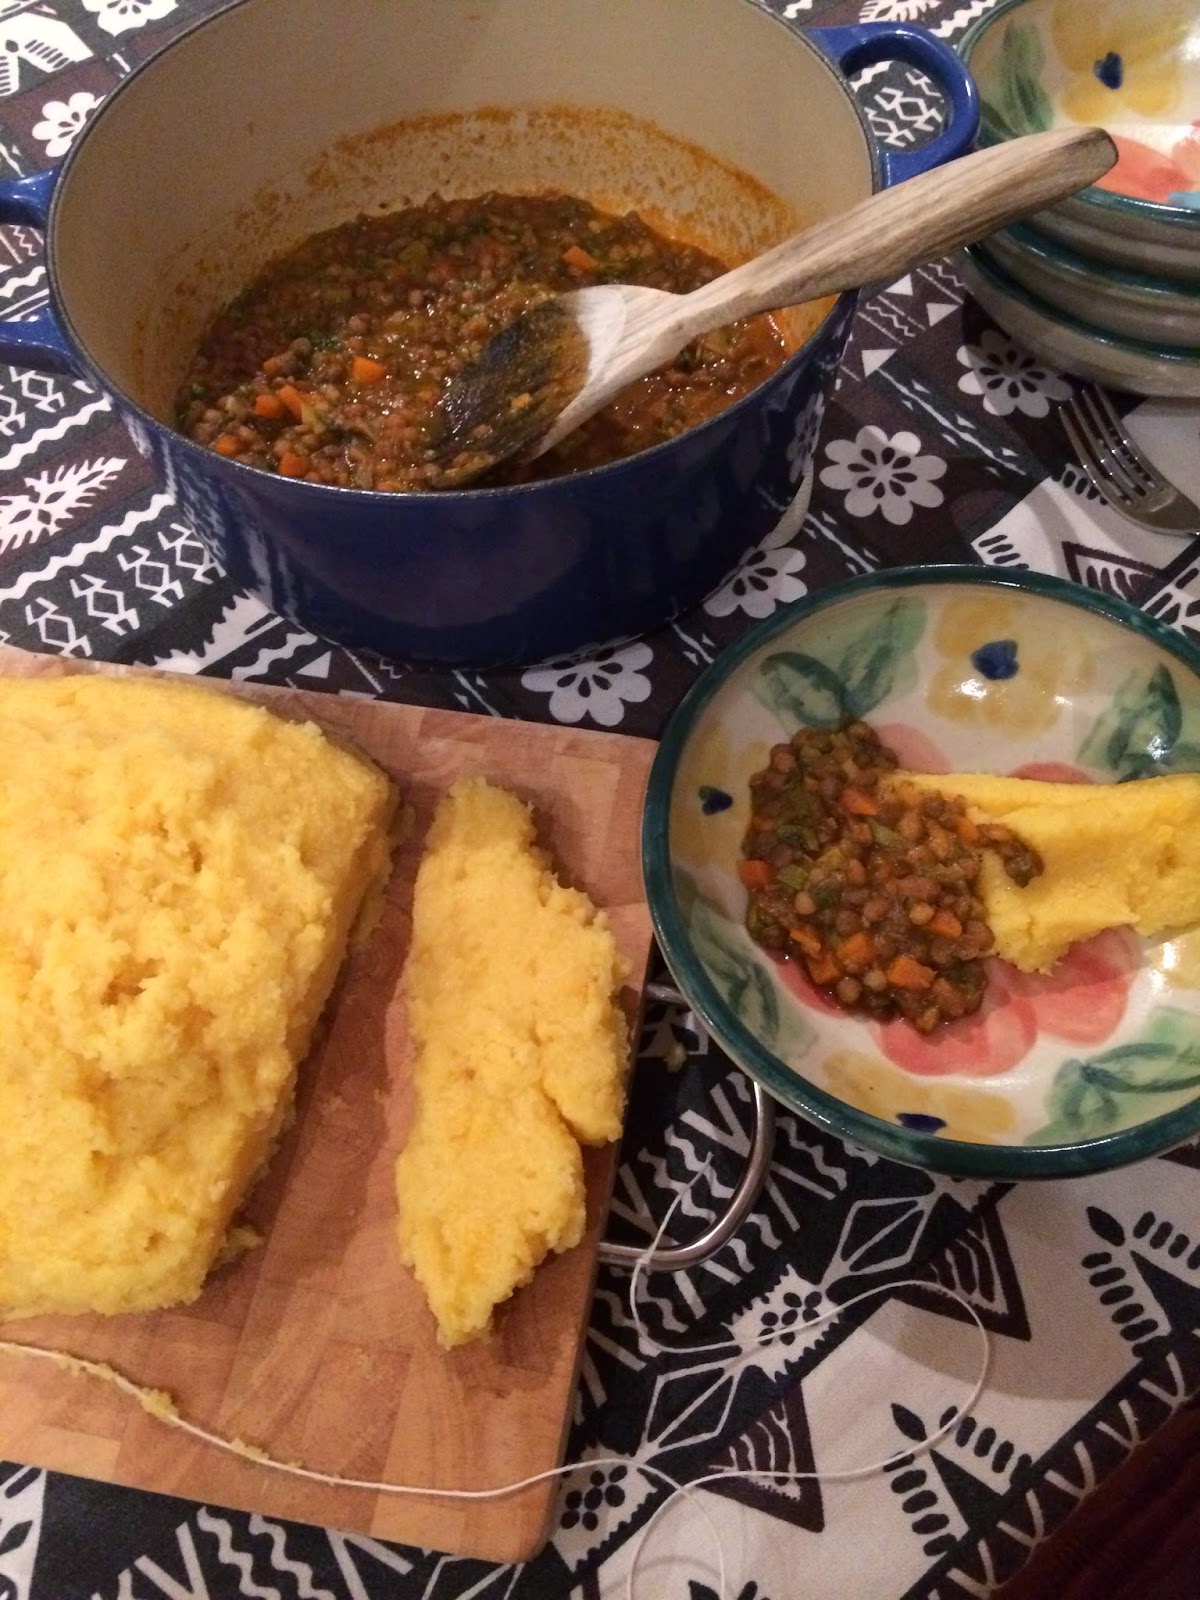
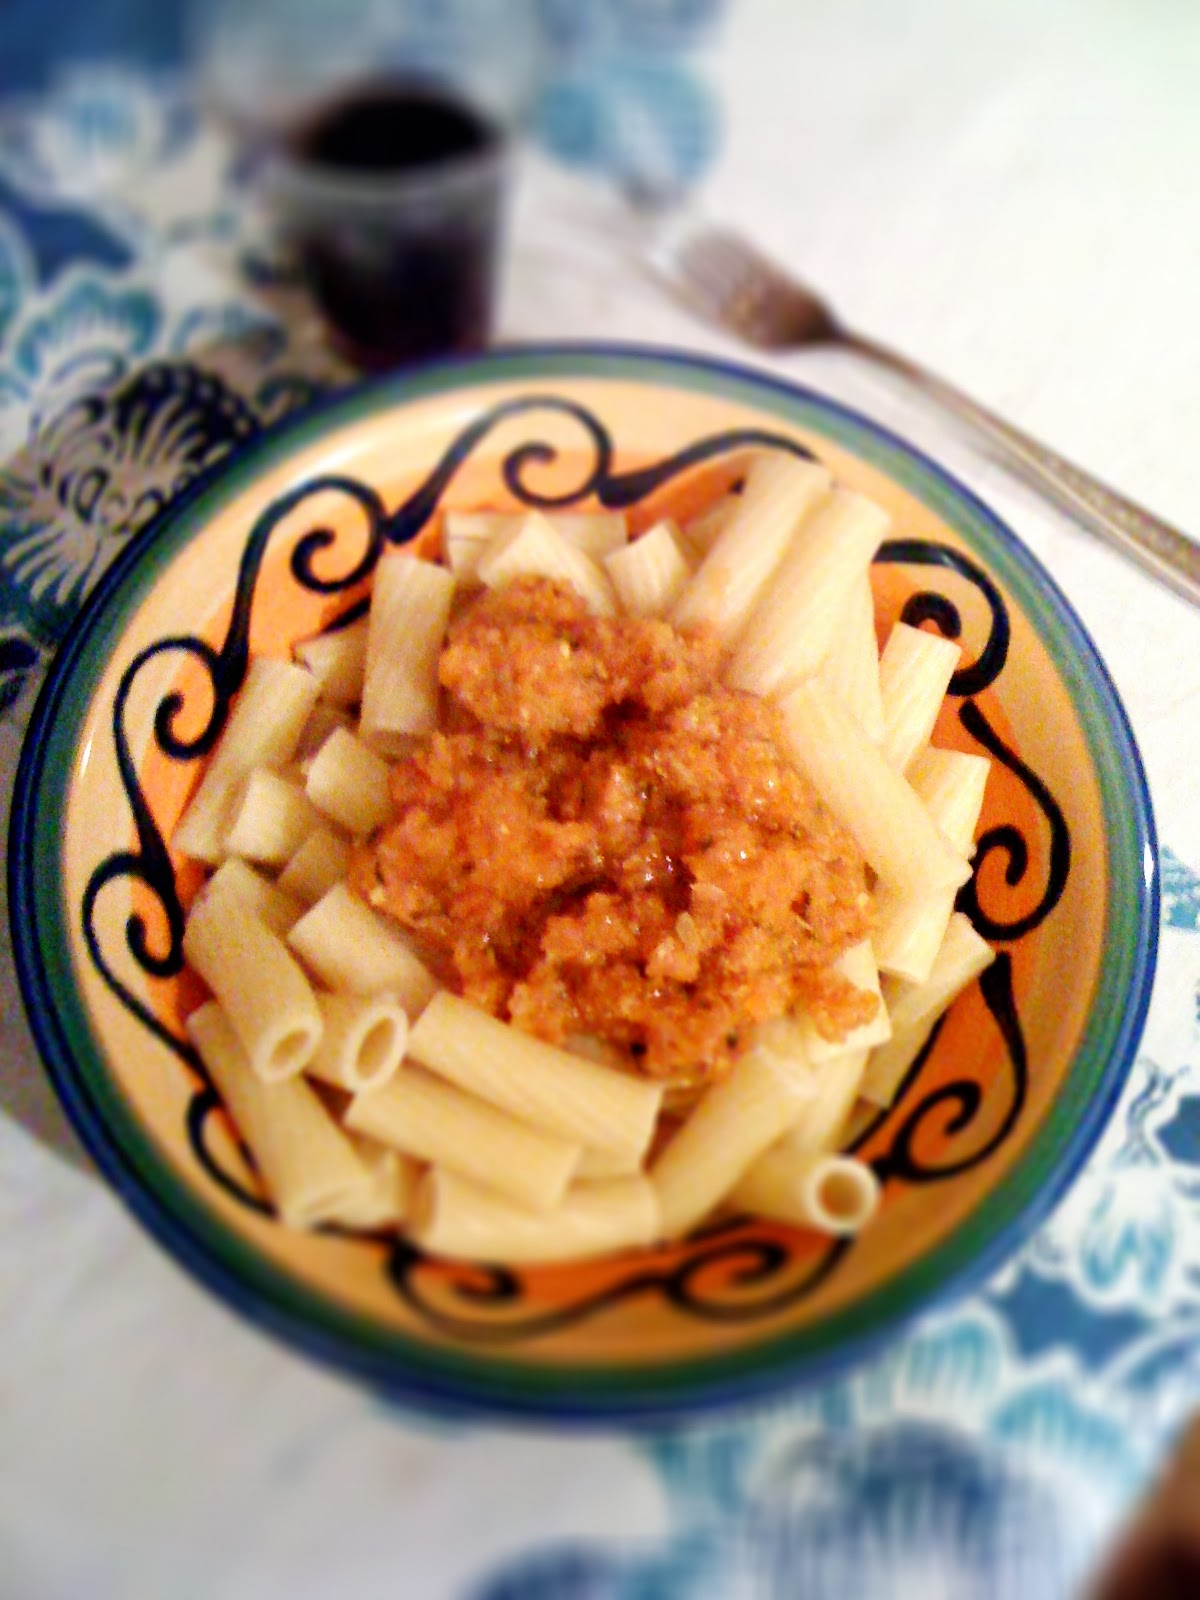
Photos and recipes by Alessandra Zecchini ©