Showing posts with label chickpea flour. Show all posts

Thursday, January 17, 2019

Carrot leaf fritters, Vegan and gluten free


Having munched through everything green in the veggie garden I am left with the leaves of carrots, I usually make frittata with them, or fritters, and this time I tried a vegan experiment which was very successful (the kids looooved them). To be repeated soon, in the meantime here is the recipe.


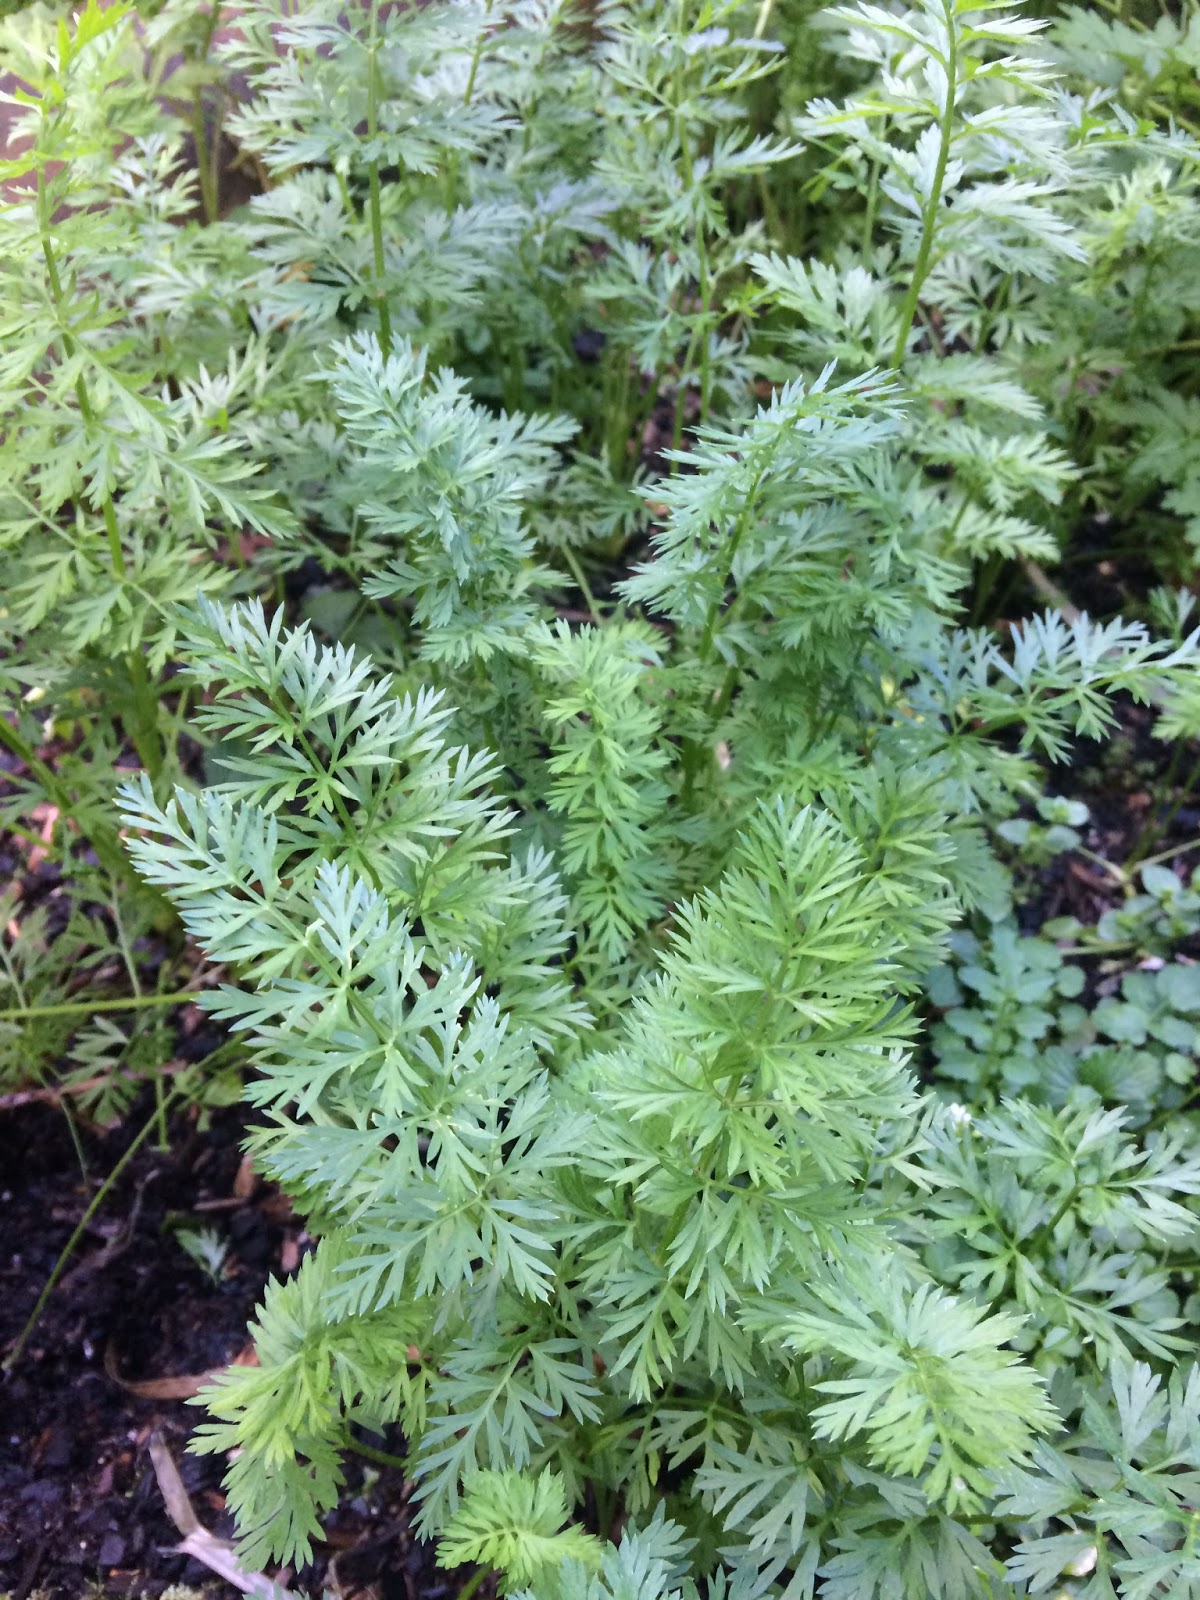
Pick your carrots (mine are always small, since they grow in clay soil poor things). Keep the leaves, wash them well and remove the thicker stalks (a bit like cleaning parsley really).


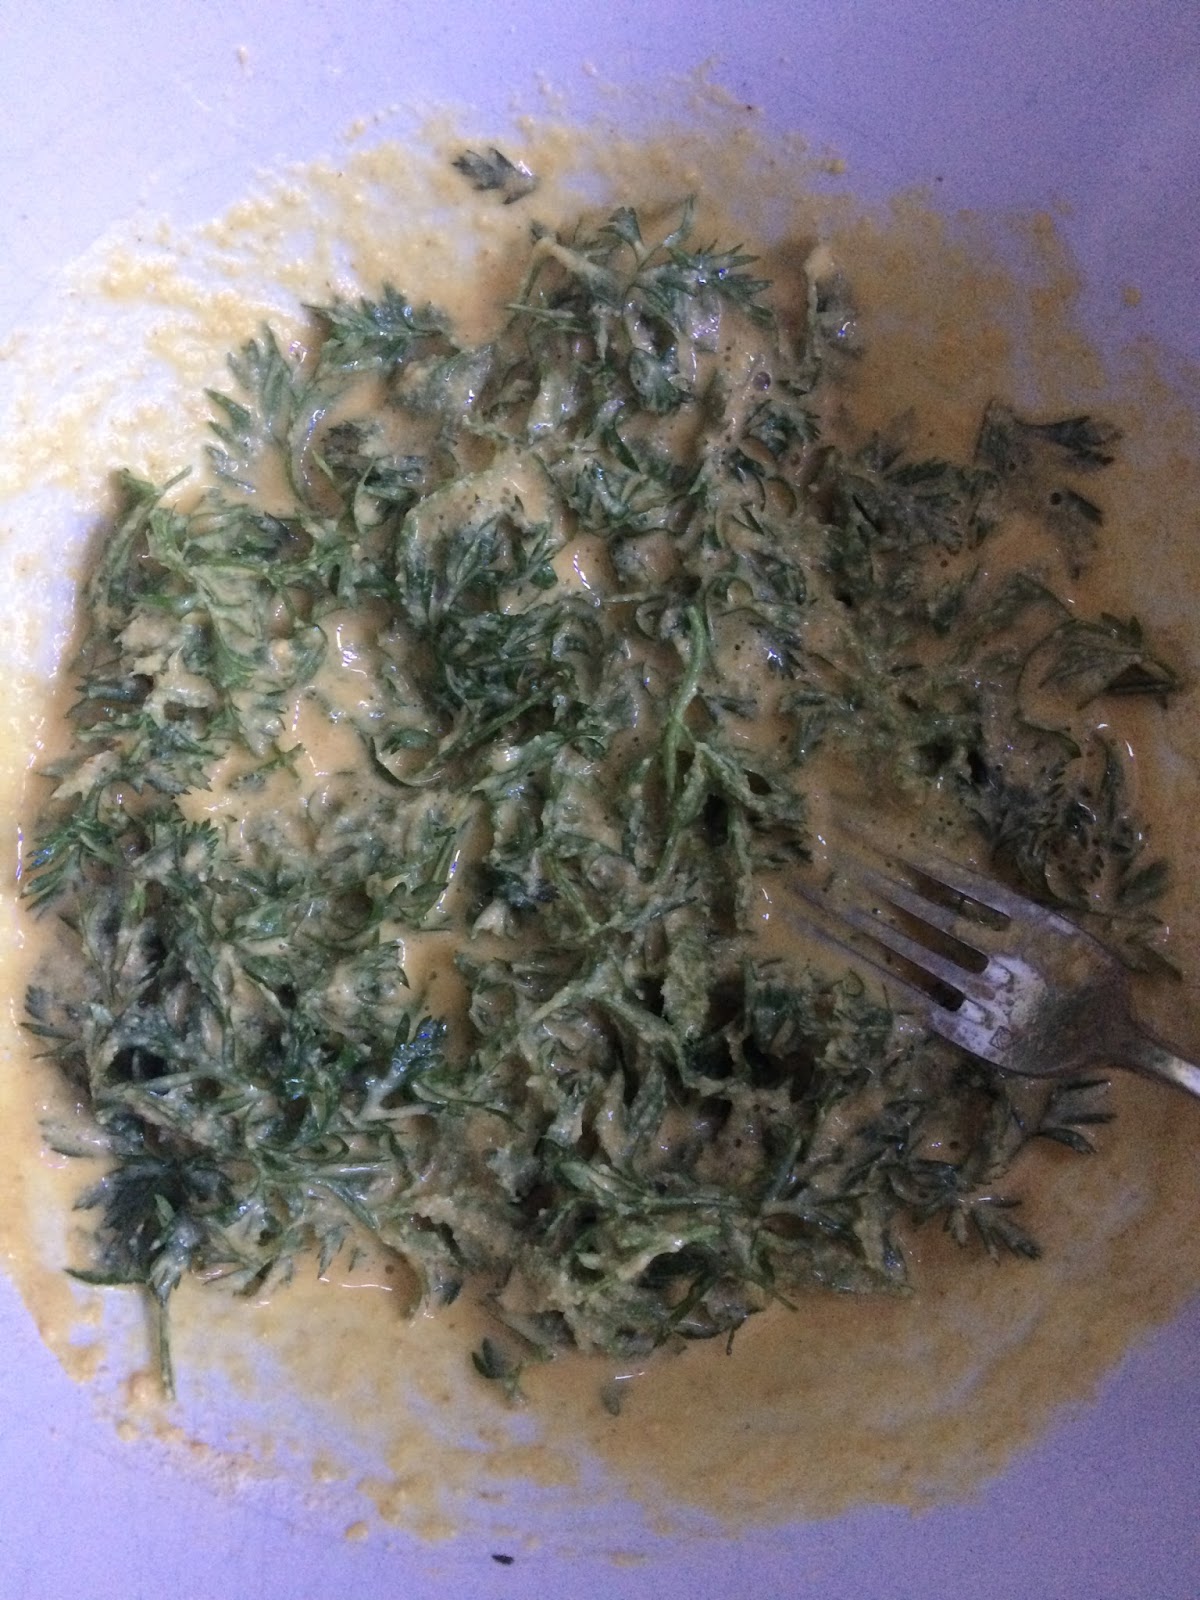
To make the vegan batter I used the liquid from a can of chickpeas, two tbsp of chickpea flour, a good pinch of salt (or two), and the tip of tsp each of ground cumin, ground coriander and ground turmeric.


Then I added the carrot leaves


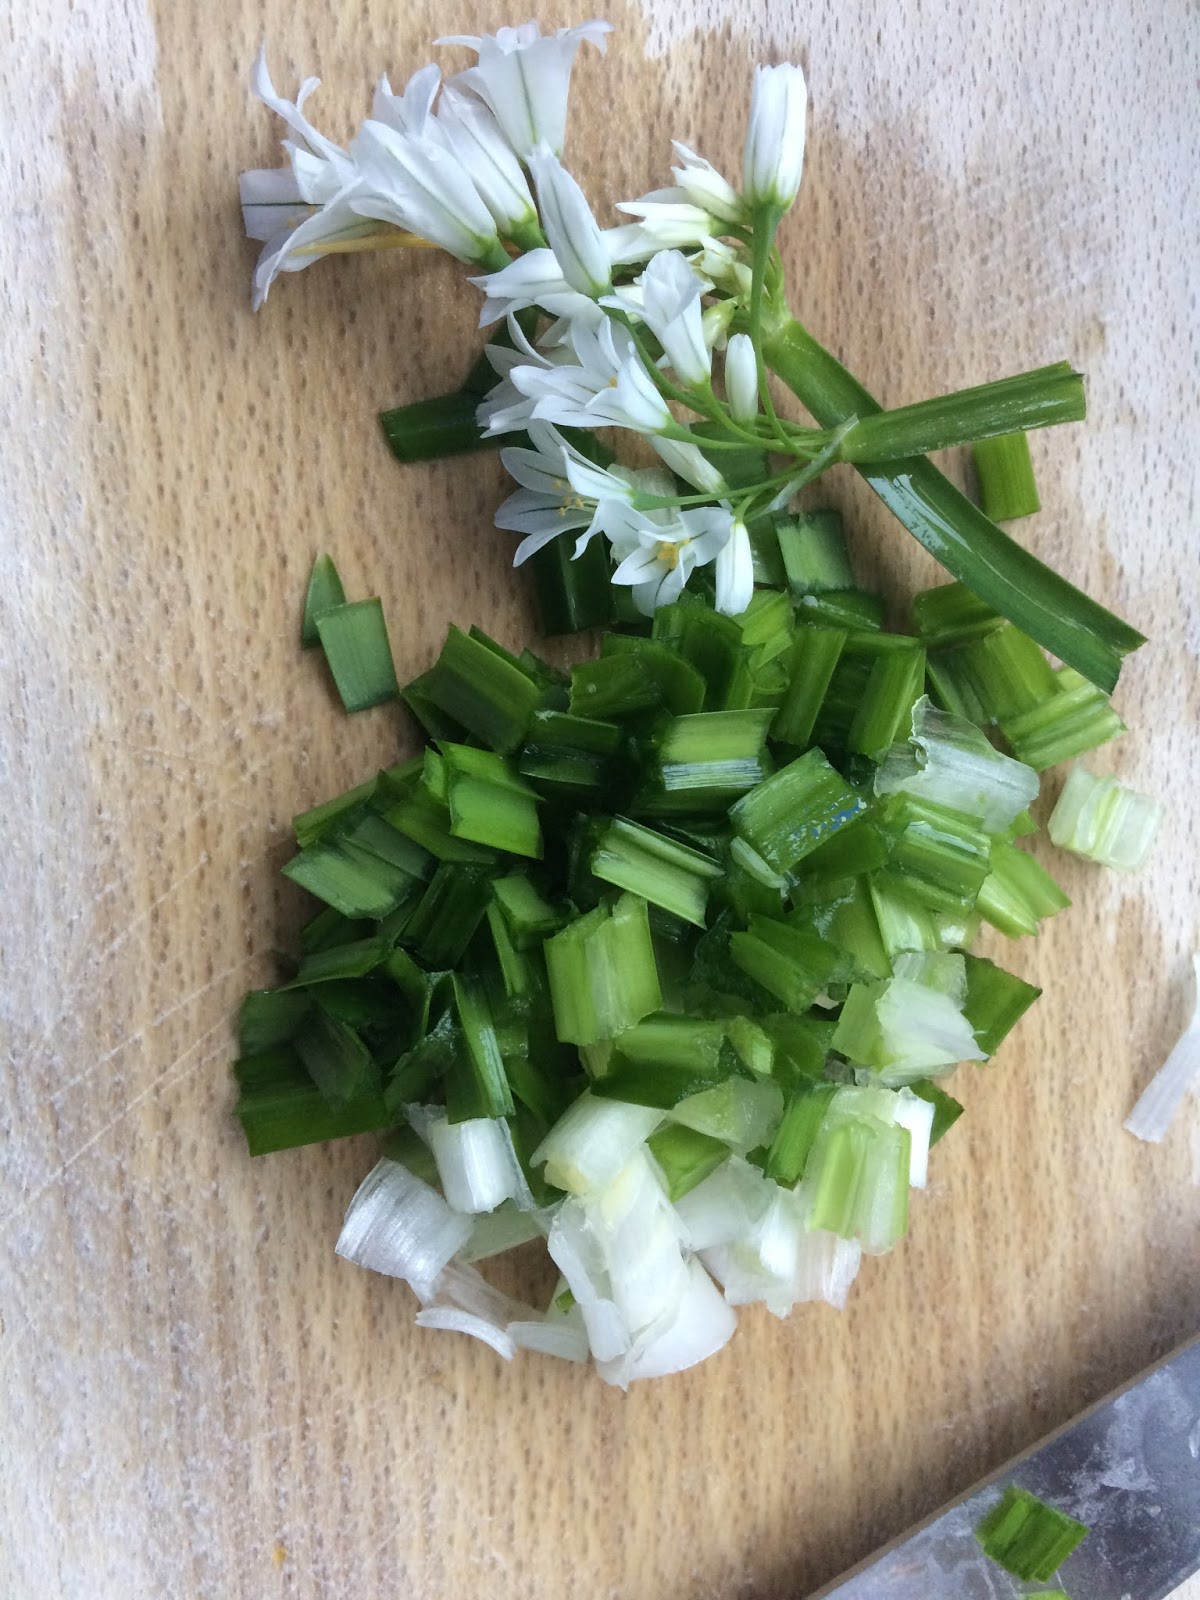
At this point you can add a chopped spring onion, or some chopped onion, or chives, but since I picked my first onion weeds I added a couple, bulb, stems and leaves, You can also add the flowers, but I kept them for decoration (i.e. to take the photo!). 


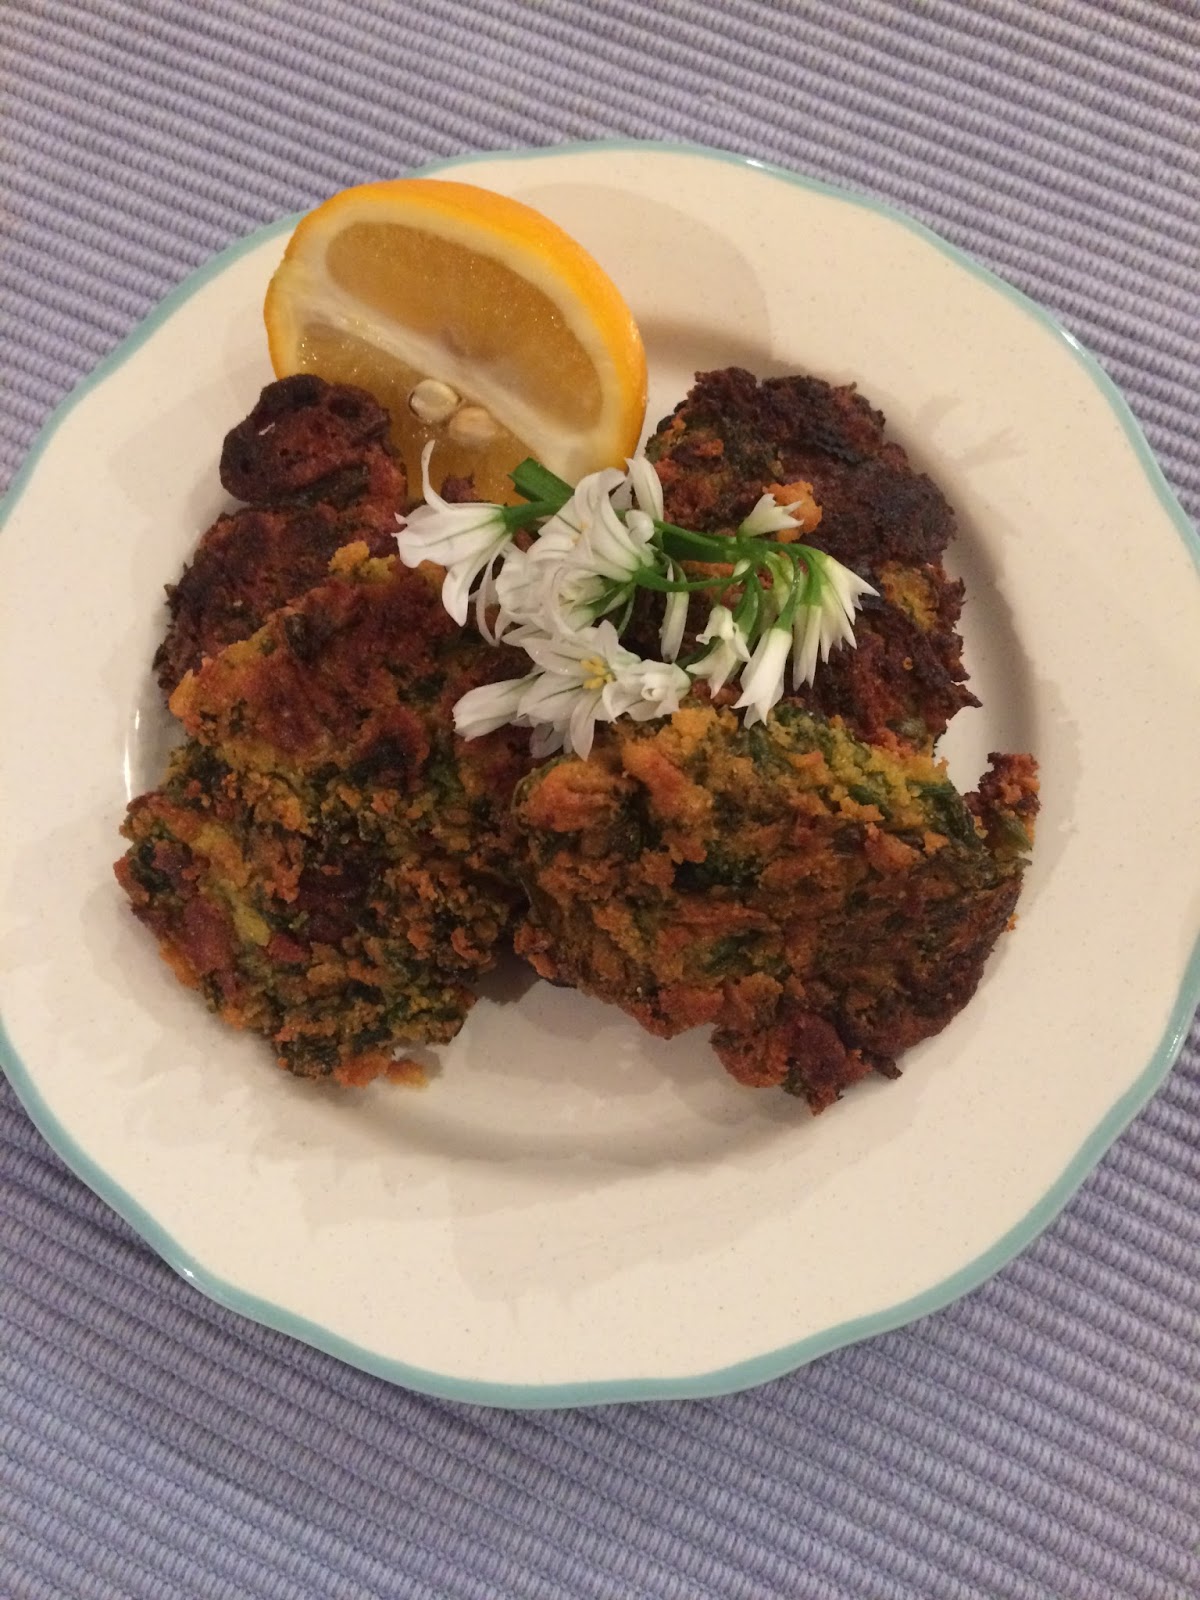
Spoon into a frying pan with hot vegetable oil and cook on both sides until crispy.


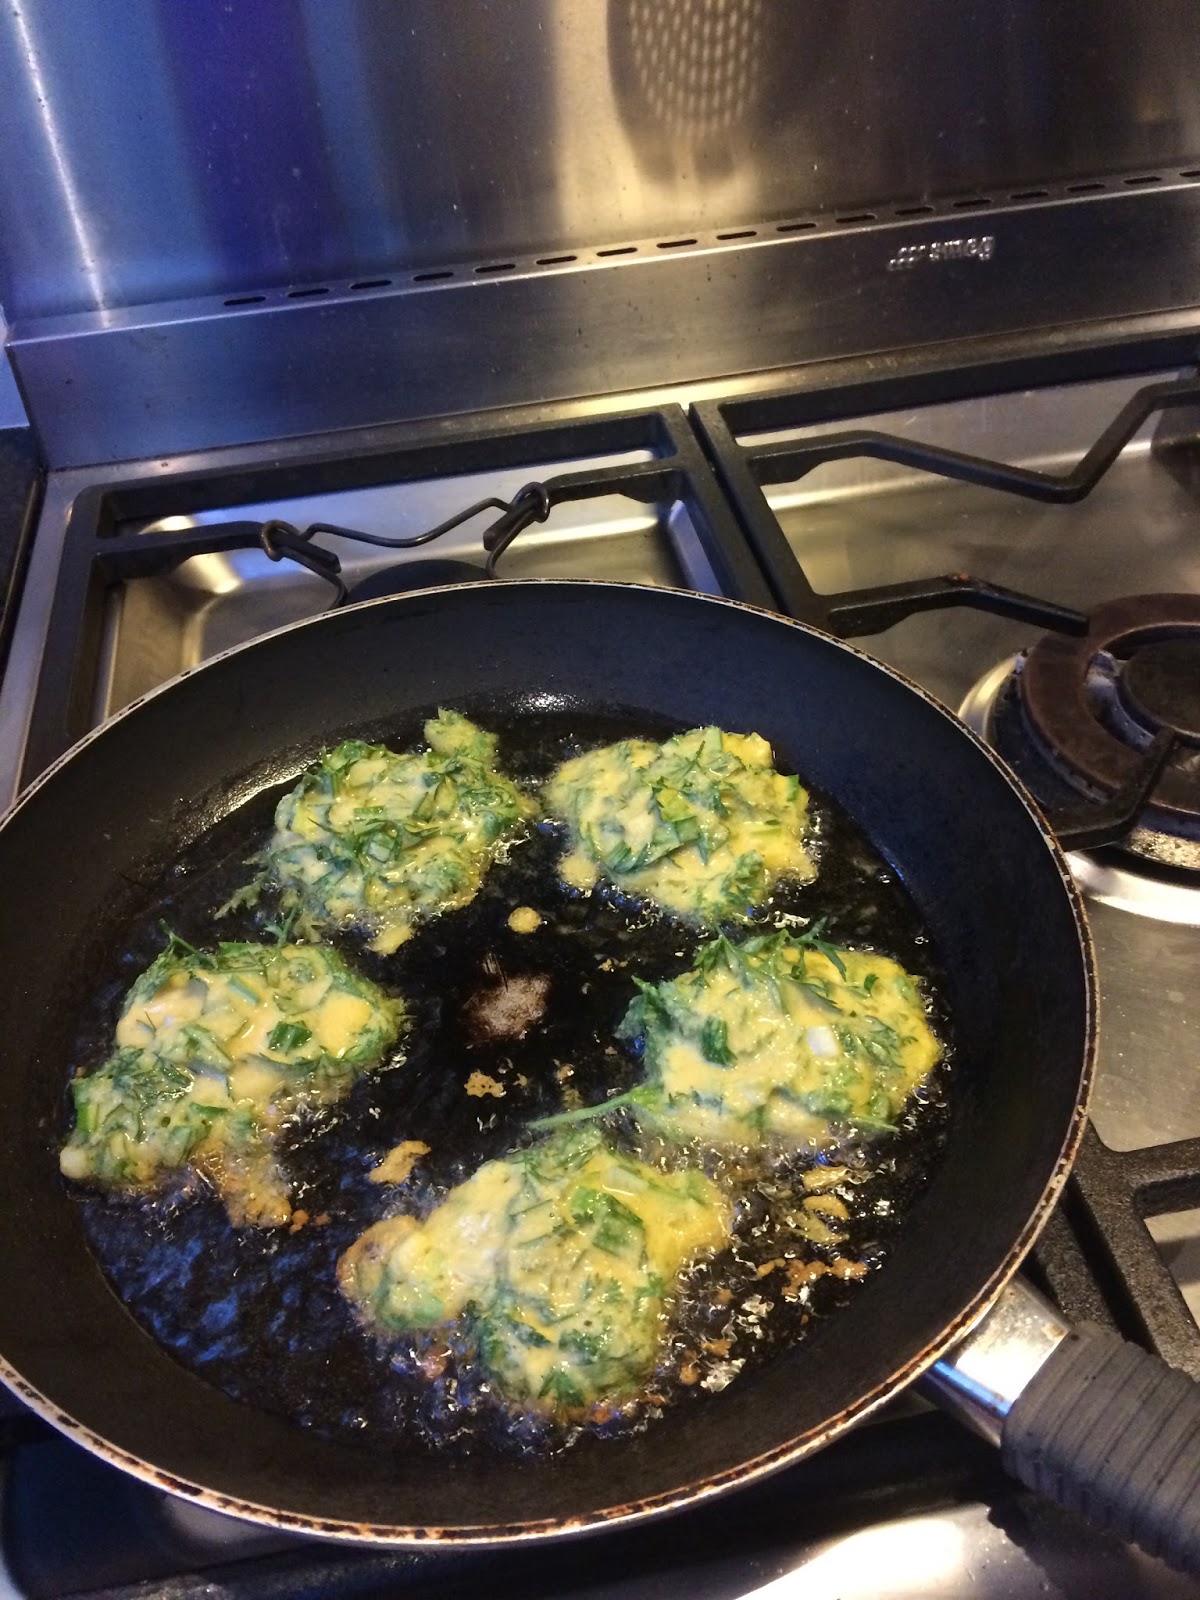
Drain on kitchen paper, sprinkle with salt (optional) and then serve, hot or cold, with a good squirt of lemon juice.

Photos and Recipes by Alessandra Zecchini ©

Wednesday, February 22, 2012

Two Vegan and Gluten Free recipes with onion weed: Yudofu, and Chickpea Fritters


I have been telling friends about onion weed these days, everybody seems surprised (and happy) that you can eat it, especially those who gave up growing spring onions because they seem to take so long for what you get. And onion weed is free and plentiful! I kept telling everyone to use it as a spring onion without realizing that most people here use spring onions just chopped in salad, and that'a about all! 

On the top left my nabe (pot) with simmering Yudofu, one of my favourite tofu meals for chilly evenings:
In a capable pot I put water with some dried kombu (about a large sheet broken into 3-4 pieces), and a few dried shitake mushrooms to simmer, and after 20 minutes I added some soft tofu cut into squares, salt (I have a nice Japanese unrefined salt for it) carrot sliced to look like flowers, and onion weed (bulbs, stalks and leaves cut into 'longish' pieces). I added the flower just before serving. To tell the true the tofu should be then taken out of the broth and eaten with a sauce and relishes, but as a family meal we eat the lot in bowl, broth and veggies too, except for the kombu seaweed, which I discard.

The other three photos are of chickpea flour fritters: I chopped the onion weed (the whole plant, but kept a few flowers for decoration) plus I added some finely chopped spinach, chickpea flour, salt, water and a drizzle of olive oil. When the batter was ready I remember that I have lots of pitted black olives to use, so I chopped up a few and added those too. I fried the lot and the fritters were incredibly tasty! I will make them again, in the next few days, they are incredibly easy and the kids loved them.
These meals are vegan and gluten free.


Photos and Recipes by Alessandra Zecchini ©

Tuesday, January 10, 2012

Carrot leaf fritters


Since chickpea flour can be mixed with just water and it will still bind like eggs do it is perfect for vegan recipes. For my Vegan fritters I used another overlooked green from my garden: carrot leaves. I always end up planting carrots to close, and fail to thin them when I should (I just don't have the heart to do it...) so I had to pick up a few little ones to let their sisters grow in peace. Baby carrots are great anyway, and all those pretty leaves are edible too! 


Carrot leaf fritters

 I washed and roughly chopped the carrot leaves, made a batter with chickpea flour, water, salt and pepper, added a chopped red onion, and fried my fritters. In the end I topped them with some smoked paprika and a few sesame seeds. Good hot or cold, as a main or appetizer.


Photos and Recipe by Alessandra Zecchini ©